Here's a how to to create your own custom mount for any boost controller, this is just a guide for an EVC 3 but the shape can be anything anywhere on your car.
oh no another picture filled project by Fernando!
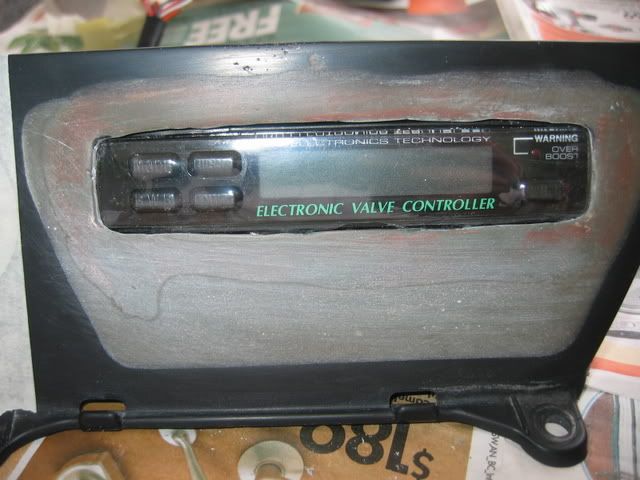
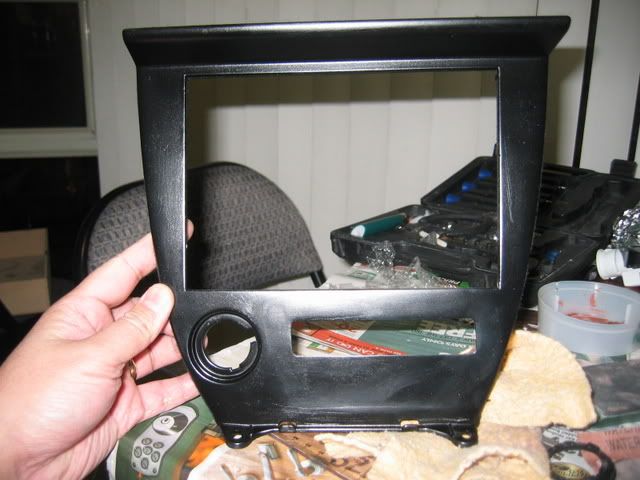
So I received my HKS Boost Controller and was looking for a place to mount it. I wanted it to look stock or as close to stock as possible. I was thinking of mounting it in the spare radio compartment but then thought what if I get a double din stereo later on.. then the cup holder, I could install my boost controller and my turbo timer there but I don't think I could live without my cup holders.. so there's the ash tray, humm I would have to close it off and make a mount and a hole for the controller but It looked like a good spot.
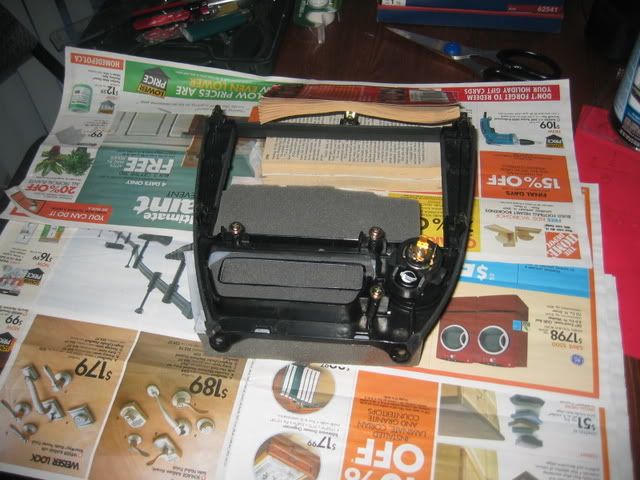
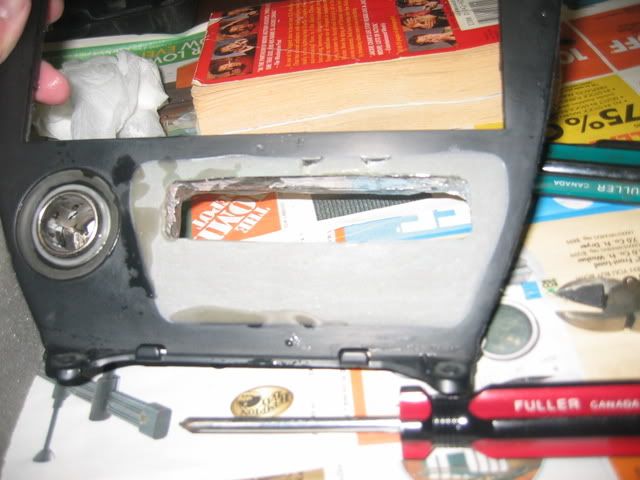
Its freezing out and I don't have a garage so I had to work with what I had. short strand fiber, first I removed the housing and unscrewed the ashtray mount.
found some plastic from an old box of clips and cut it to cover the hole. User plastic as fiberglass does not stick to plastic and it will be smooth.
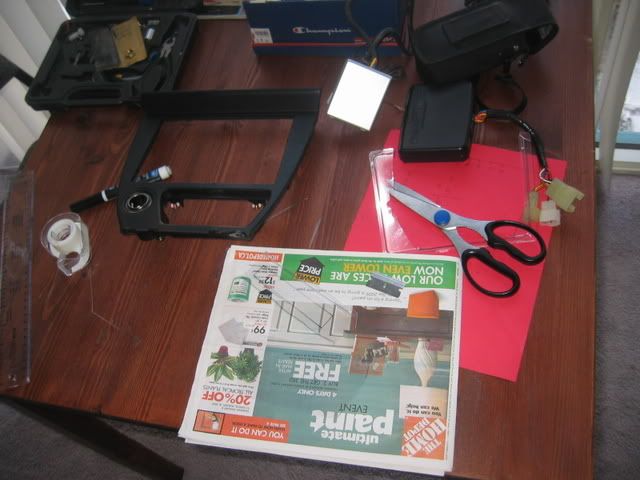
Here is my small table and the bezel and the plastic and a pair of scissors a blade, tape (ok so I didnt have masking tape but had a lot of Christmas wrapping tape..so I used that) Newspaper tin foil and a marker.
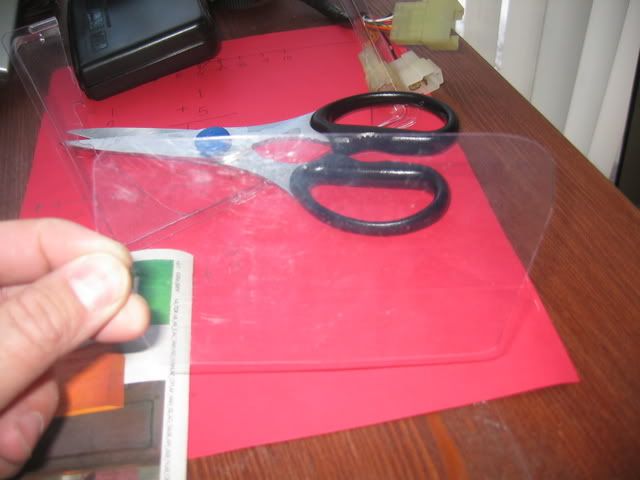
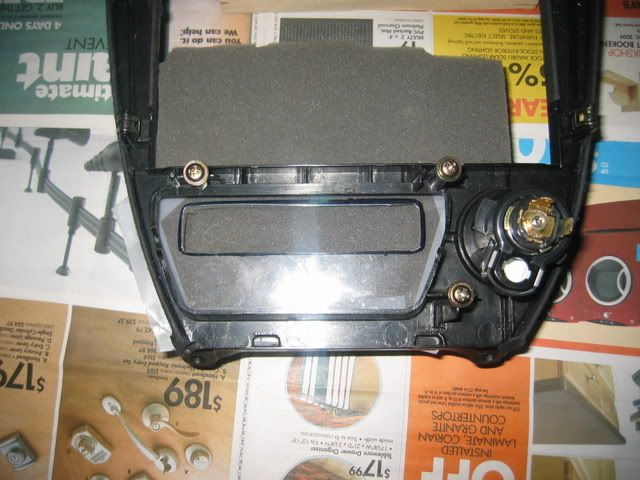
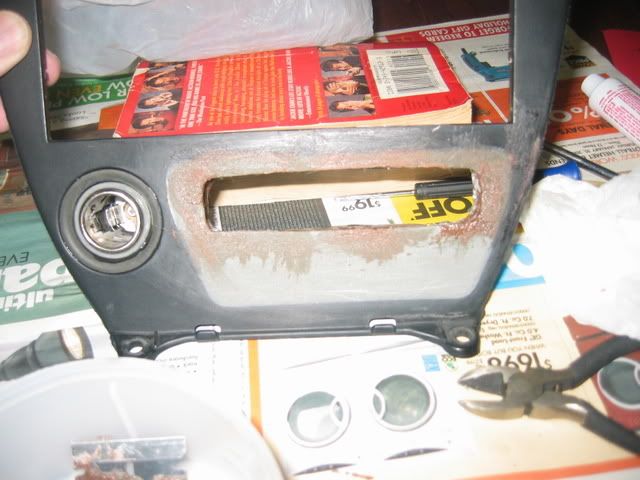
Cut the plastic to cover the ashtray hole.
Test fit it so it covers the entire hole.
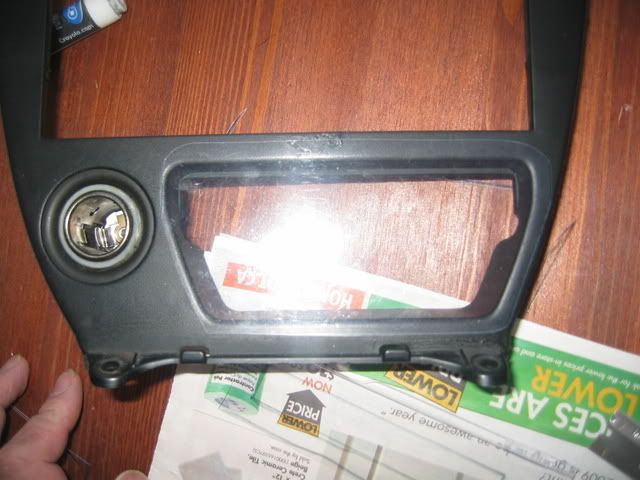
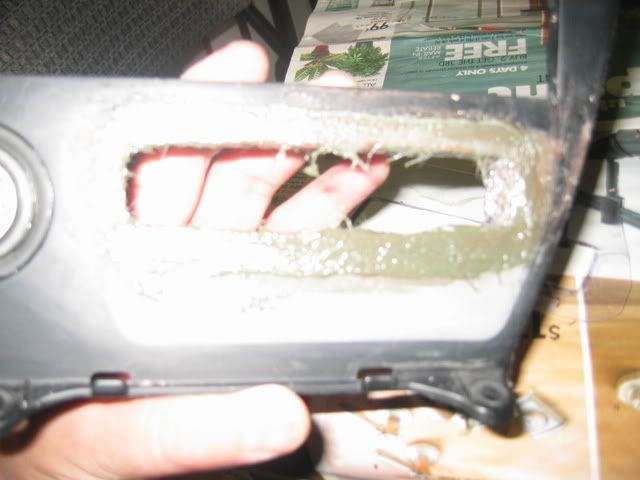
cut a hole out for the controller
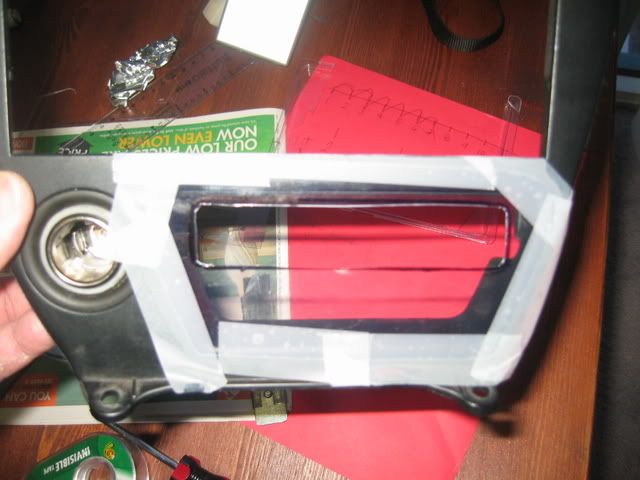
Tape it onto the bezel (try and use masking tape.. much better, only plus is that fiberglass does not stick to it at all)
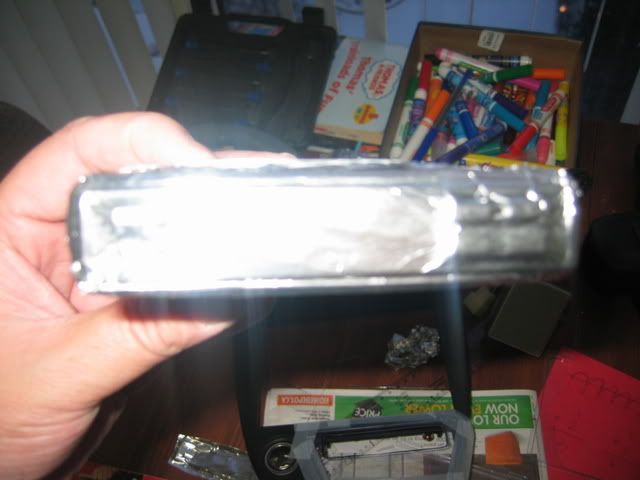
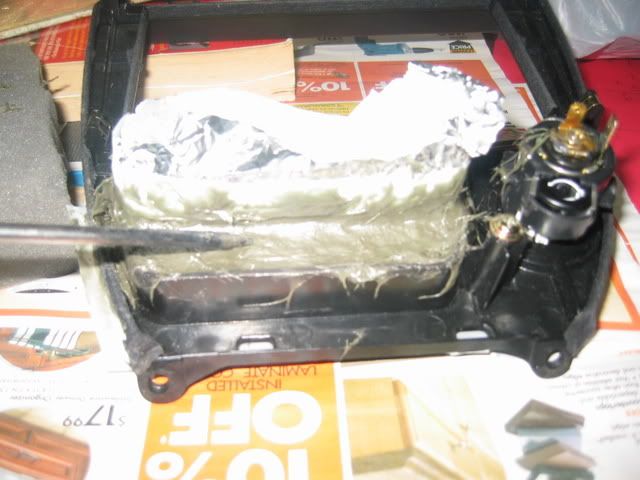
wrap you controller in foil and tape it up, we need to make a perfect mold for the controller so we dont have to make a mount.

get a piece of dense foam and cut out a section for the controller , we will use this to press down on the mold.

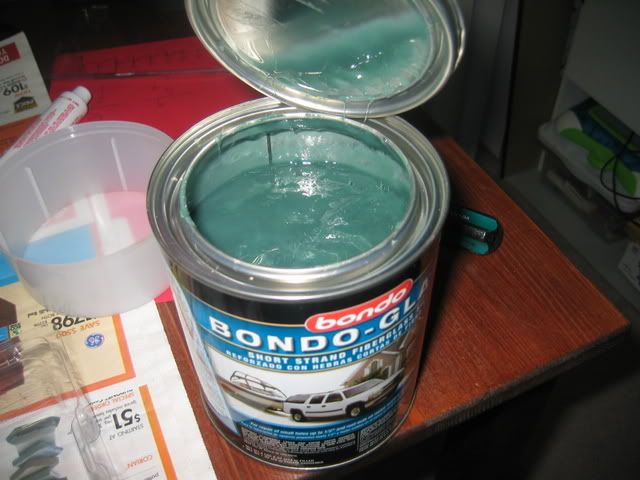
Pop open your glass.

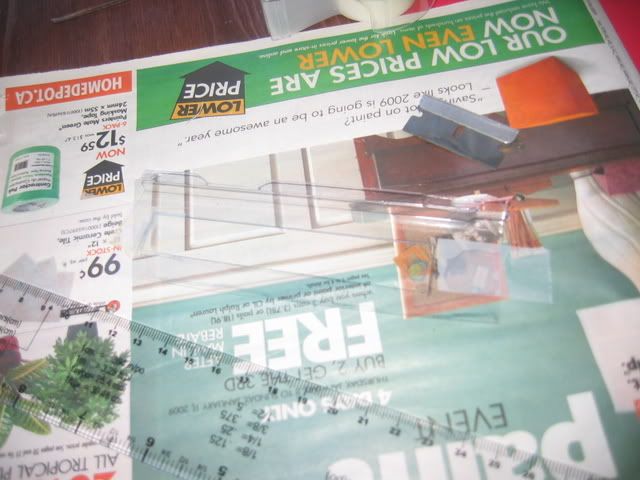
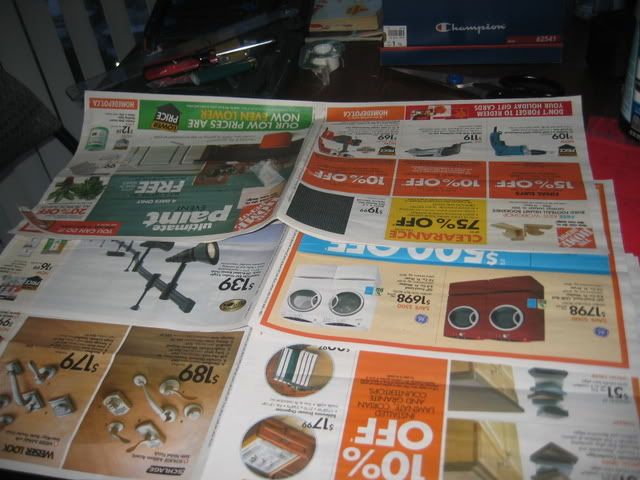
Oh shit dont forget to cover your work area .
Test fit it on the foam.
Take a 'Jackie Chan' Book and flip enough pages to balance the rear of the bezel.

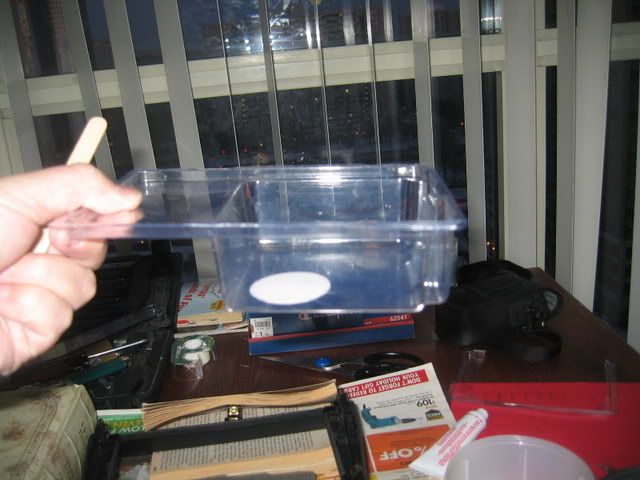
Grab a plastic container (You can use the lid but I needed it to pour in later.
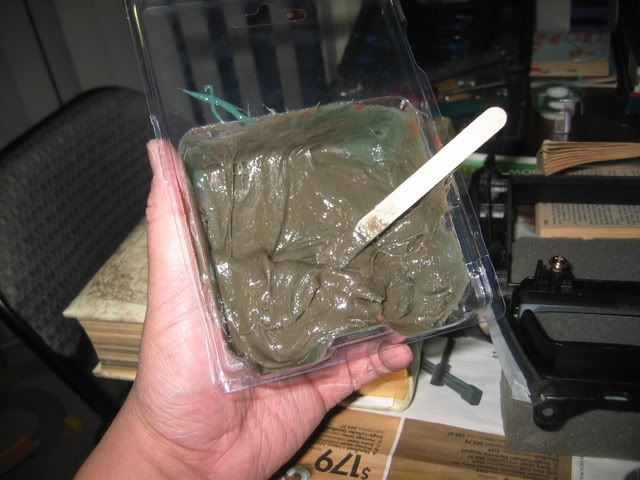
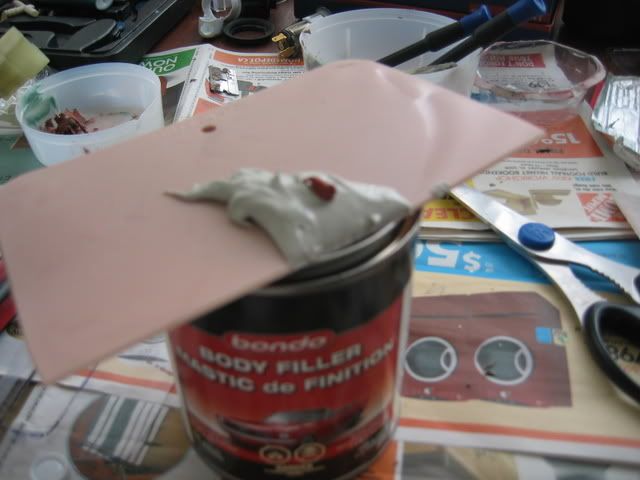
Scoop some glass into the container,
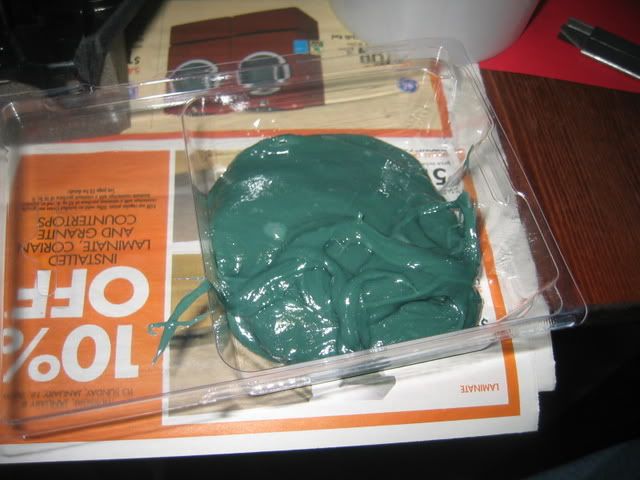
add hardener
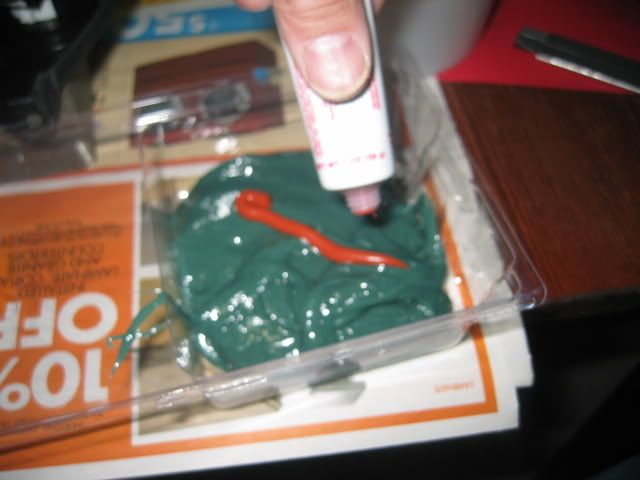
mixed, the more hardener the faster it will harden, I put alot coz it smells so bad and Im inside the house. (wife not home yet)
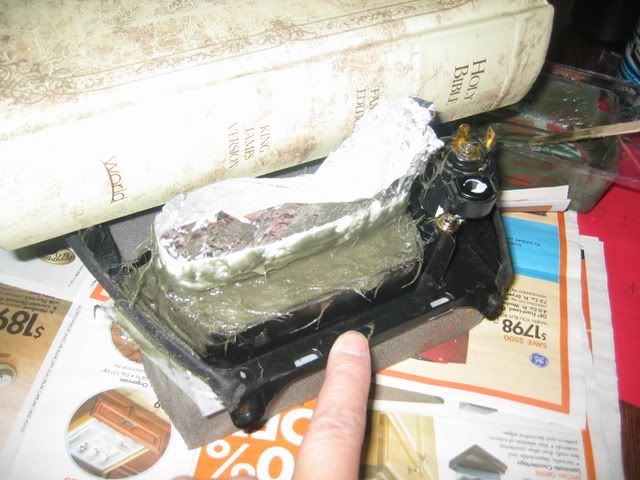
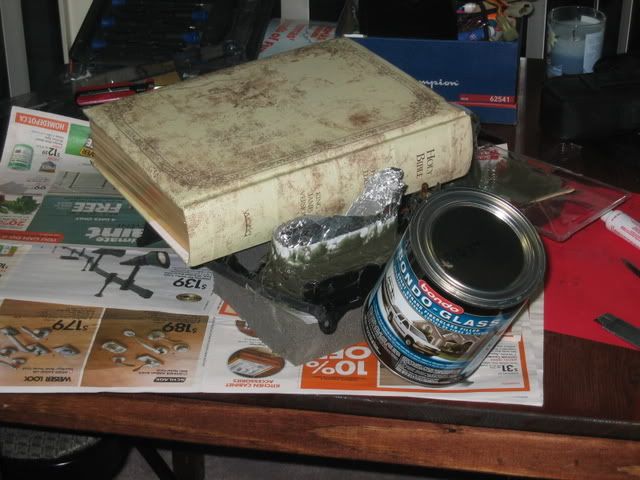
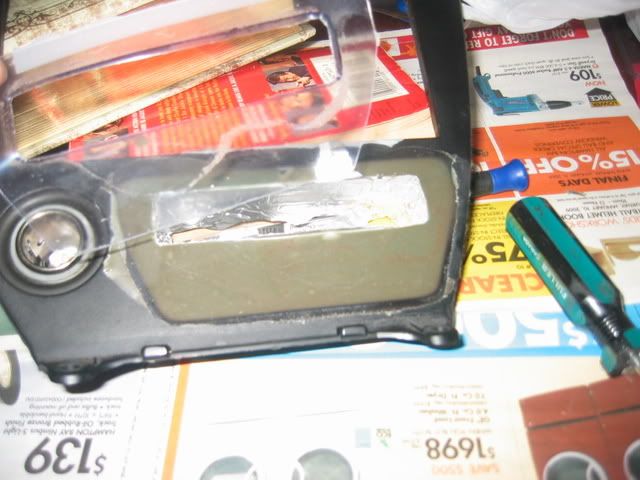
I put the controller wrapped in foil in the mold and then poured in the glass mixture, let it dry for a bit (3 min) then pulled out the controller but left the foil (glass gets hot as it dries and I didnt want the controller to melt), and please no one hack on me for using the Bible to weigh it down, it was the heaviest book in the house.
pour it in and push the stick up and down as you pour to get rid of bubbles, make sure you get it all in the corners.
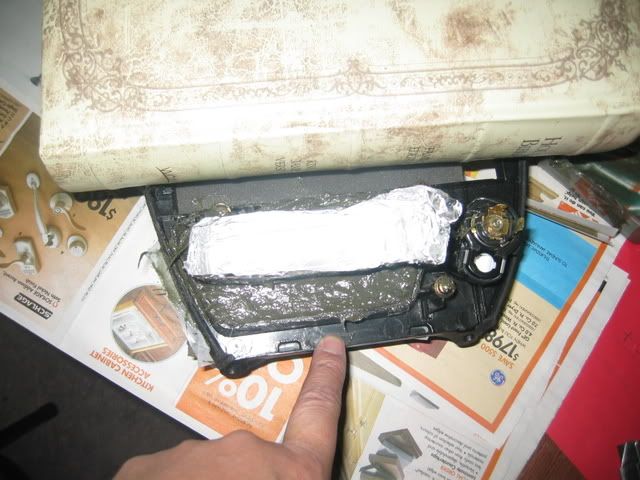
Weigh it all down while it dries (approx 40 mins)
wait....
wait........
wait............
3 spongebob episodes later..
time to test the hardness... solid as a rock but still soft enough to shape a little
Flip it over WOW HOW SMOOTH, the trick of plastic on glass..
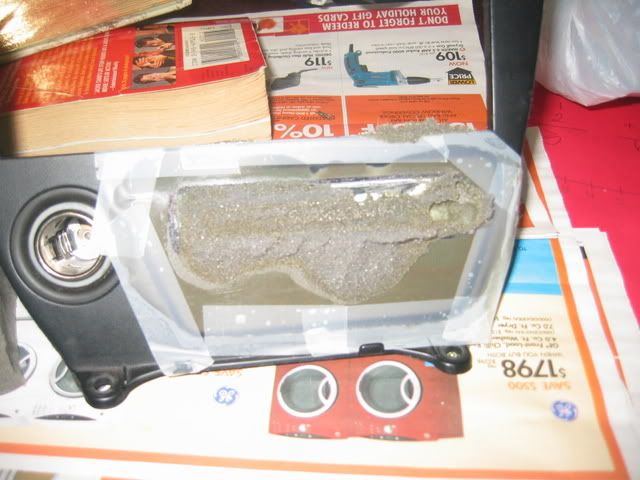
Peel off the plastic and tape
See smooth..
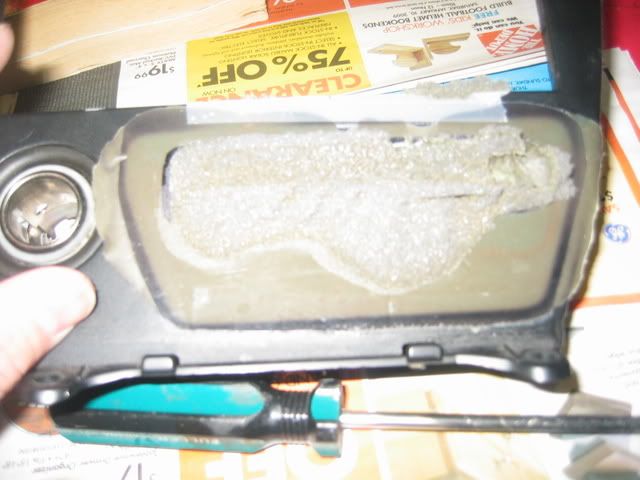
Peel off the foil mold and cut off the excess glass (careful its sharp)
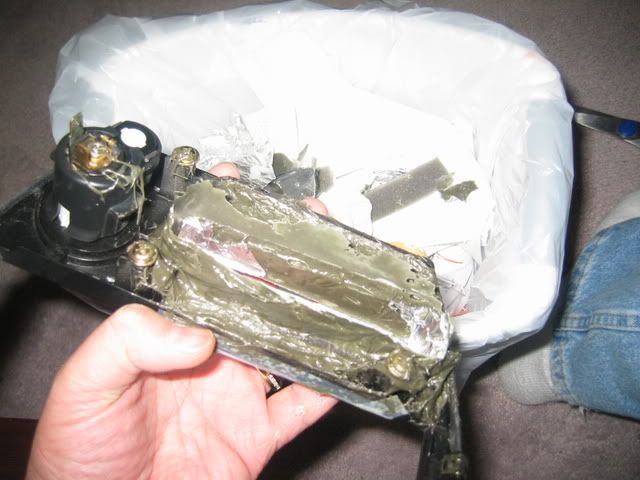
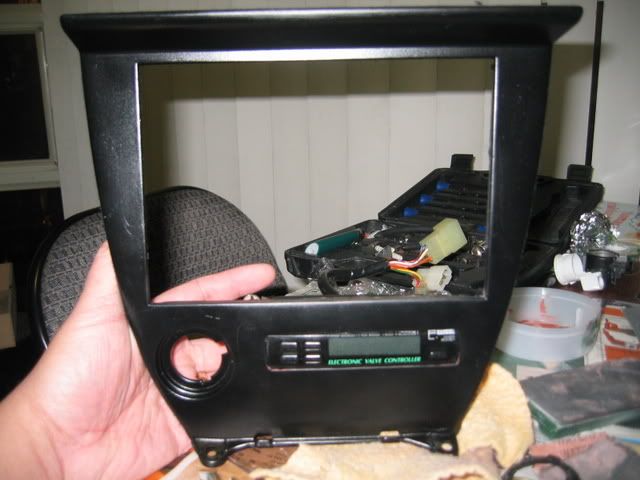
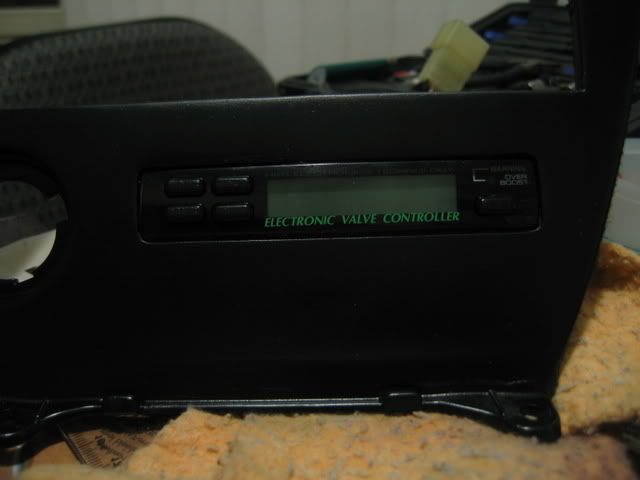
OK test fit the controller - PERFECT FIT, it even clicks in place.
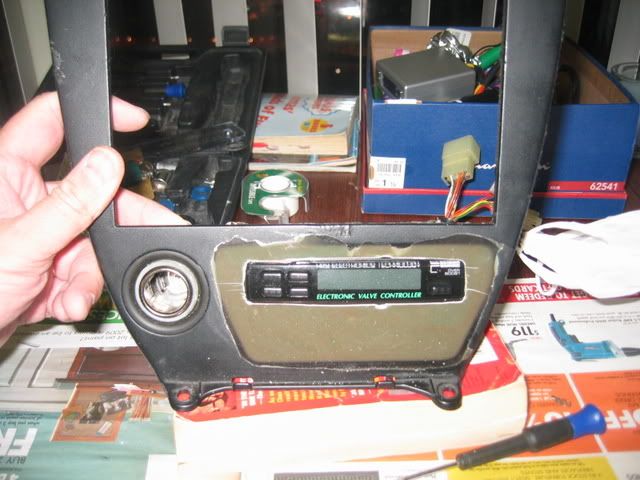

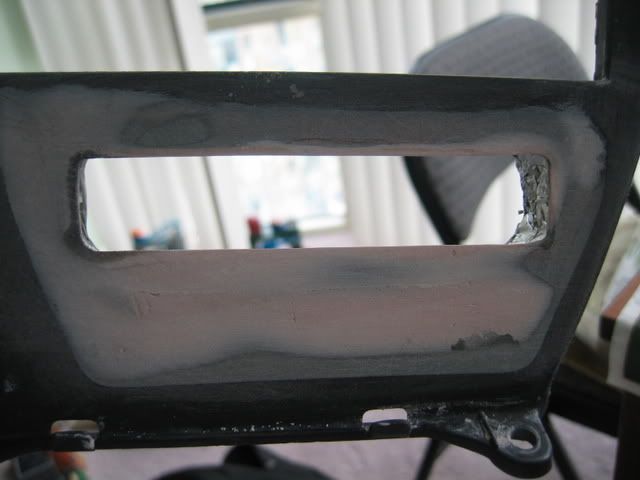
Time to sand it down and make it real smooth. wet sand it under a sing with 800 grit water proof sand paper.
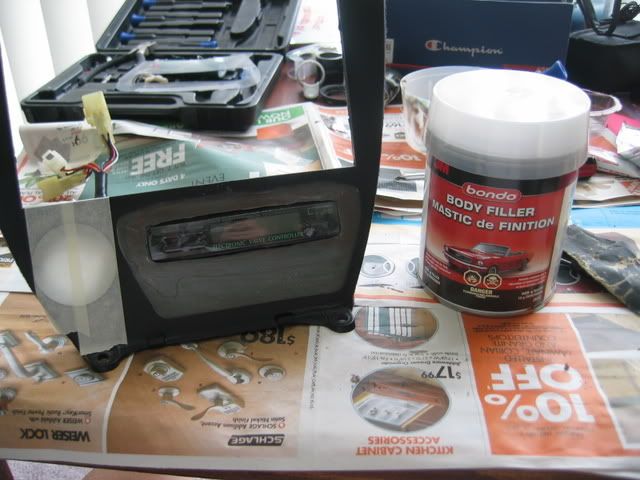
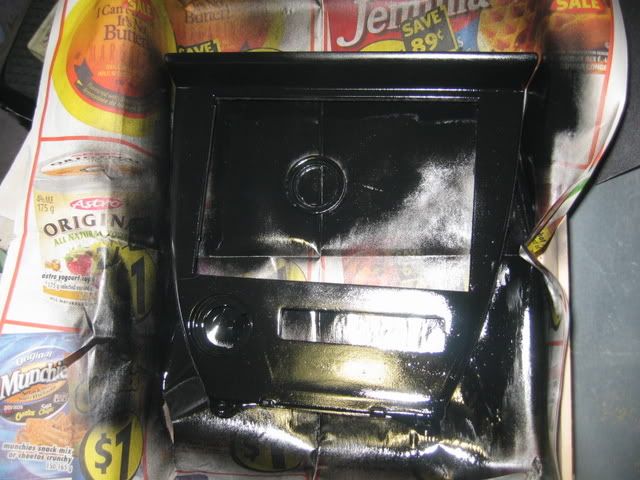
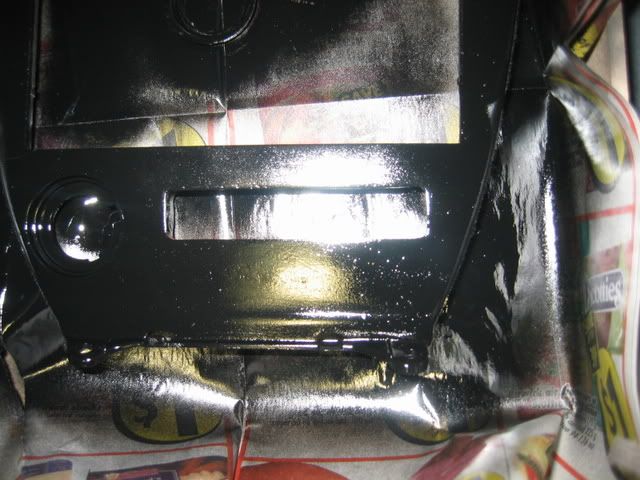
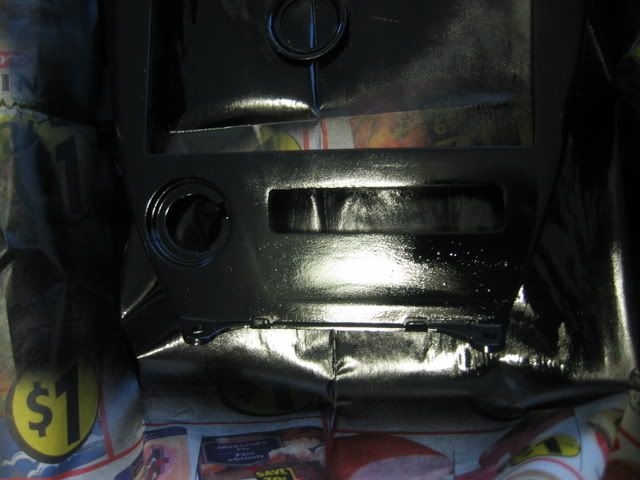
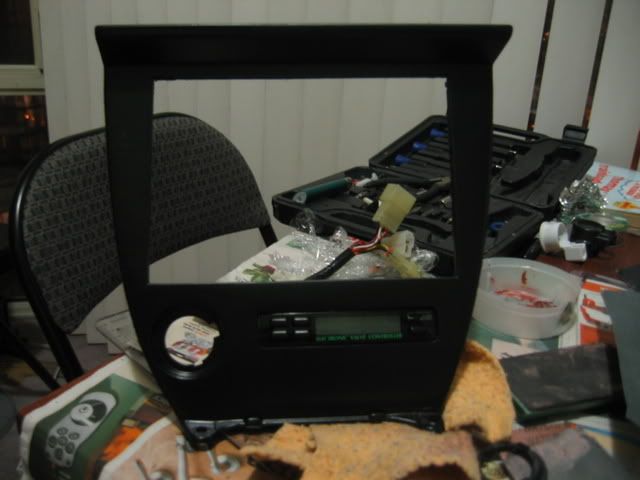
here it is so far.


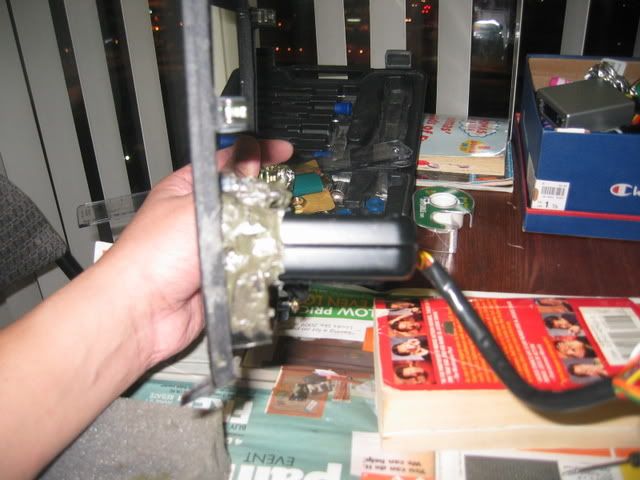
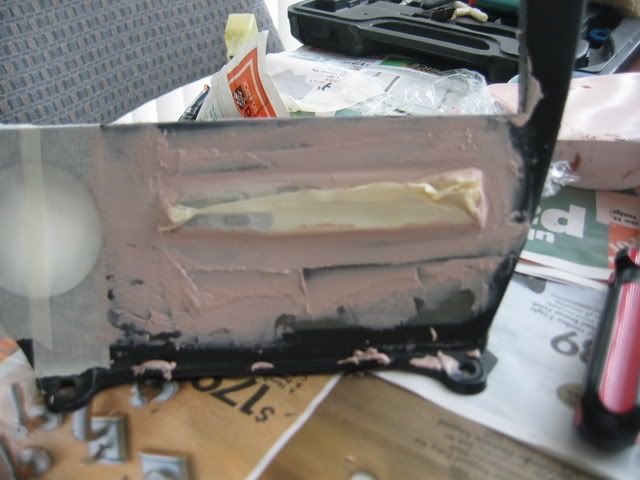
I added another layer around the hole as it looks terrible, Ill sand it again and paint it tomorrow as I dont have paint.
TO BE CONTINUED TOMORROW.
total time to build 2hrs 42mins.
oh no another picture filled project by Fernando!
So I received my HKS Boost Controller and was looking for a place to mount it. I wanted it to look stock or as close to stock as possible. I was thinking of mounting it in the spare radio compartment but then thought what if I get a double din stereo later on.. then the cup holder, I could install my boost controller and my turbo timer there but I don't think I could live without my cup holders.. so there's the ash tray, humm I would have to close it off and make a mount and a hole for the controller but It looked like a good spot.
Its freezing out and I don't have a garage so I had to work with what I had. short strand fiber, first I removed the housing and unscrewed the ashtray mount.
found some plastic from an old box of clips and cut it to cover the hole. User plastic as fiberglass does not stick to plastic and it will be smooth.
Here is my small table and the bezel and the plastic and a pair of scissors a blade, tape (ok so I didnt have masking tape but had a lot of Christmas wrapping tape..so I used that) Newspaper tin foil and a marker.
Cut the plastic to cover the ashtray hole.
Test fit it so it covers the entire hole.
cut a hole out for the controller
Tape it onto the bezel (try and use masking tape.. much better, only plus is that fiberglass does not stick to it at all)
wrap you controller in foil and tape it up, we need to make a perfect mold for the controller so we dont have to make a mount.
get a piece of dense foam and cut out a section for the controller , we will use this to press down on the mold.
Pop open your glass.
Oh shit dont forget to cover your work area .
Test fit it on the foam.
Take a 'Jackie Chan' Book and flip enough pages to balance the rear of the bezel.
Grab a plastic container (You can use the lid but I needed it to pour in later.
Scoop some glass into the container,
add hardener
mixed, the more hardener the faster it will harden, I put alot coz it smells so bad and Im inside the house. (wife not home yet)
I put the controller wrapped in foil in the mold and then poured in the glass mixture, let it dry for a bit (3 min) then pulled out the controller but left the foil (glass gets hot as it dries and I didnt want the controller to melt), and please no one hack on me for using the Bible to weigh it down, it was the heaviest book in the house.
pour it in and push the stick up and down as you pour to get rid of bubbles, make sure you get it all in the corners.
Weigh it all down while it dries (approx 40 mins)
wait....
wait........
wait............
3 spongebob episodes later..
time to test the hardness... solid as a rock but still soft enough to shape a little
Flip it over WOW HOW SMOOTH, the trick of plastic on glass..
Peel off the plastic and tape
See smooth..
Peel off the foil mold and cut off the excess glass (careful its sharp)
OK test fit the controller - PERFECT FIT, it even clicks in place.
Time to sand it down and make it real smooth. wet sand it under a sing with 800 grit water proof sand paper.
here it is so far.
I added another layer around the hole as it looks terrible, Ill sand it again and paint it tomorrow as I dont have paint.
TO BE CONTINUED TOMORROW.
total time to build 2hrs 42mins.


")