Hotrodhendrix
New member
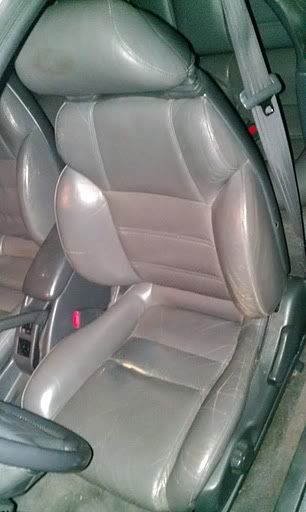
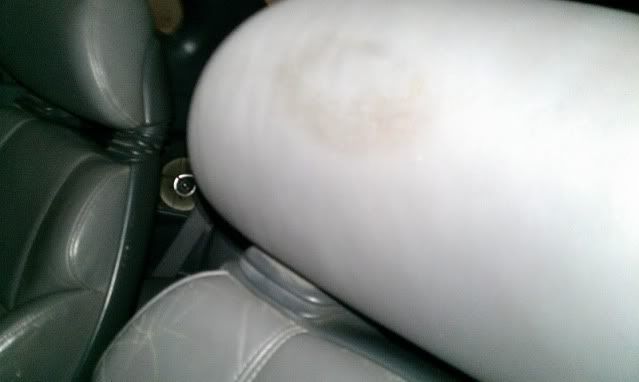
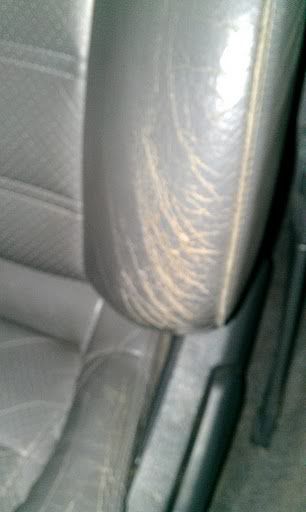
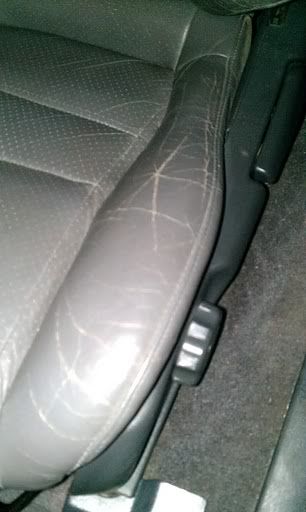
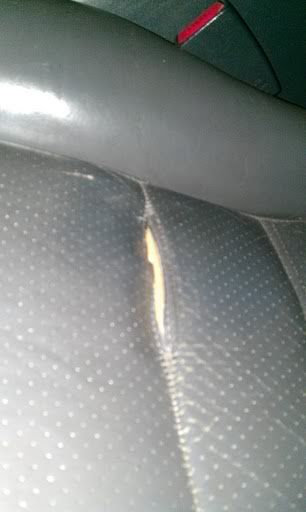
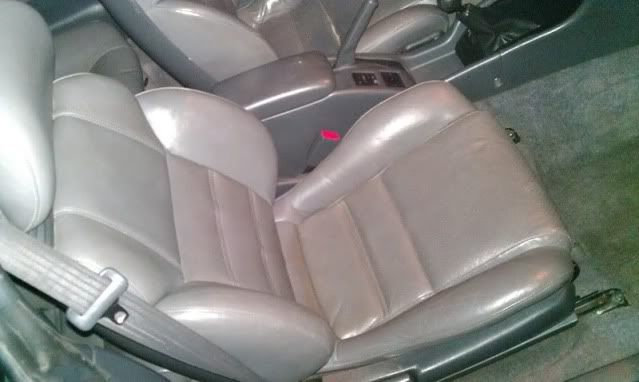
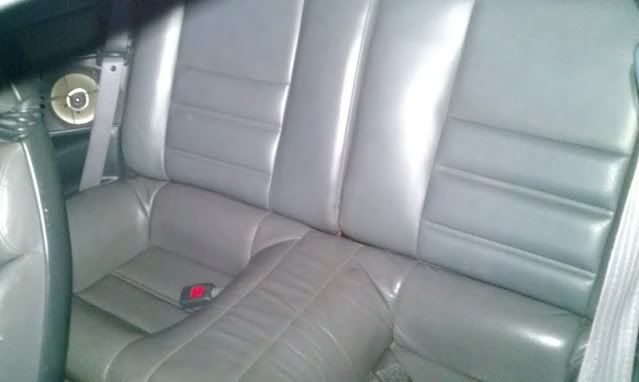
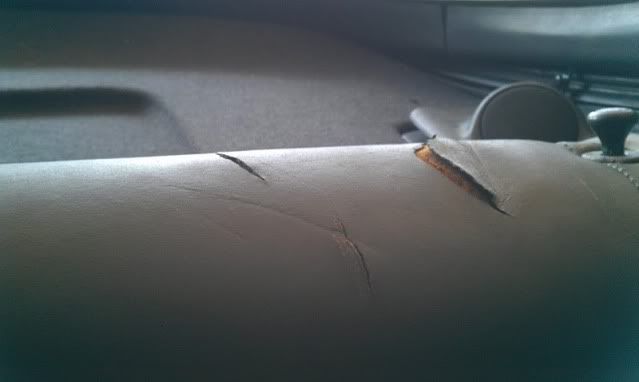
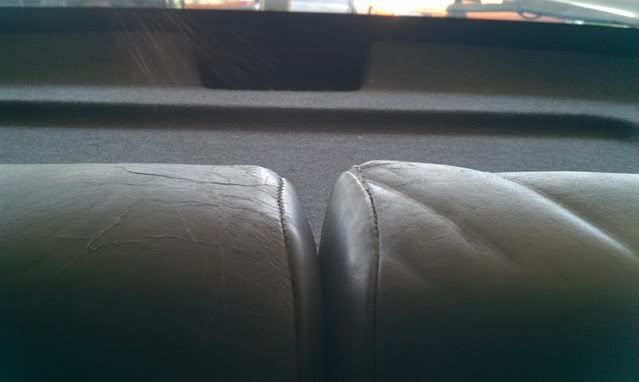
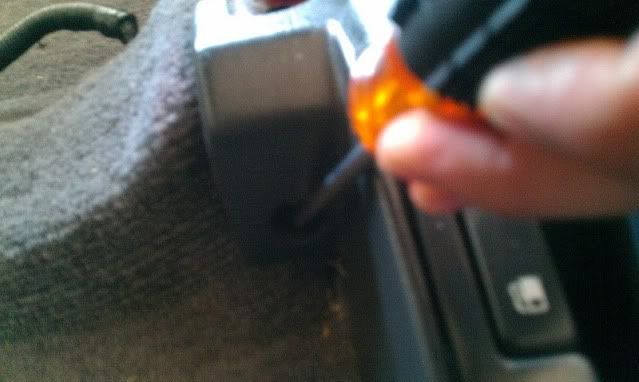
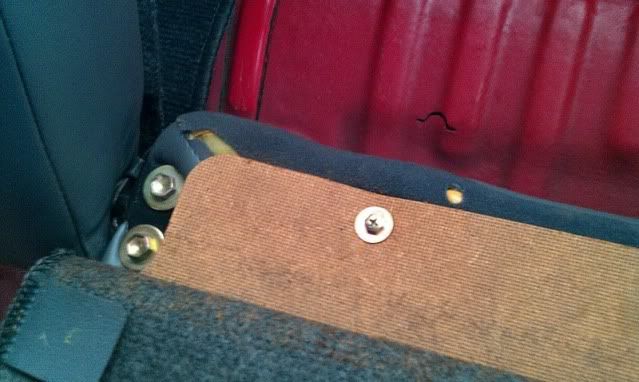
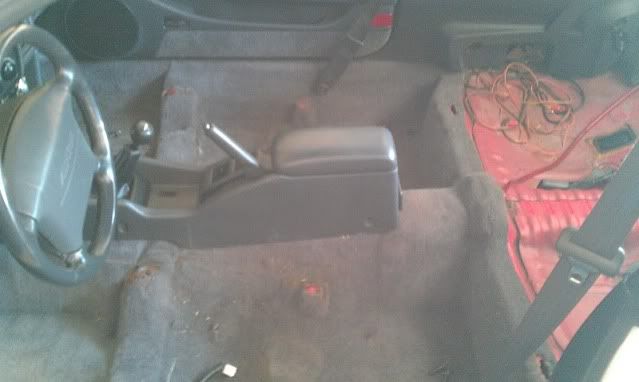
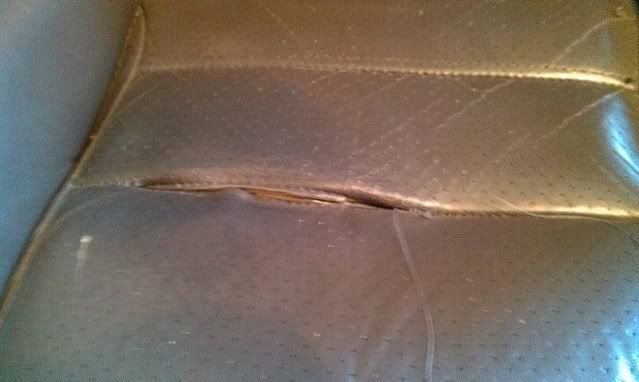
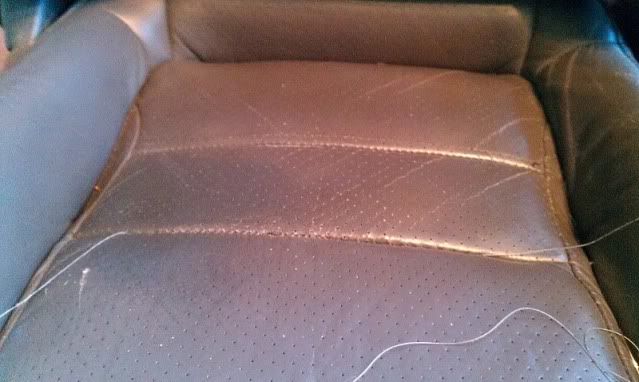
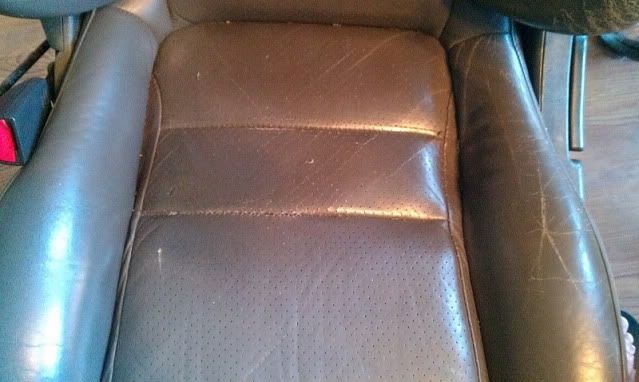
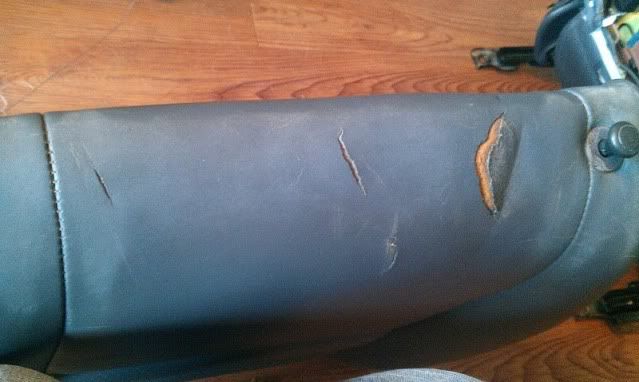
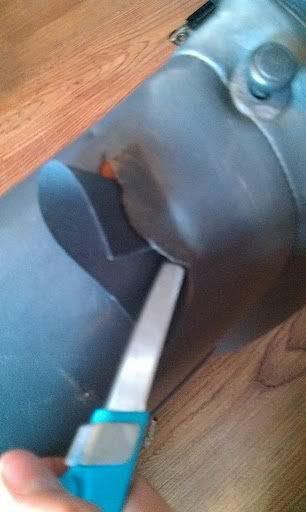
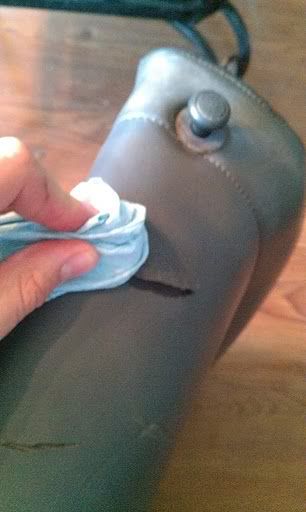
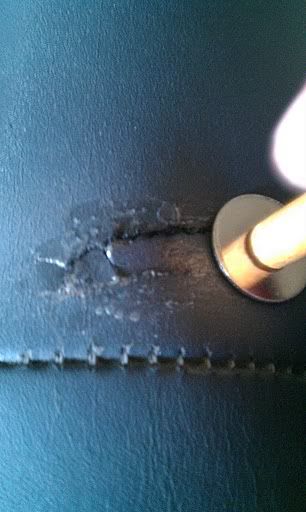
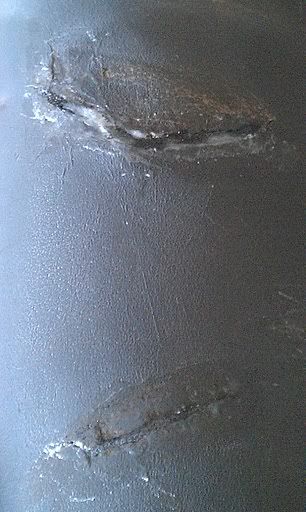
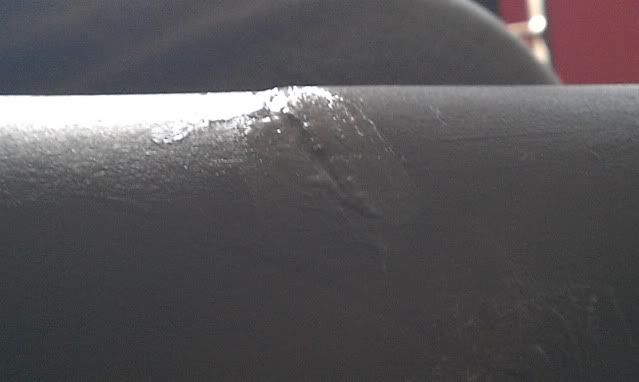
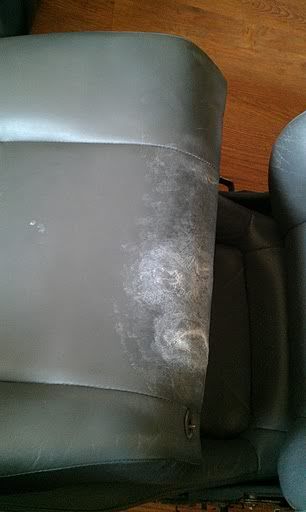
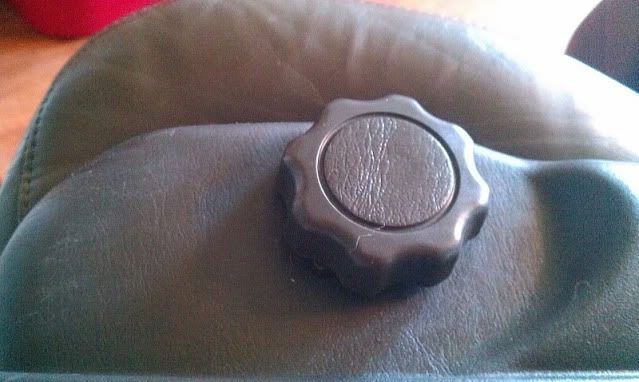
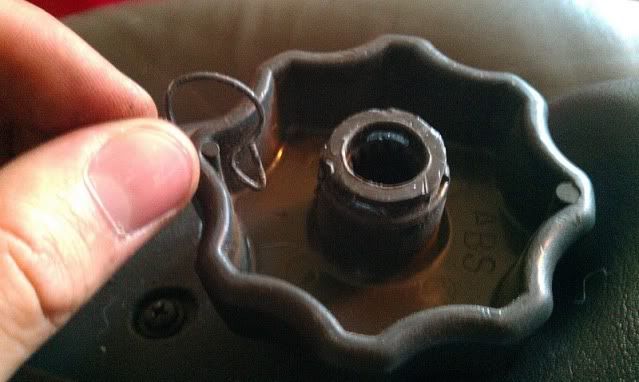
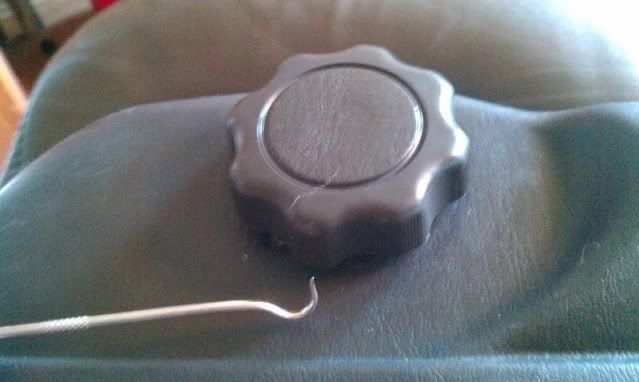
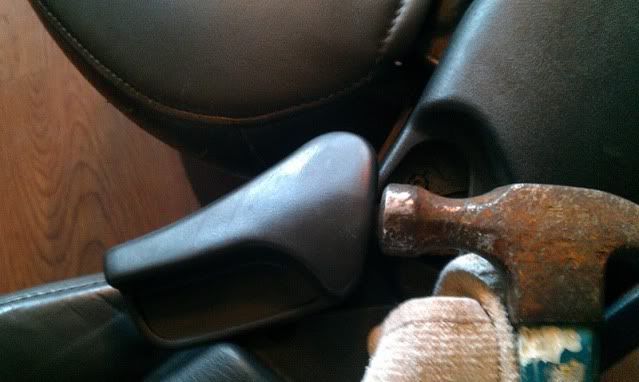
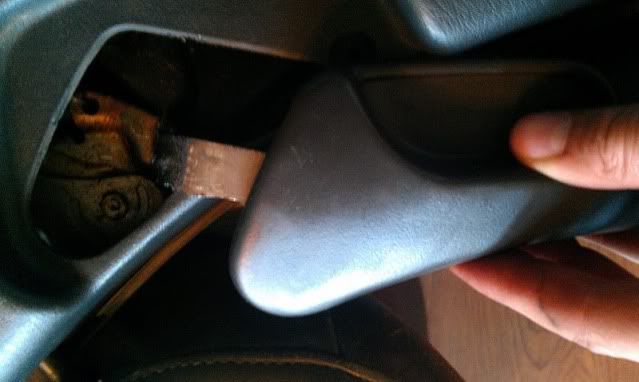
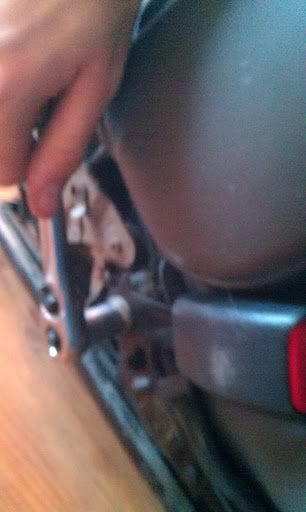
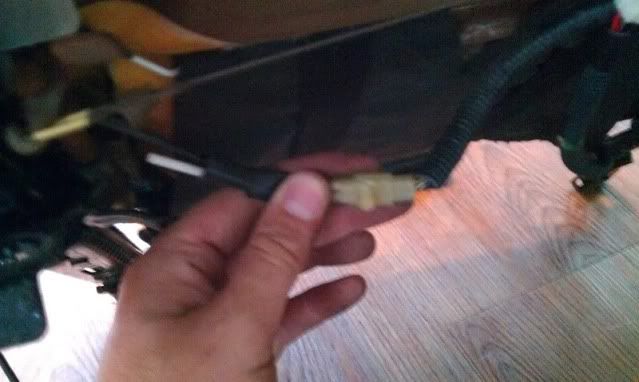
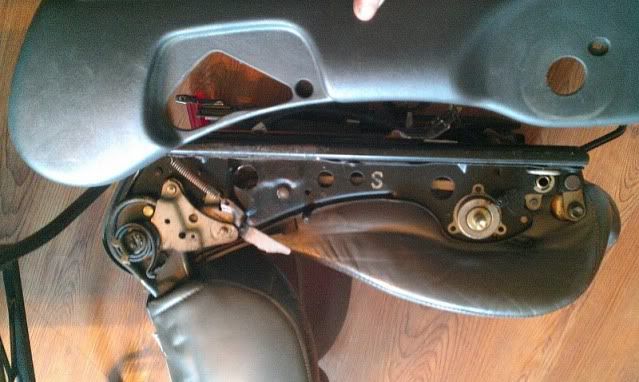
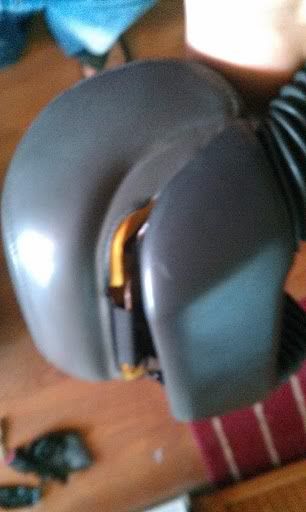
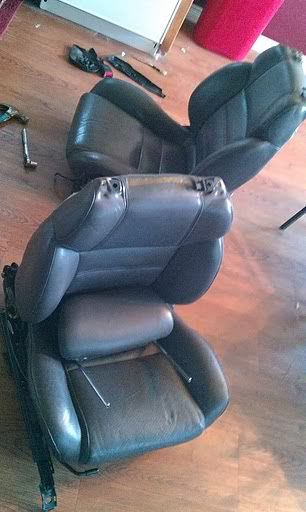
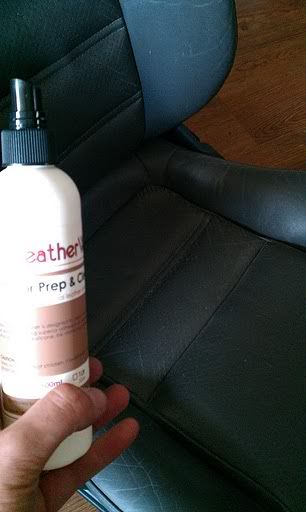
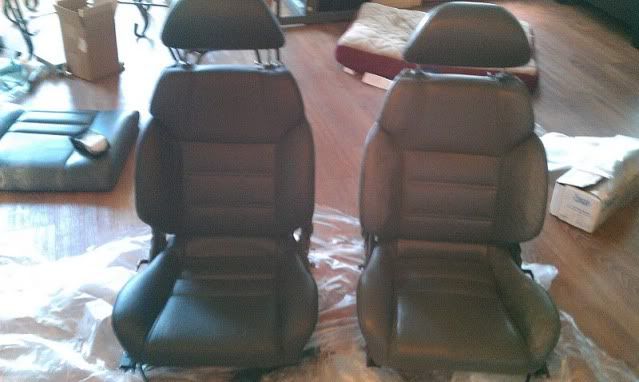
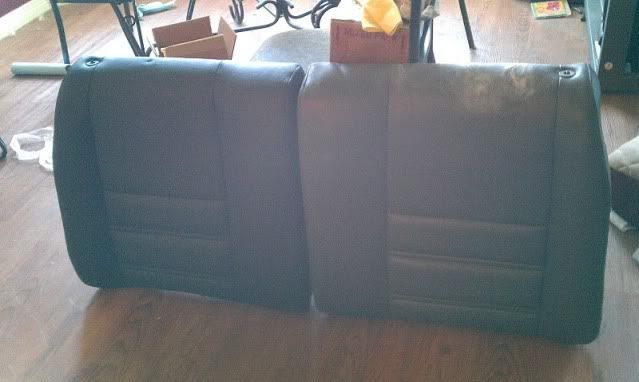
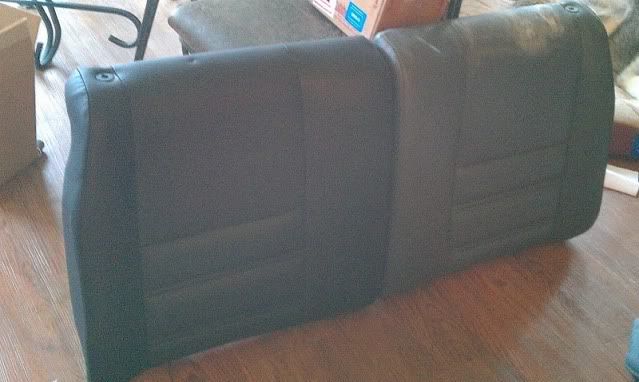
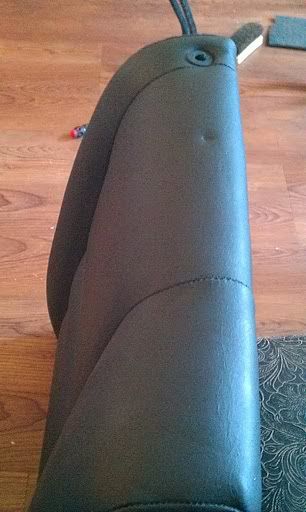
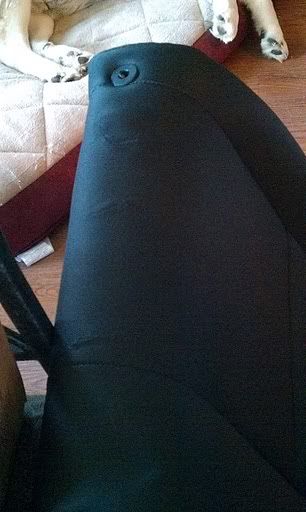
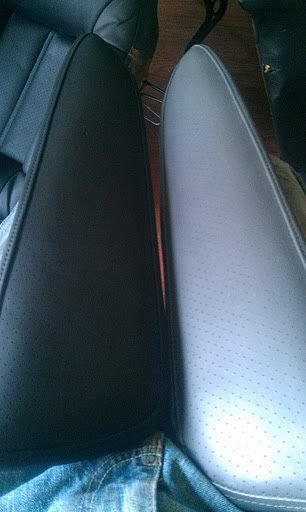
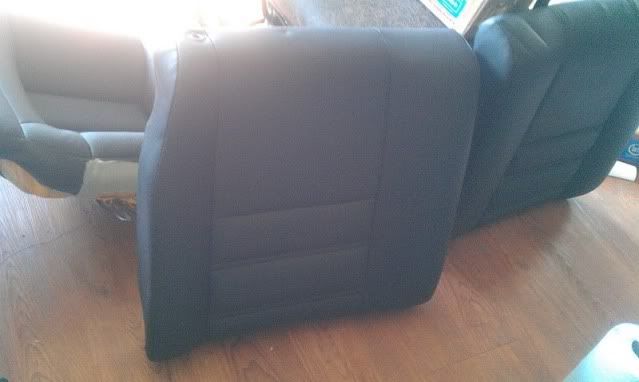
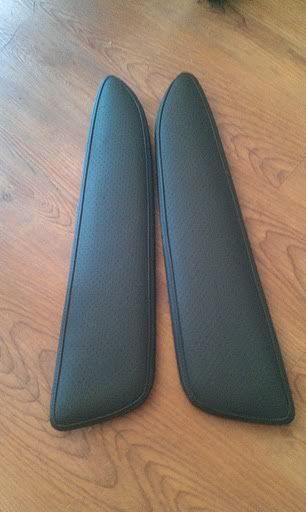
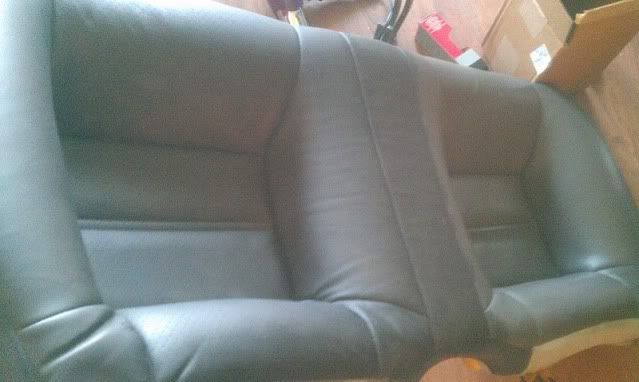
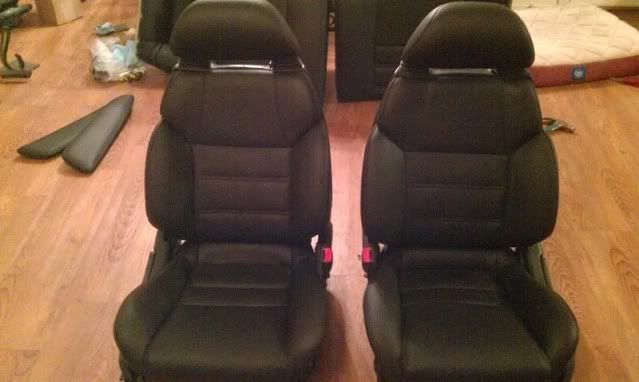
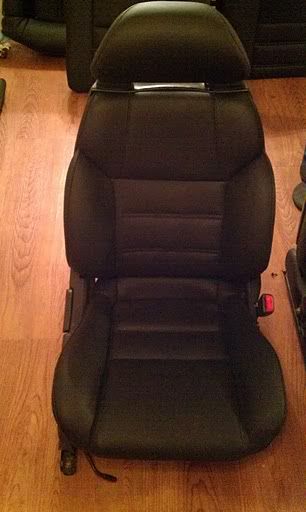
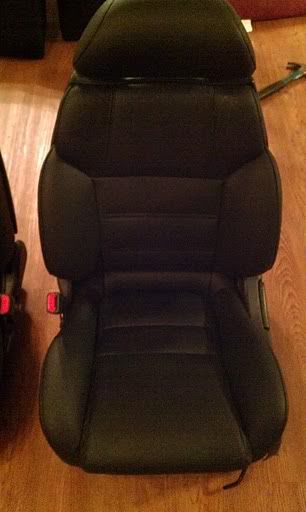
I decided to give this a try after many hours of research on the matter. My budget build didn't include $500 to $1000+ for new leather so here is my fix for the problem at hand. Total price came to just under $120 shipped for everything.
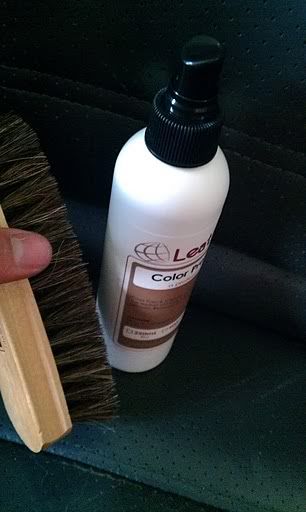
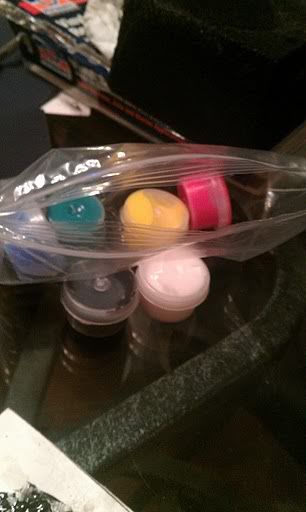
This supplies came from http://www.leatherworldtech.com/
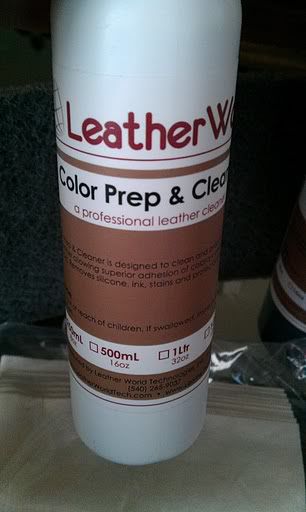
Color prep spray (Leatherworld)
Black dye (Leatherworld)
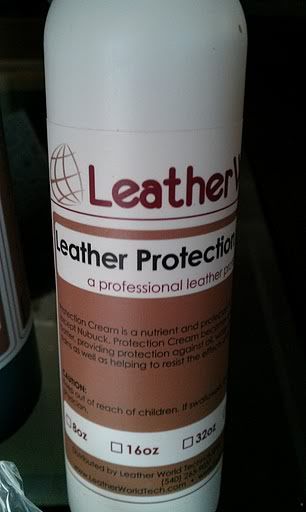
Leather protect (Leatherworld)
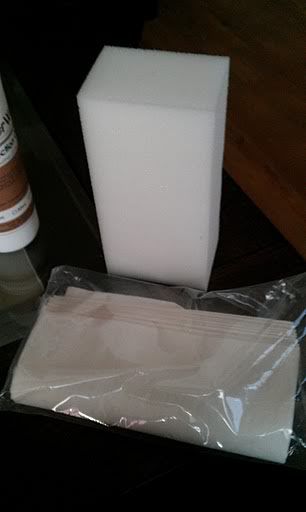
Sponge (Leatherworld)
Lint free rags (Leatherworld)
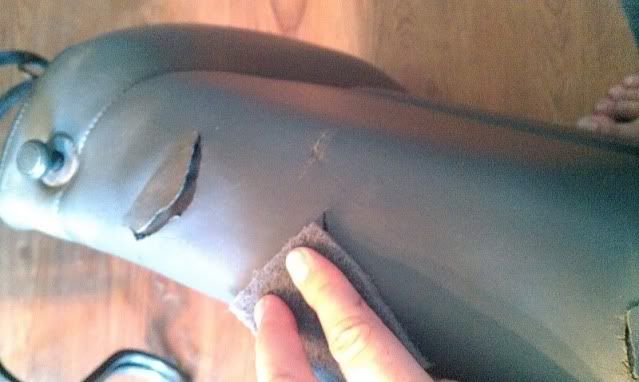
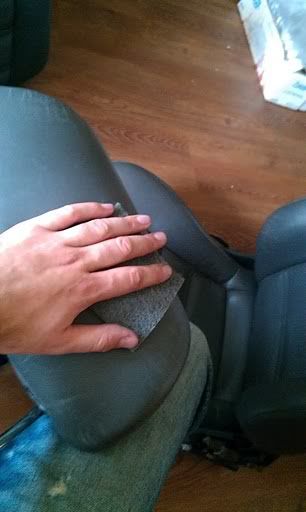
Scuff pad (Leatherworld)
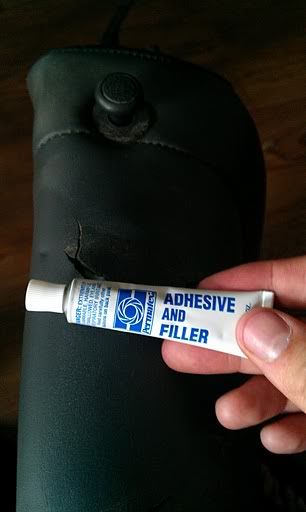
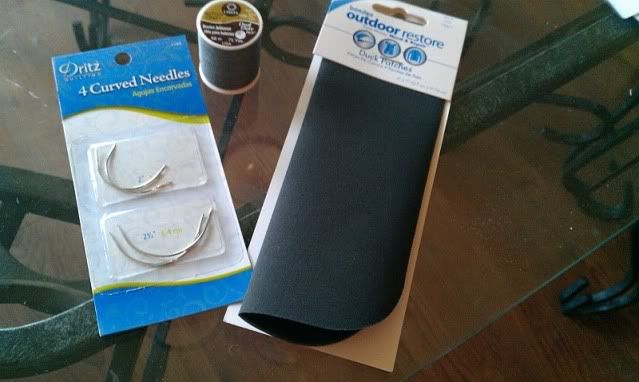
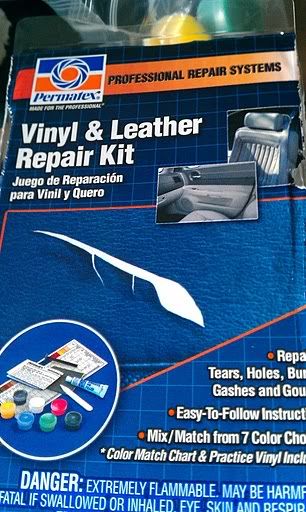
Permatex Leather repair kit (Oreillys)
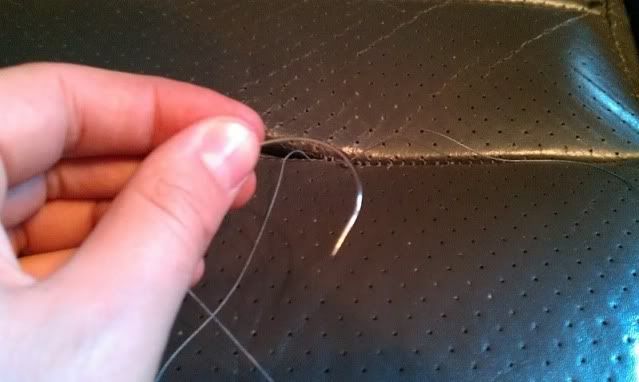
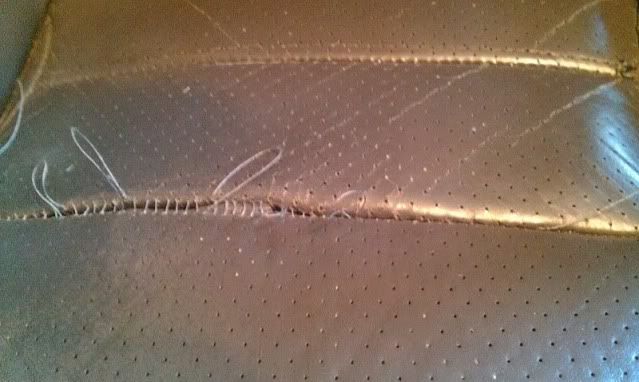
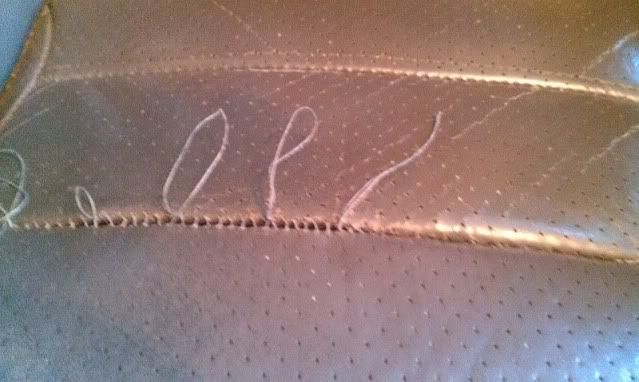
Pre bent needles (walmart)
Heavy duty string (walmart)
Leather brush (walmart)
Hairdryer
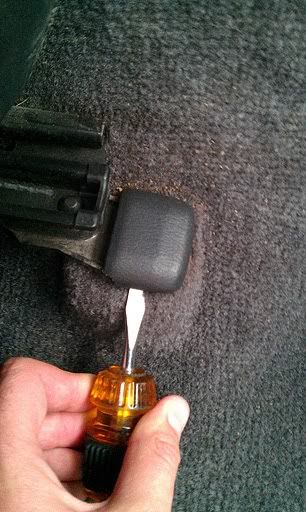
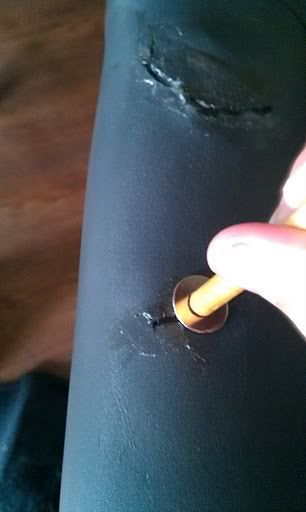
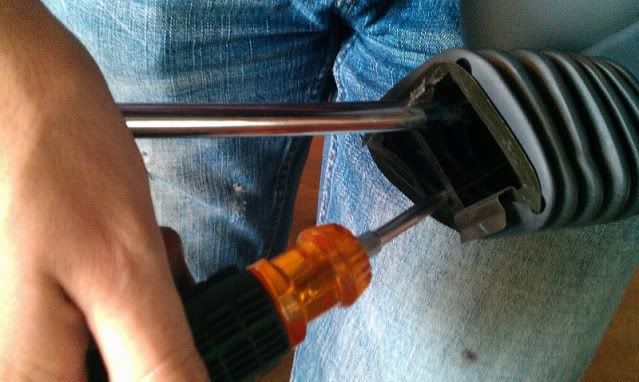
Screw drivers
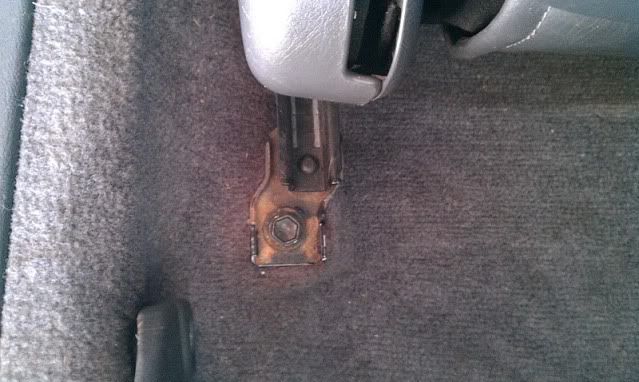
14mm and 12mm sockets
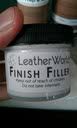


This supplies came from http://www.leatherworldtech.com/
Color prep spray (Leatherworld)
Black dye (Leatherworld)
Leather protect (Leatherworld)
Sponge (Leatherworld)
Lint free rags (Leatherworld)
Scuff pad (Leatherworld)
Permatex Leather repair kit (Oreillys)
Pre bent needles (walmart)
Heavy duty string (walmart)
Leather brush (walmart)
Hairdryer
Screw drivers
14mm and 12mm sockets