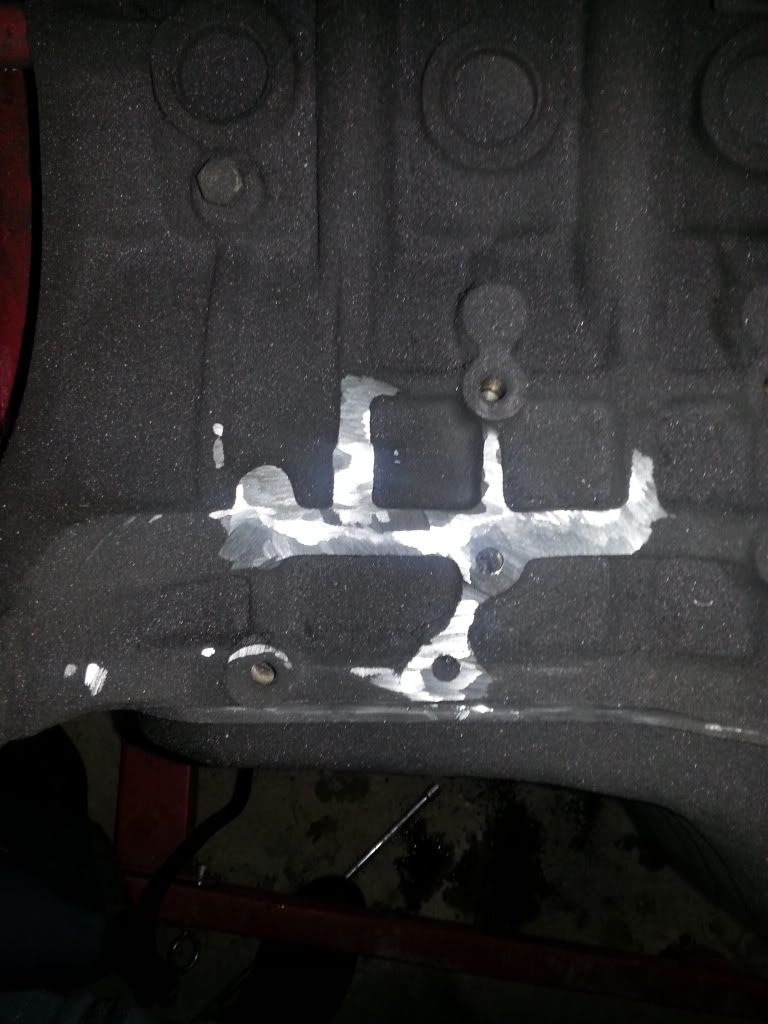
Sorry about the block being dirty. I was wired on caffeine and did this all at about 11PM.
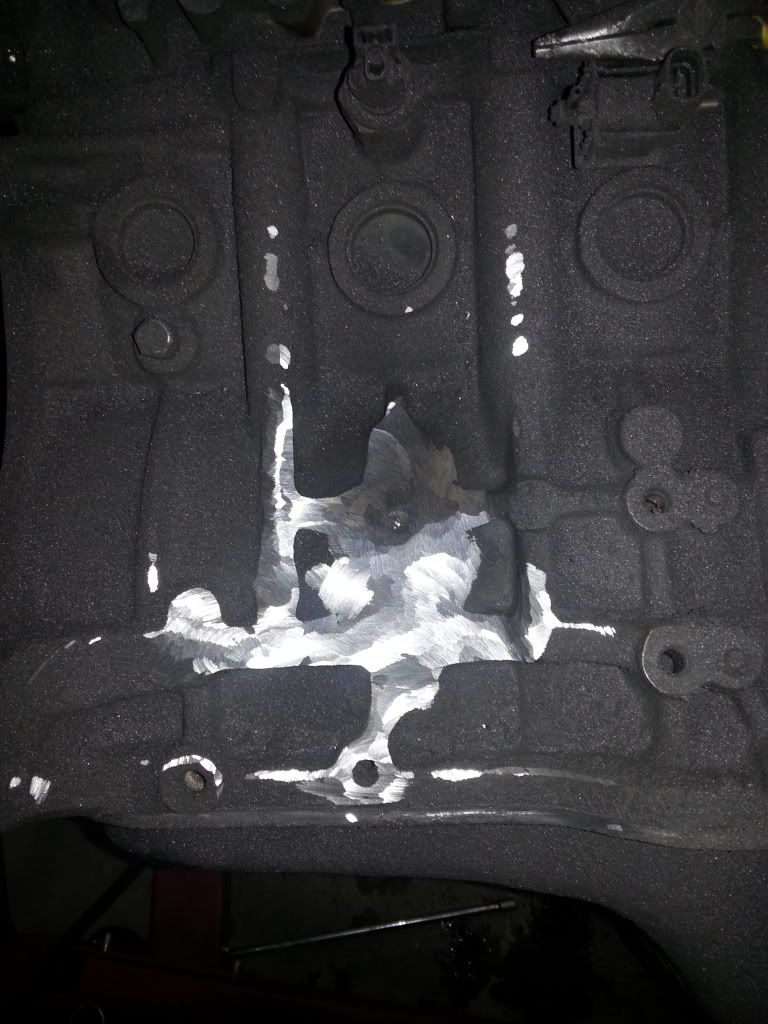
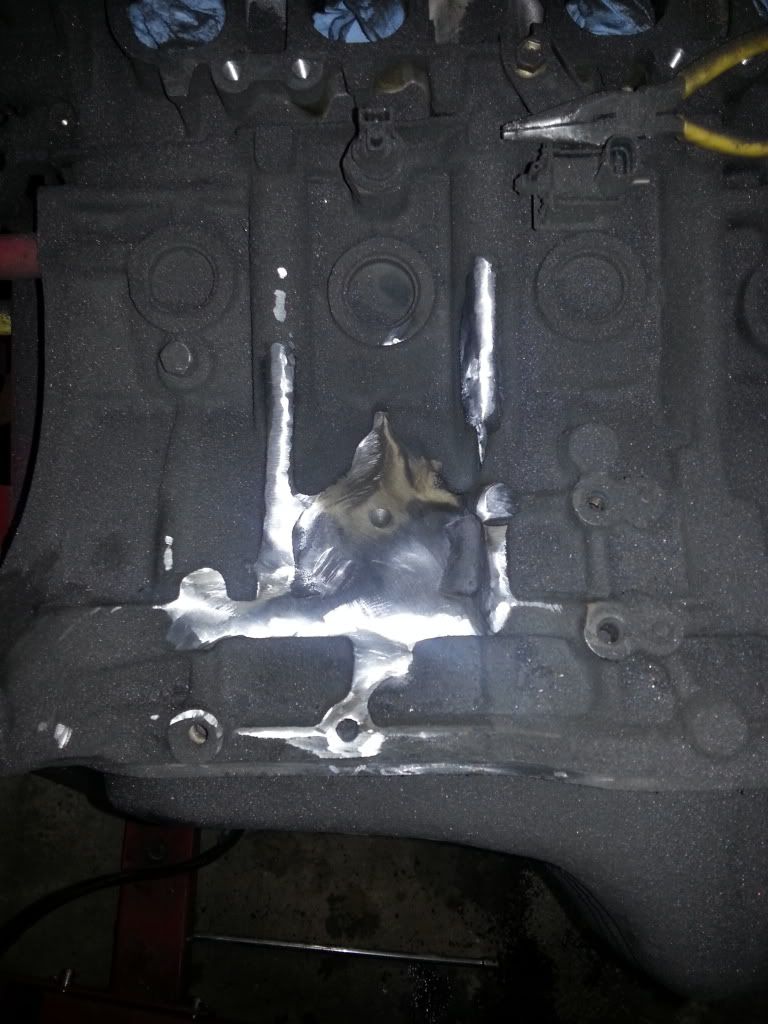
Start:
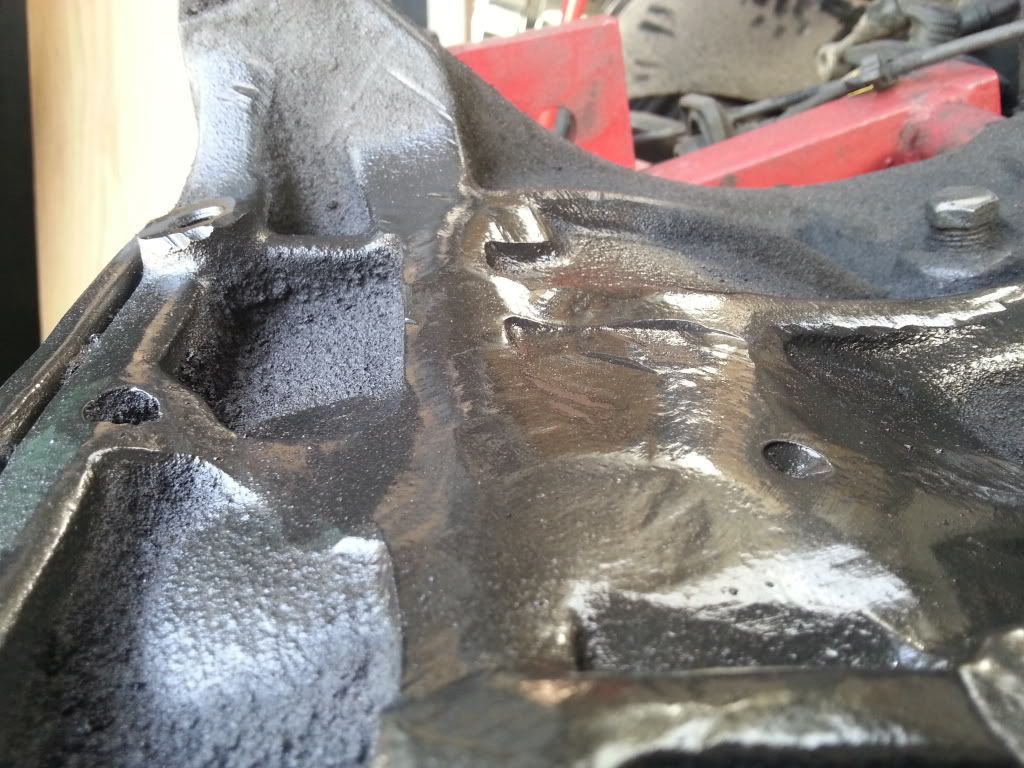
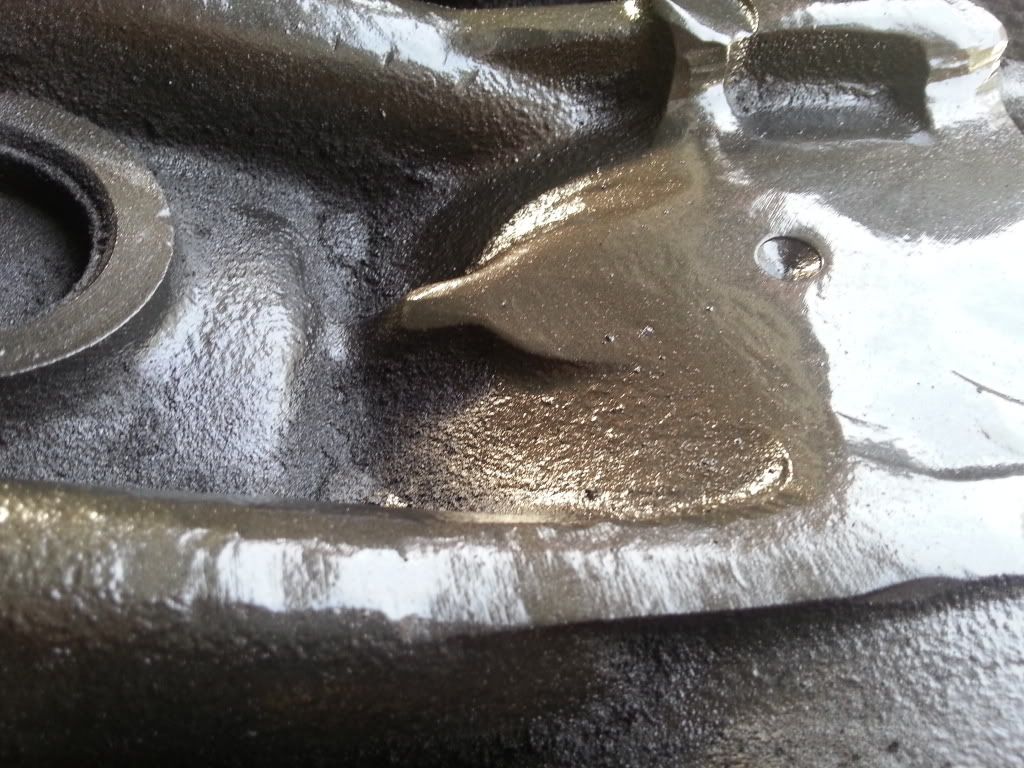
Finished and painted...
Front to back
Closeup of front
Closeup of back (sorry it's blurry)
Better angle of front to back
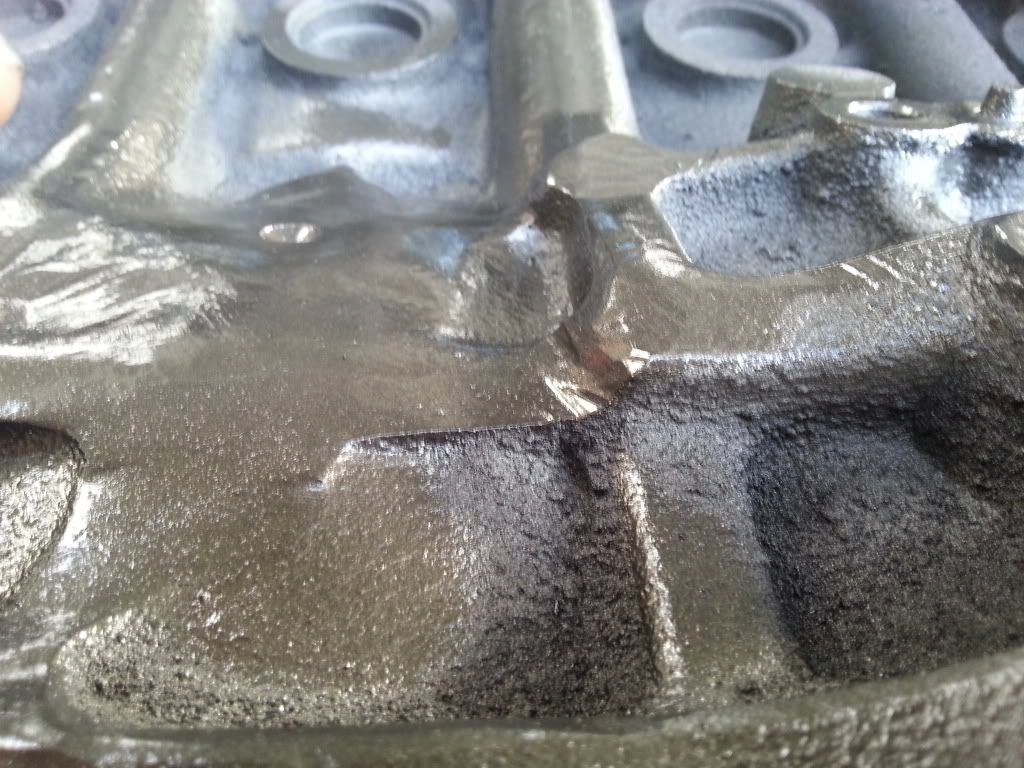
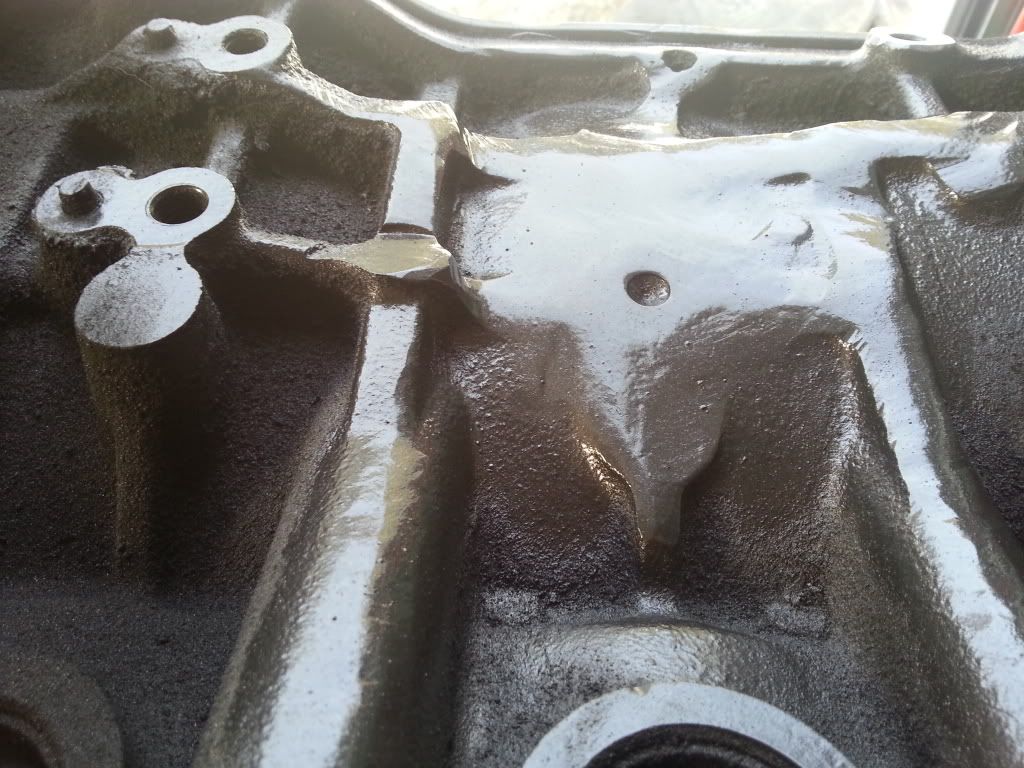
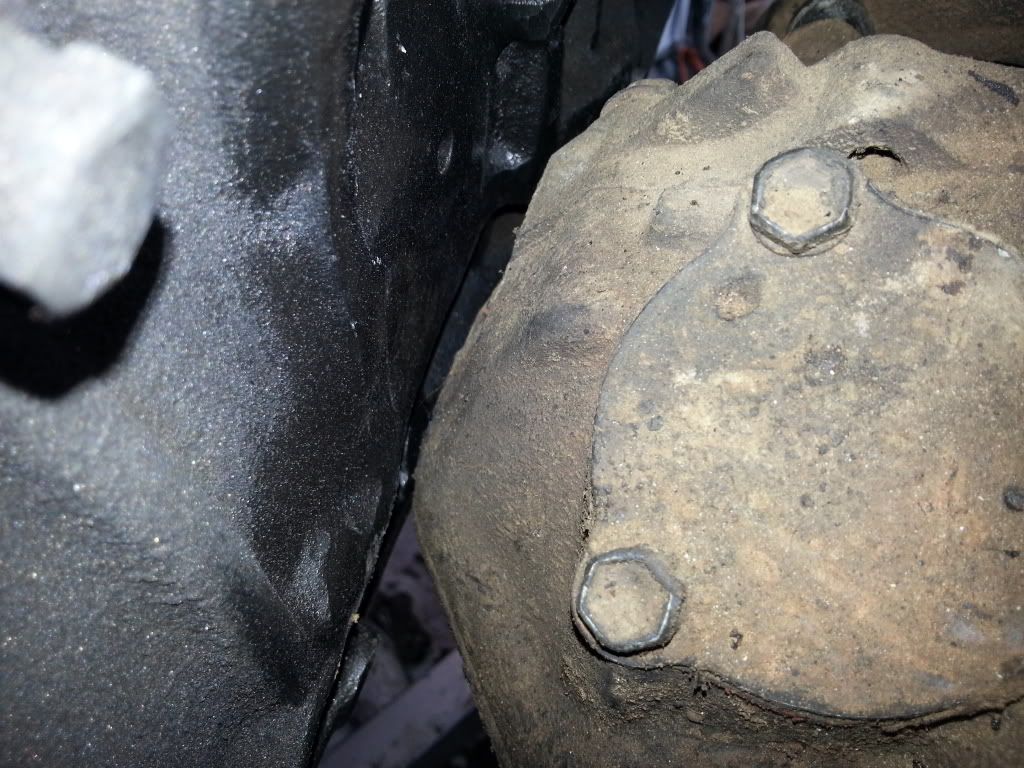
Little nub at the top, or what's left of it
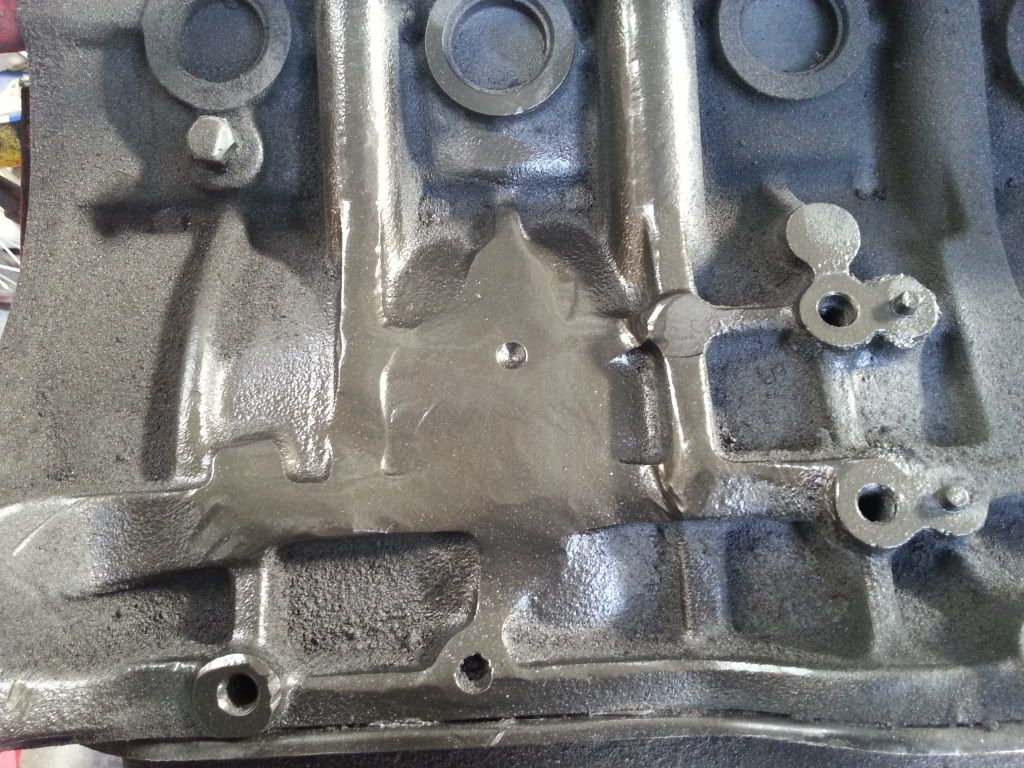
Top towards bottom, to give a decent profile view of the new ribbing layout
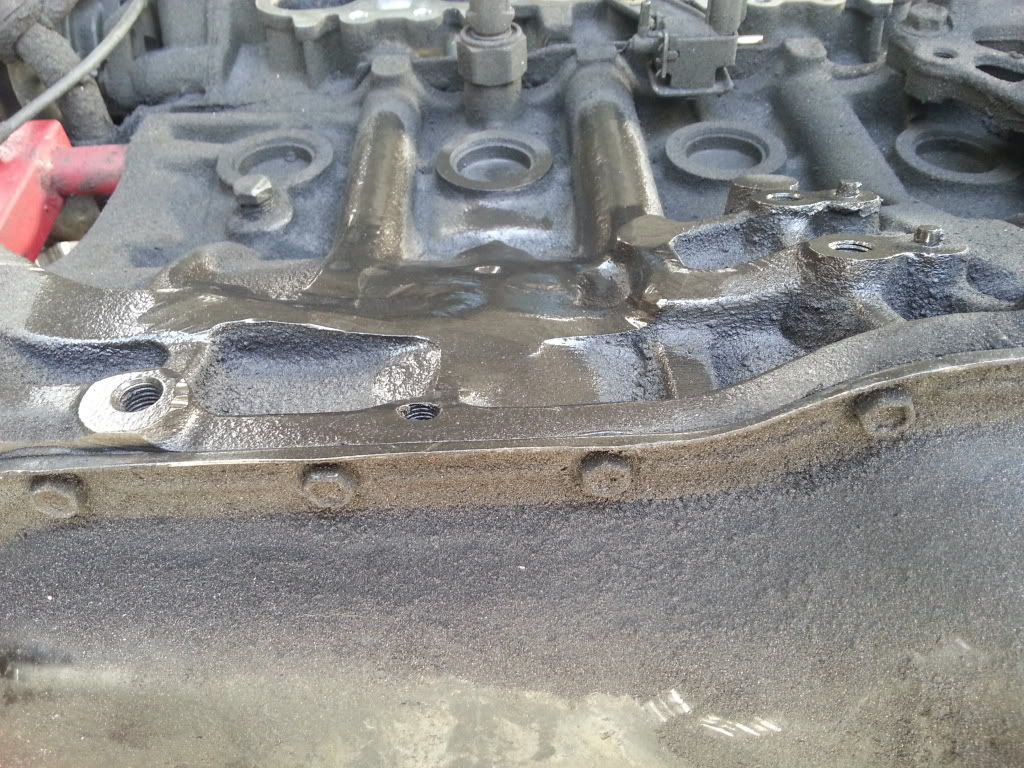
Back towards front to give a good shot of the front ribbing
Bottom to the top for additional reference
Straight on view
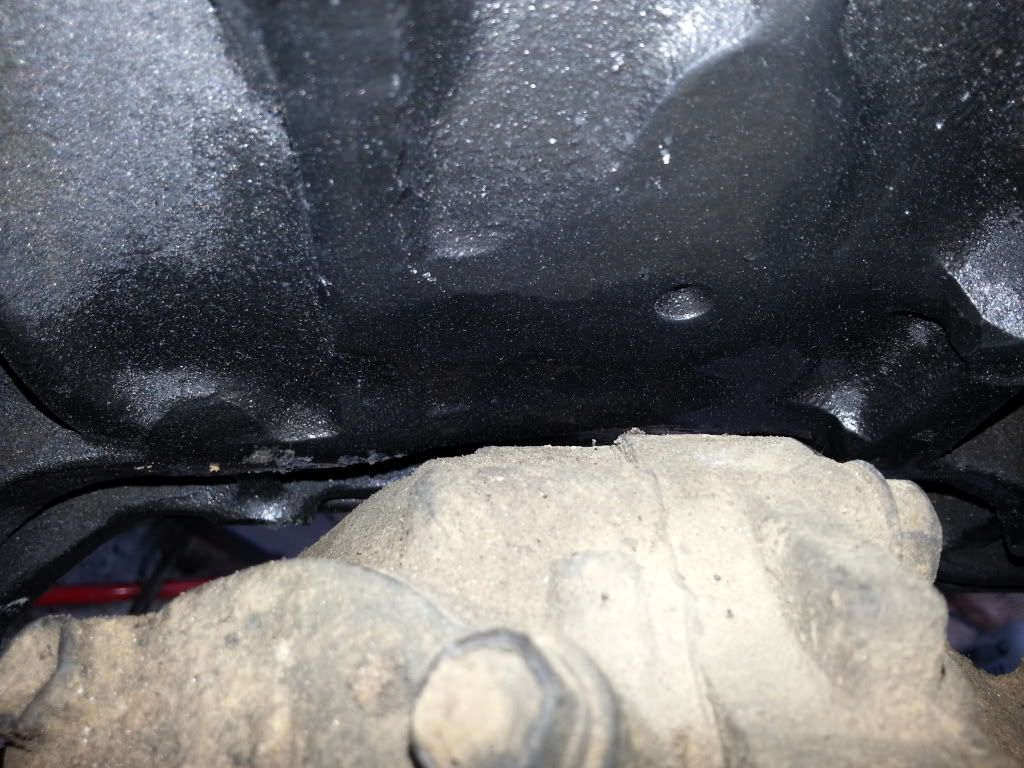
The reason that top nub needs so much grinding is so the transfer case will clear while doing the rotate-push install of the transmission assembly... It isn't in the way of the transfer case when it's installed.
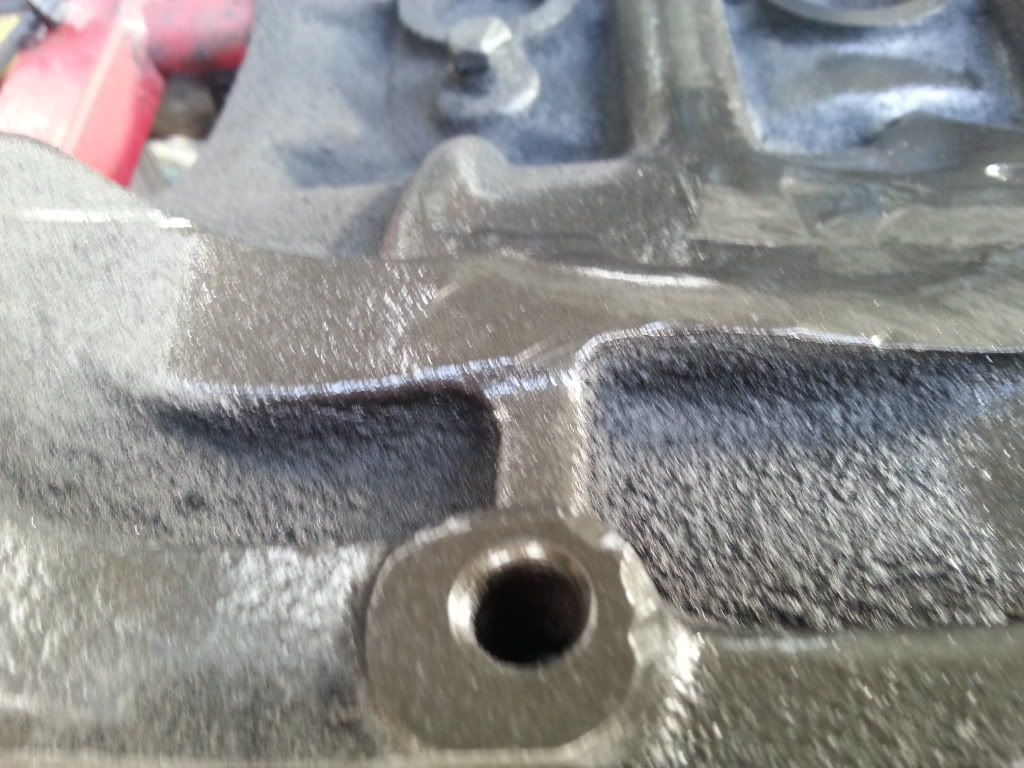
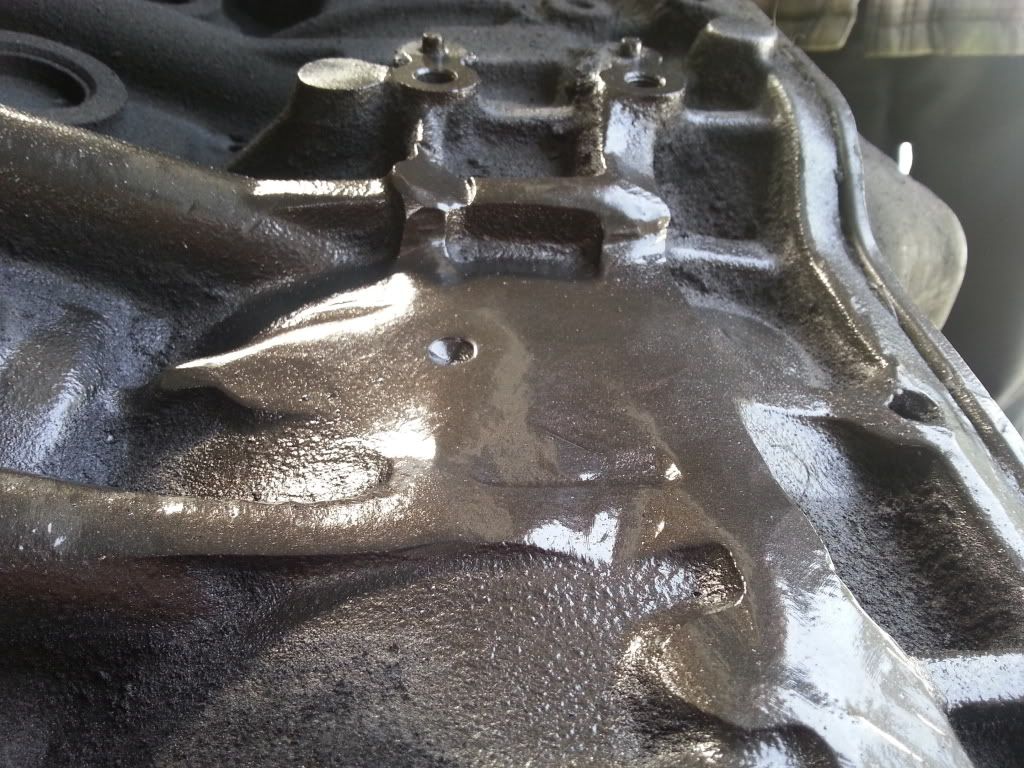
There isn't a great deal of clearance, but it fits quite nicely. The stock upper brace can not be reused (the block simply does not have the mounting points) but the brace that extends from the transfer case to the front of the block will bolt right in. There are bosses and tapped holes already on the block.
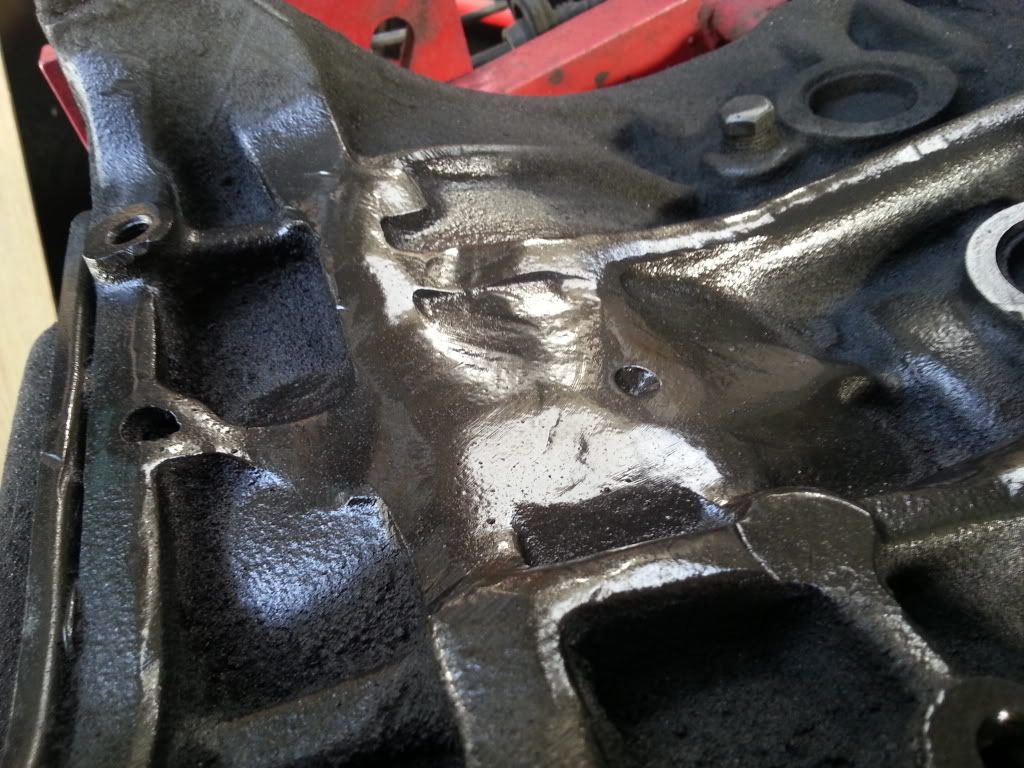
I hope this helps someone else! I was eventually able to find two so-so pictures on TN, and I mentally drew up a set of prints for the engine with those pictures factored in and was able to figure out where to grind... I hope these will give someone a nice idea of what is required. It took an hour and a half or so of grinding, but I was taking my time to be sure I didn't remove too much.
I wouldn't worry about compromising the strength any- there is still more "meat" in those areas than in a stock, unmodified 3S block.
")