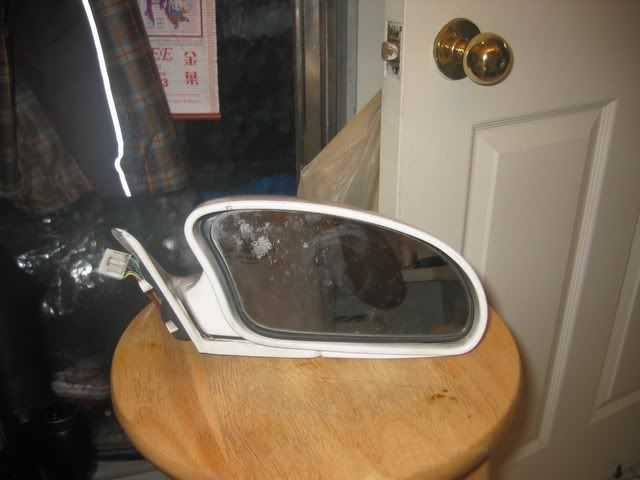
This is a quick write up on how to correct the viewing angle of those right hand drive JDM mirrors from Europe and Japan. Those of you who have them will notice that you can't really get the correct angle due to them being designed for the right seat and the glass on the passengers side is not convex so you really cant see much out of it. Well heres a quick fix for you to correct the angle of the motor and replace the passenger mirror to a convex one so you can change lanes with confidence.
What you will need:
Heat Gun
Suction cup (that fits on the glass)
screwdriver (flat head and Phillips)
Convex Mirror (heated or not) from ebay (link below)
http://cgi.ebay.ca/ws/eBayISAPI.dll?ViewItem&item=370321308025&ssPageName=STRK:MEWAX:IT
(search for TOYOTA CELICA MK5 1990-93 DOOR CONVEX WING MIRROR GLASS)
Masking tape
ok First you need to remove the glass.
so Get you heat gun and set it to LOW
Heat up the mirror to soften up the adhesive behind it.
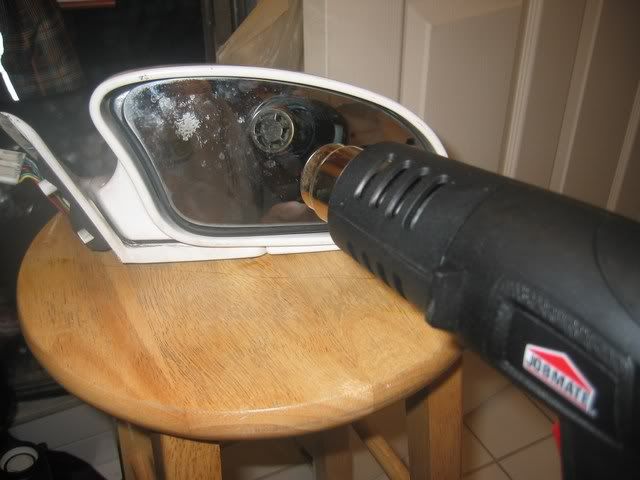
once heated up (a few mins dont cook your plastic as it will melt!)
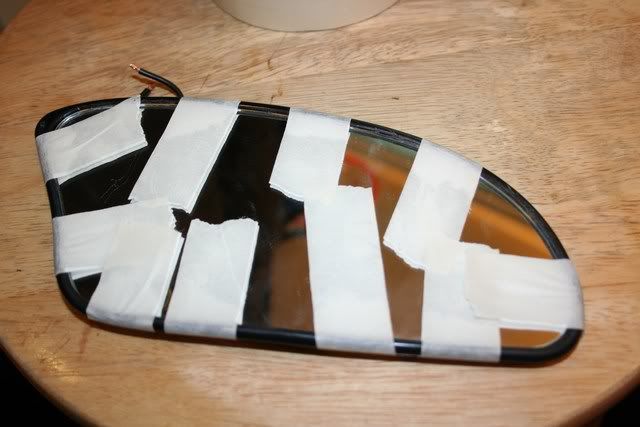
take your suction cup and stick it on the glass and slowly pull the glass out.
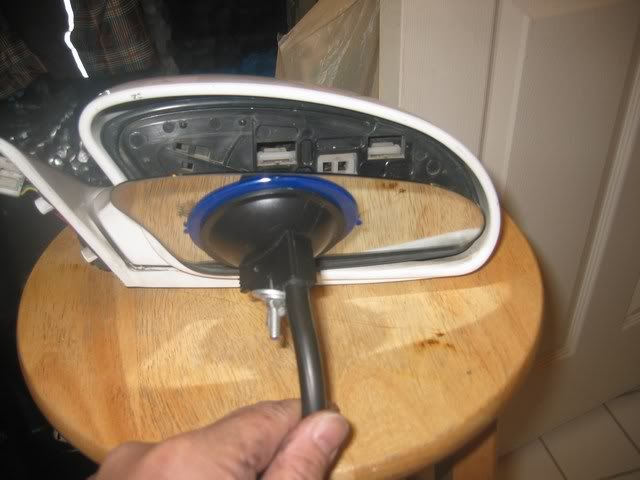
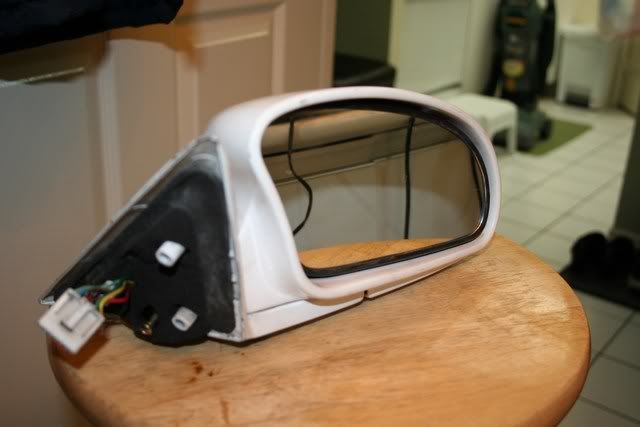
Here is the glass removed (back view) Toyota uses a huge double sided piece of tape Honda's use this black tar like stuff)
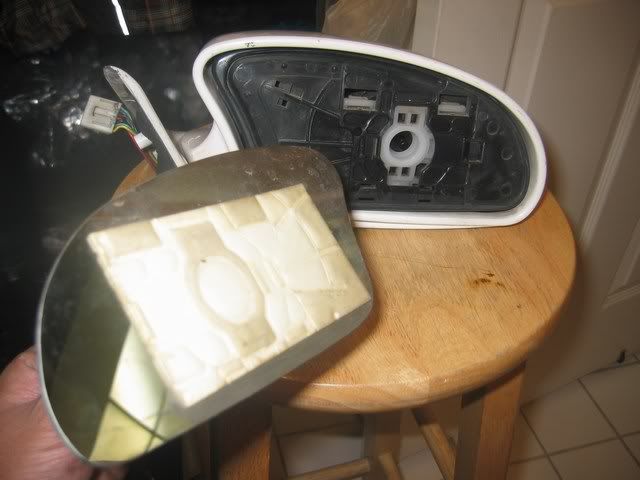
Now you want to remove the Black plastic housing that holds the glass because we need to change the angle of the motor to give us more of a right angle
Use a flat head screwdriver to pry these two tabs loose to remove the plastic

now pop off the plastic but make sure you remove it from the bottom and lift upwards as there are tabs that could break if your all braun and no brains.

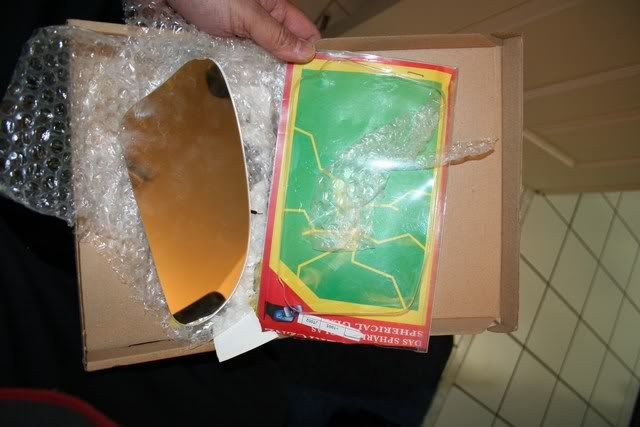
Here is the package I received, the new Mirror (Convex / Wide angle) from ebay
It came is a fragile box with bubble wrap and a free air freshener, it was heated too!
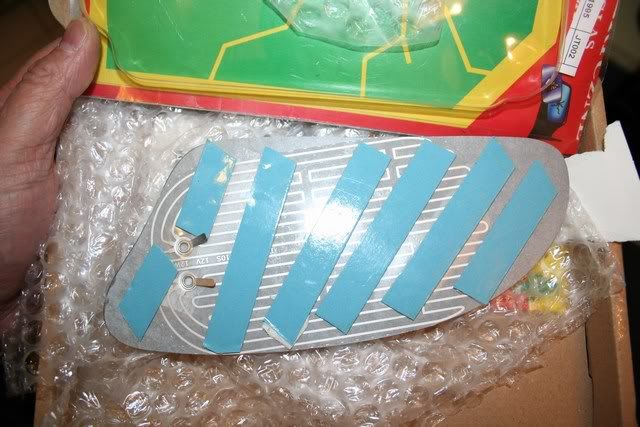
back view with heating element (12V)
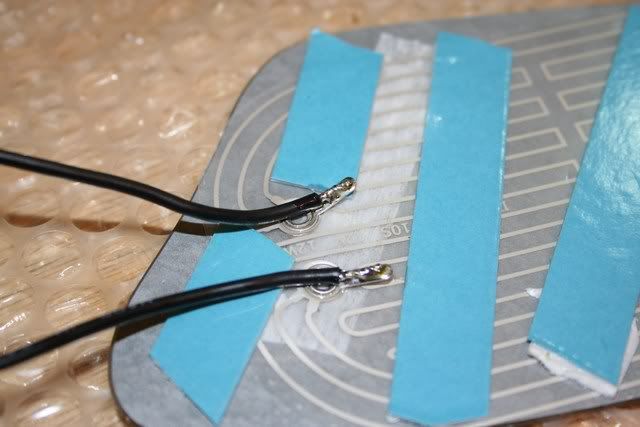
Might as well solder on some leads as I may want to make the heated portion work later on
so I added some wire to the leads
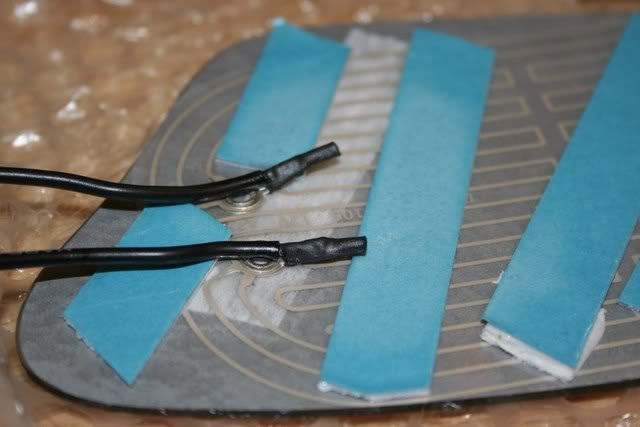
added heat shrinking tubing just in case..
Now this is important:
YOU NEED TO HEAT THE PLASTIC FRAME A LITTLE TO GET THE GLASS TO FIT INSIDE THE GROOVES, THE GLASS WILL SEEM TOO BIG SO DON'T FORCE IT OR IT WILL CRACK, Remove the double sided tape and line up one edge, I started on the upper inner edge then heated the plastic and snapped it in. The glass is a close fit but its not perfect and may seem a tiny bit short on the edges so grab your masking tape and pull up on the edges by taping them up and heating up the plastic.
once you have it heated and taped up let it cool on its own or you will make the plastic brittle if you put it in the fridge or try running it under cold water the plastic will get brittle and you risk shattering the glass.
You have just finished replacing the convex glass on your passengers side mirror, give yourself a pat on the back!

Now we get into changing the angle of the motor to allow it to move more towards the right.
You don't need to do this step if your just going to change the angle but hell I decided since I was in here I'd clean up the motors and what not..
Now remove the center screw and plastic , there's a spring on the screw so don't lose it!
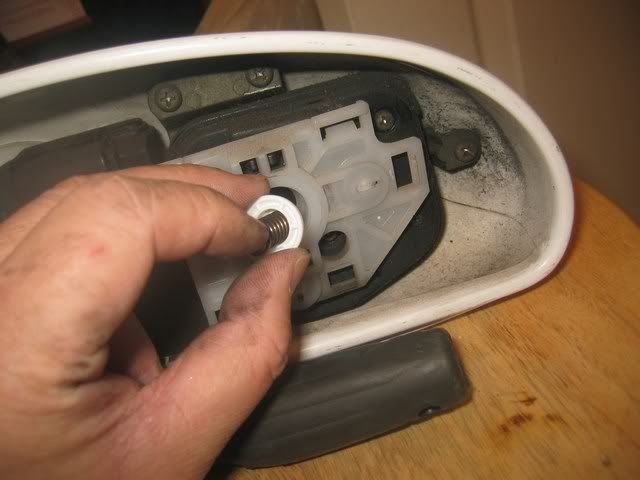
I removed the the white plastic part, it is held on by 2 ball type connectors located a 6:00 and 3:00 , be careful when removing these as they move the mirror up down left right, if you break it your dead so you may want to just clean what you can without removing this. Get your flathead screwdriver and press on the 2 tabs where the ball sits, it will pop out, then remove the plastic piece and wash it. Clean up what ever you can while your here.
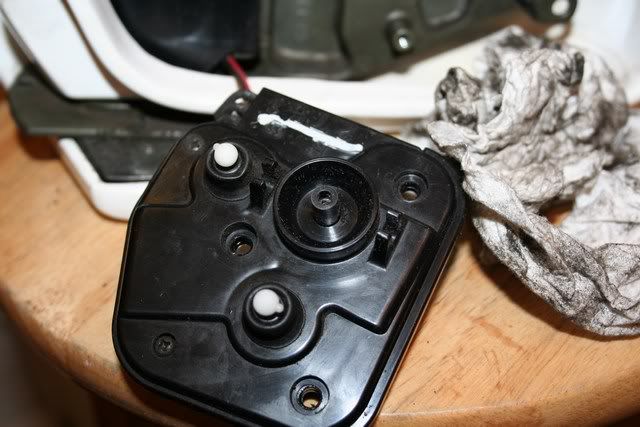
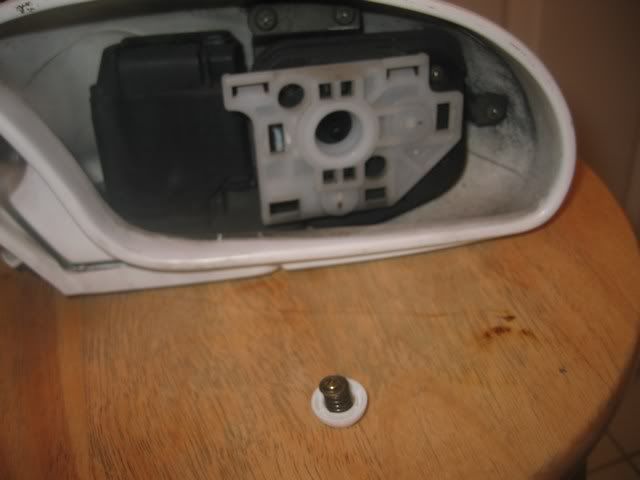
If you don't want to remove this you can just remove the 3 screws that hold the motor in place located at 11:00 , 2:00 and 4:00. These 3 hold the motor to the housing.
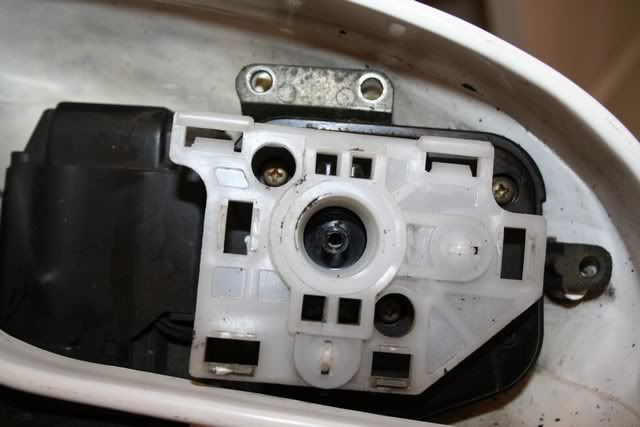
This is the housing that determines the angle the motor will sit at. you need to shim the top left one to make the motor sit at a slight angle to the right. ( I removed all the screws at the top and to the right so I could clean up the back)
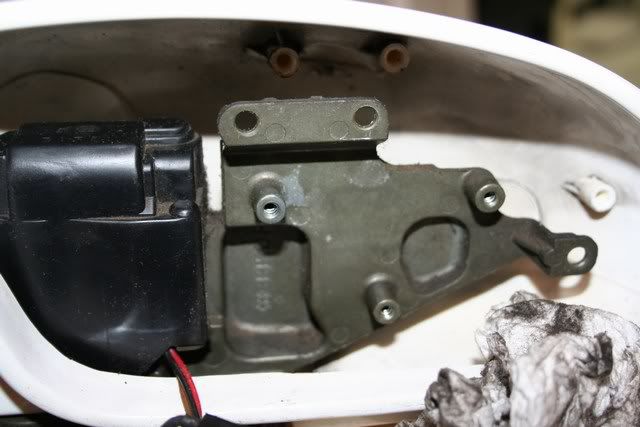
since the back of the motor is plastic and is indented inward you cant use a washer so you need to use something that fits over the screw but will slide into the recessed portion at the back of the motor, I used rubber tubing from my old boost line, fit right over the screw.
Here it is test fitted on the screw.
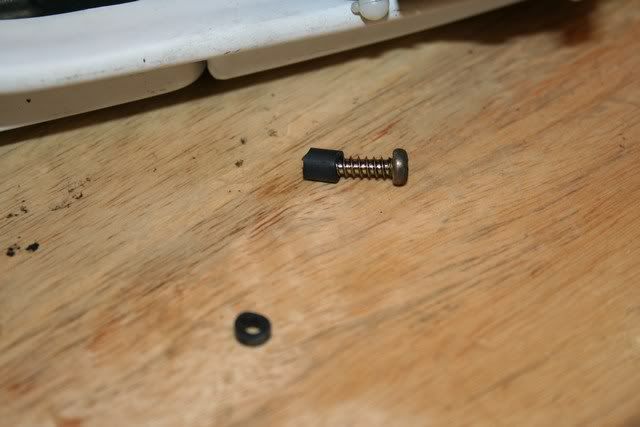
What you want to do is put the screw in the motor first, then put the rubber spacer in after then screw it into the bracket, that way it will sit at an angle and allow you to see more towards the right of the passenger mirror.
Once you have it all together, you'll want to test fit it to see if the angle is enough or you need a bigger spacer, normally you would put a spot of glue on the white plastic to hold the black plastic in place but since your test fitting it dont glue it yet. Test fit it on your car and see if the mirror moves enough if not remove the motor and add a longer screw or bigger spacer, once you have it the way you want it glue it down, the black piece and white peice snap together but since the car is 20 years old you'll want to glue it so all your hard work doesn't fly off at high speeds.
Here is the finished product, convex mirror installed and motor angled to the right.
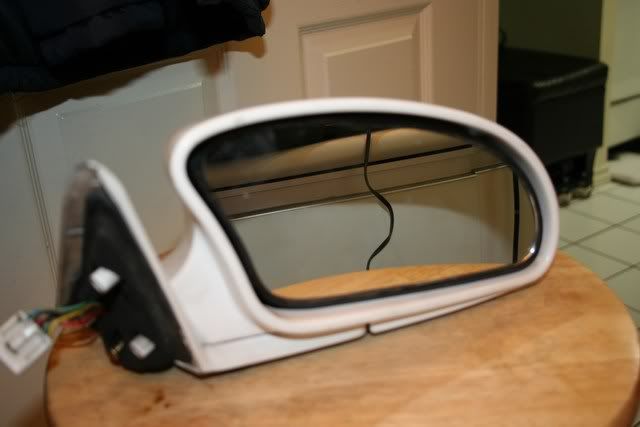
I hope this helps keep more Celicas on the road and out of the scrap yards due to blind spots and what not.
Fernando
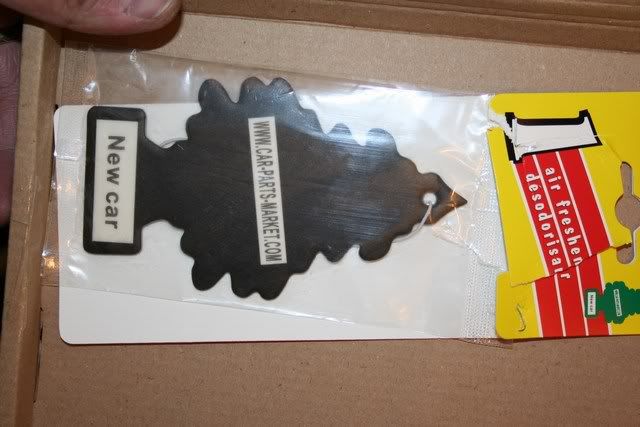
Oh I almost forgot, this is the free air freshener you get when you buy the mirror, it says new car scent... its from the UK.. it does not smell like 'NEW CAR', it should have said 'TIDE' scented, oh well it was free.
What you will need:
Heat Gun
Suction cup (that fits on the glass)
screwdriver (flat head and Phillips)
Convex Mirror (heated or not) from ebay (link below)
http://cgi.ebay.ca/ws/eBayISAPI.dll?ViewItem&item=370321308025&ssPageName=STRK:MEWAX:IT
(search for TOYOTA CELICA MK5 1990-93 DOOR CONVEX WING MIRROR GLASS)
Masking tape
ok First you need to remove the glass.
so Get you heat gun and set it to LOW
Heat up the mirror to soften up the adhesive behind it.
once heated up (a few mins dont cook your plastic as it will melt!)
take your suction cup and stick it on the glass and slowly pull the glass out.
Here is the glass removed (back view) Toyota uses a huge double sided piece of tape Honda's use this black tar like stuff)
Now you want to remove the Black plastic housing that holds the glass because we need to change the angle of the motor to give us more of a right angle
Use a flat head screwdriver to pry these two tabs loose to remove the plastic
now pop off the plastic but make sure you remove it from the bottom and lift upwards as there are tabs that could break if your all braun and no brains.
Here is the package I received, the new Mirror (Convex / Wide angle) from ebay
It came is a fragile box with bubble wrap and a free air freshener, it was heated too!
back view with heating element (12V)
Might as well solder on some leads as I may want to make the heated portion work later on
so I added some wire to the leads
added heat shrinking tubing just in case..
Now this is important:
YOU NEED TO HEAT THE PLASTIC FRAME A LITTLE TO GET THE GLASS TO FIT INSIDE THE GROOVES, THE GLASS WILL SEEM TOO BIG SO DON'T FORCE IT OR IT WILL CRACK, Remove the double sided tape and line up one edge, I started on the upper inner edge then heated the plastic and snapped it in. The glass is a close fit but its not perfect and may seem a tiny bit short on the edges so grab your masking tape and pull up on the edges by taping them up and heating up the plastic.
once you have it heated and taped up let it cool on its own or you will make the plastic brittle if you put it in the fridge or try running it under cold water the plastic will get brittle and you risk shattering the glass.
You have just finished replacing the convex glass on your passengers side mirror, give yourself a pat on the back!
Now we get into changing the angle of the motor to allow it to move more towards the right.
You don't need to do this step if your just going to change the angle but hell I decided since I was in here I'd clean up the motors and what not..
Now remove the center screw and plastic , there's a spring on the screw so don't lose it!
I removed the the white plastic part, it is held on by 2 ball type connectors located a 6:00 and 3:00 , be careful when removing these as they move the mirror up down left right, if you break it your dead so you may want to just clean what you can without removing this. Get your flathead screwdriver and press on the 2 tabs where the ball sits, it will pop out, then remove the plastic piece and wash it. Clean up what ever you can while your here.
If you don't want to remove this you can just remove the 3 screws that hold the motor in place located at 11:00 , 2:00 and 4:00. These 3 hold the motor to the housing.
This is the housing that determines the angle the motor will sit at. you need to shim the top left one to make the motor sit at a slight angle to the right. ( I removed all the screws at the top and to the right so I could clean up the back)
since the back of the motor is plastic and is indented inward you cant use a washer so you need to use something that fits over the screw but will slide into the recessed portion at the back of the motor, I used rubber tubing from my old boost line, fit right over the screw.
Here it is test fitted on the screw.
What you want to do is put the screw in the motor first, then put the rubber spacer in after then screw it into the bracket, that way it will sit at an angle and allow you to see more towards the right of the passenger mirror.
Once you have it all together, you'll want to test fit it to see if the angle is enough or you need a bigger spacer, normally you would put a spot of glue on the white plastic to hold the black plastic in place but since your test fitting it dont glue it yet. Test fit it on your car and see if the mirror moves enough if not remove the motor and add a longer screw or bigger spacer, once you have it the way you want it glue it down, the black piece and white peice snap together but since the car is 20 years old you'll want to glue it so all your hard work doesn't fly off at high speeds.
Here is the finished product, convex mirror installed and motor angled to the right.
I hope this helps keep more Celicas on the road and out of the scrap yards due to blind spots and what not.
Fernando
Oh I almost forgot, this is the free air freshener you get when you buy the mirror, it says new car scent... its from the UK.. it does not smell like 'NEW CAR', it should have said 'TIDE' scented, oh well it was free.

