sMARTINside
New member
Where did you get these motor mounts? I need some too.
sMARTINside":1m70z8e4 said:Where did you get these motor mounts? I need some too.
krogers128":3oxql7sg said:where did you get the manifold gasket? i didn't replace mine when i had it off, but i could probably use a new one anyways... i'm doing the same swap but in an st165.
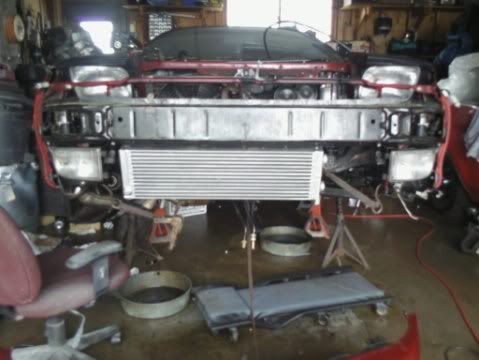
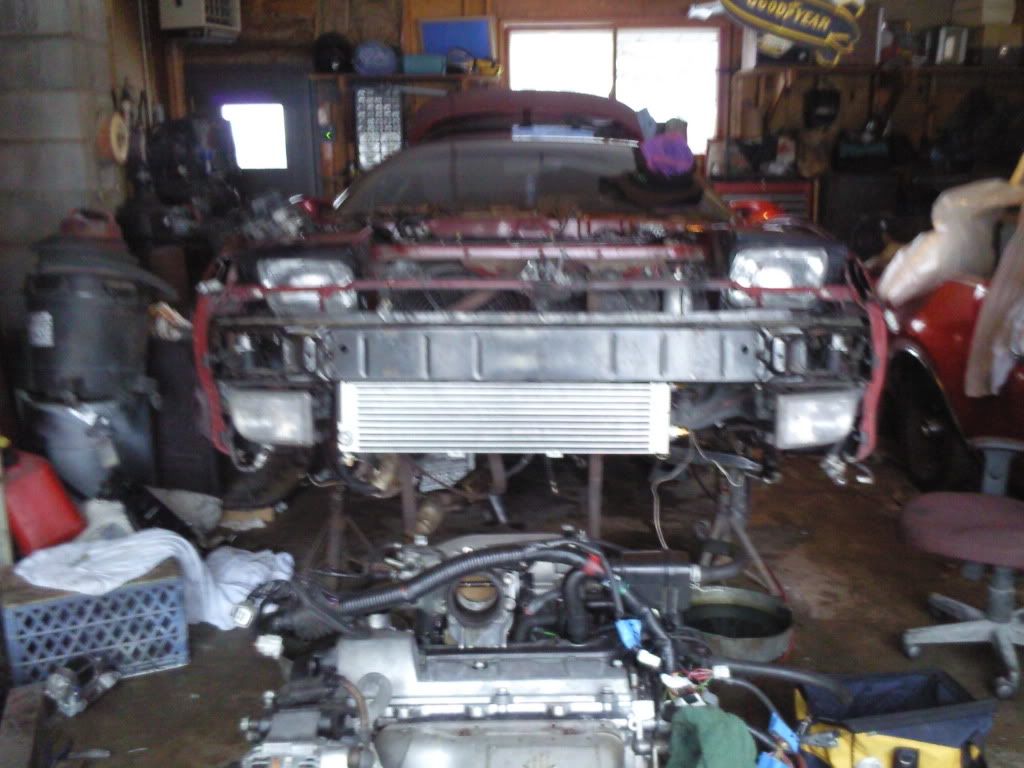
krogers128":3vmn3awv said:whats the reason for the heat exchanger? thogught about getting one on before for my st205 swap. as well as a new radiator..
krogers128":2r3y6mmn said:oh i see so yours didnt come with the top mount, makes sense lol

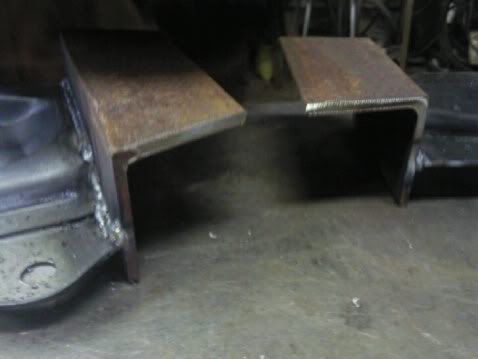
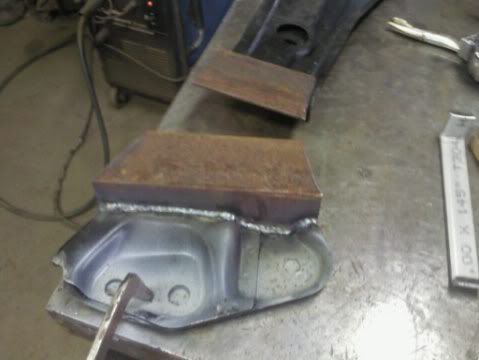
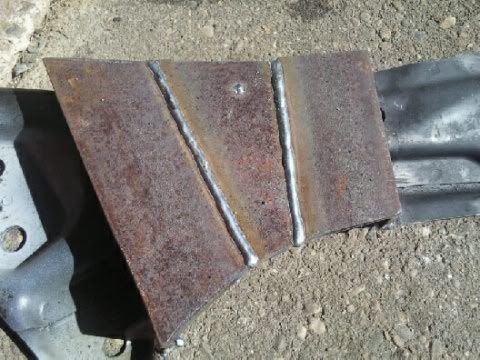
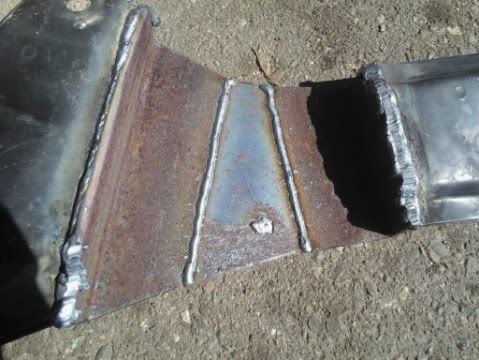
sonochevelle":2qjawtdj said:we then welded 2.5 inch angle iron (about 1/4 thick) to each peice which lowered the lowest point about 1.5 inch from where it was. and making sure they were level with each other.
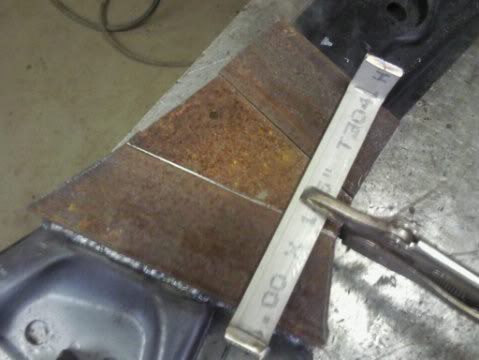
we used his piranha ironworker (extremely handy machine)to cut a piece of plate to fill the gap between each piece of angle iron. we welded the plate to the angle iron
i dont have the rest of the pics yet but i will upload them tomorrow
i will be smoothing the welds and throwing on a coat of paint.
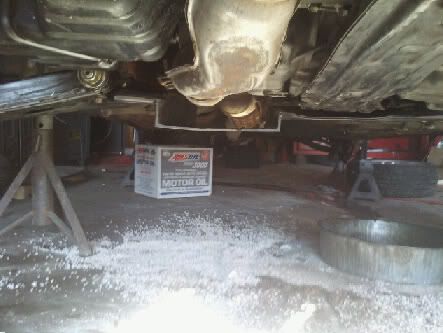
im almost positive that this setup will allow me to be able to run a 4 inch exhaust if i ever wanted