Hey guys and gyals,
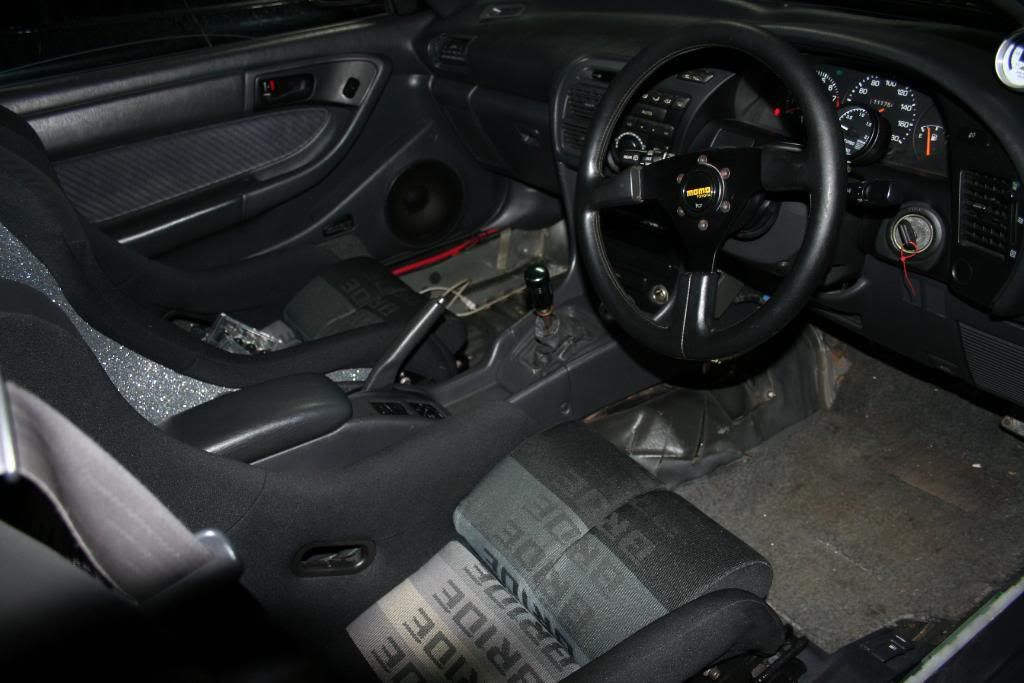
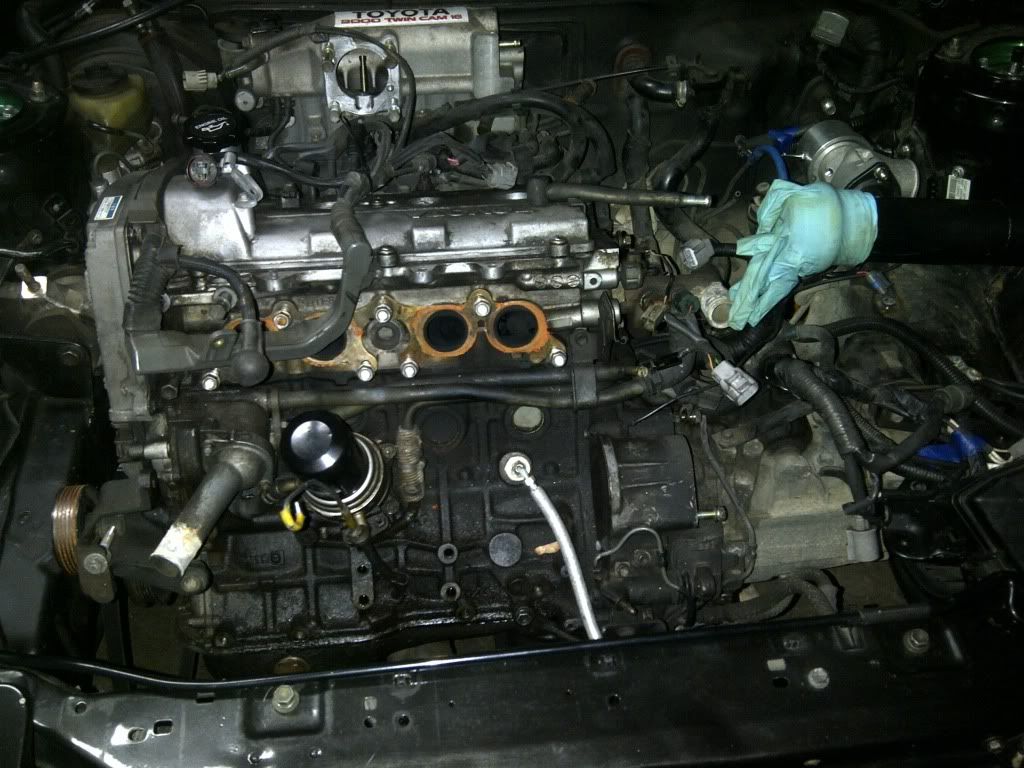
I decided to do a quick little write up on the car that I'm working on at the moment. Since I have never actually taken the time to do a my project for myself, I choose my second favorite car. The car is a 1990 GT4 straight from Japan. Condition is excellent inside and out, a real pleasure to wrench on VS the rusty Canadian cars I'm used to building. For a little back ground, the car was previously "stock" and running a GT2871 turbo kit. With upgraded management,fuel, inter cooling and suspension the car was able to muscle out a mid 13 sec pass. When I was first introduced to the owner it was already set up and running mediocre. He had it built and tuned at a local tuning shop and the work was sub par. They complained that it was running lean and thus was developing minimal power. Sadly, the shop just did not know apples from oranges. After some quick tuning with the management system we rekindled the missing power and the car was running great. This was short lived as I suspect the months of running lean took a toll on the pistons. After getting the extra 40-50 ponies they let go.
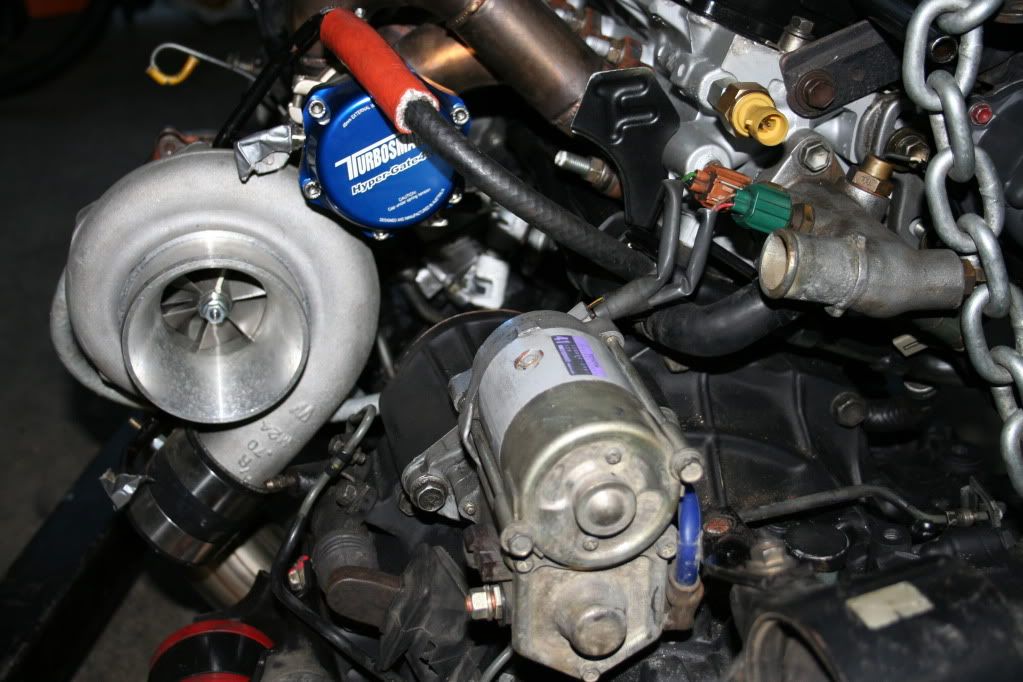
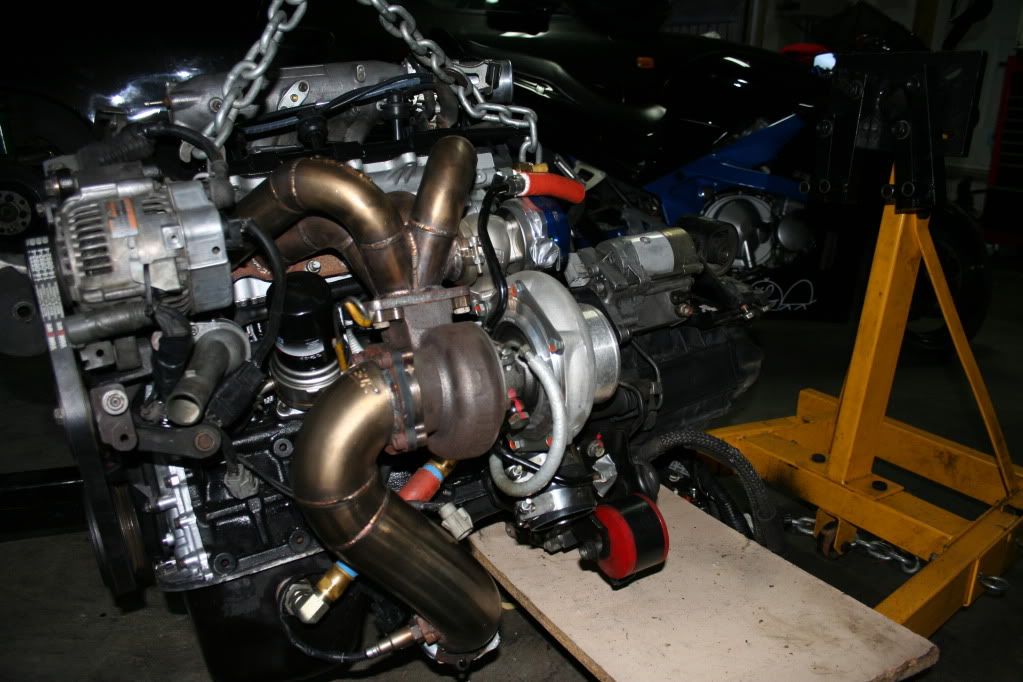
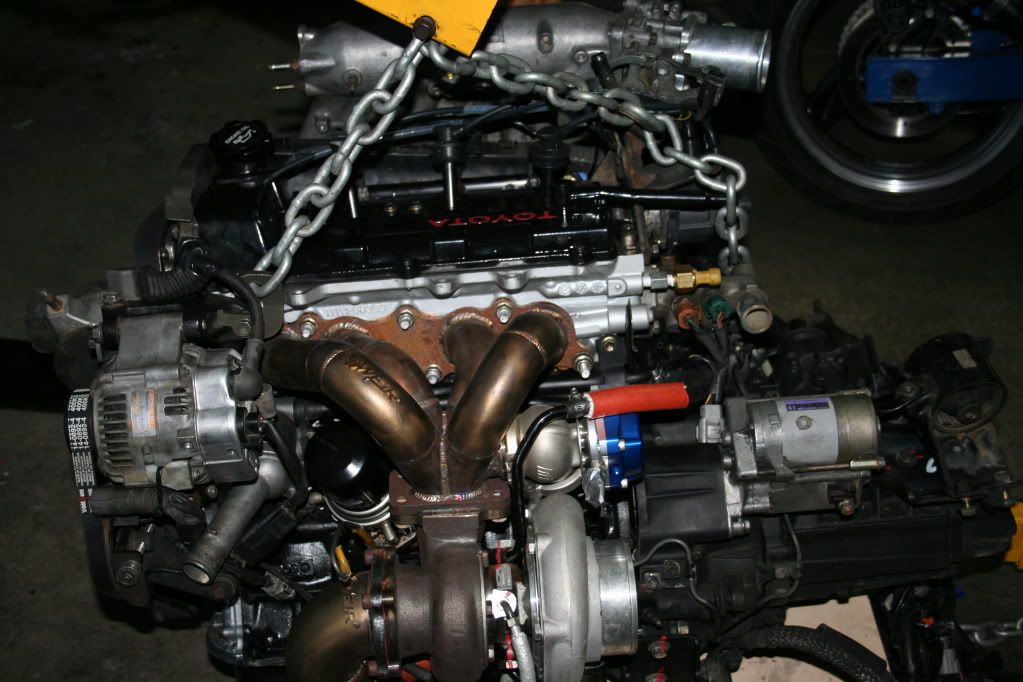
With a few tear drops and dollars in hand we set out to build a bad ass, force fed GT4. Guide line for this build was strictly give her hell. The whole build is based around the turbo charger. Selecting a Garrett GT35, .63 for the pumping duties. Forged pistons and rods will hold the ship together, and a rebuilt head to flow the air. Lots of custom parts on this build, and a few top secret mods :smokes:
Im going to add the pics slowly so bear with me")
If your interested in seeing more up to date info you can log onto the club site at http://www.prydeauto.com
Cheers
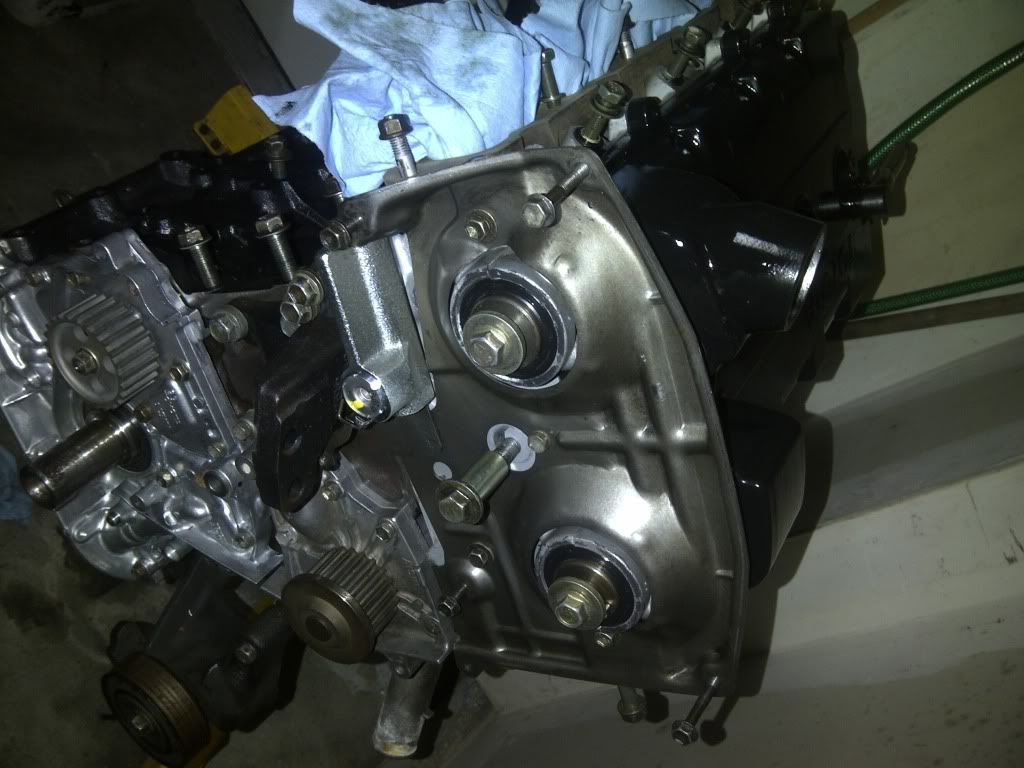
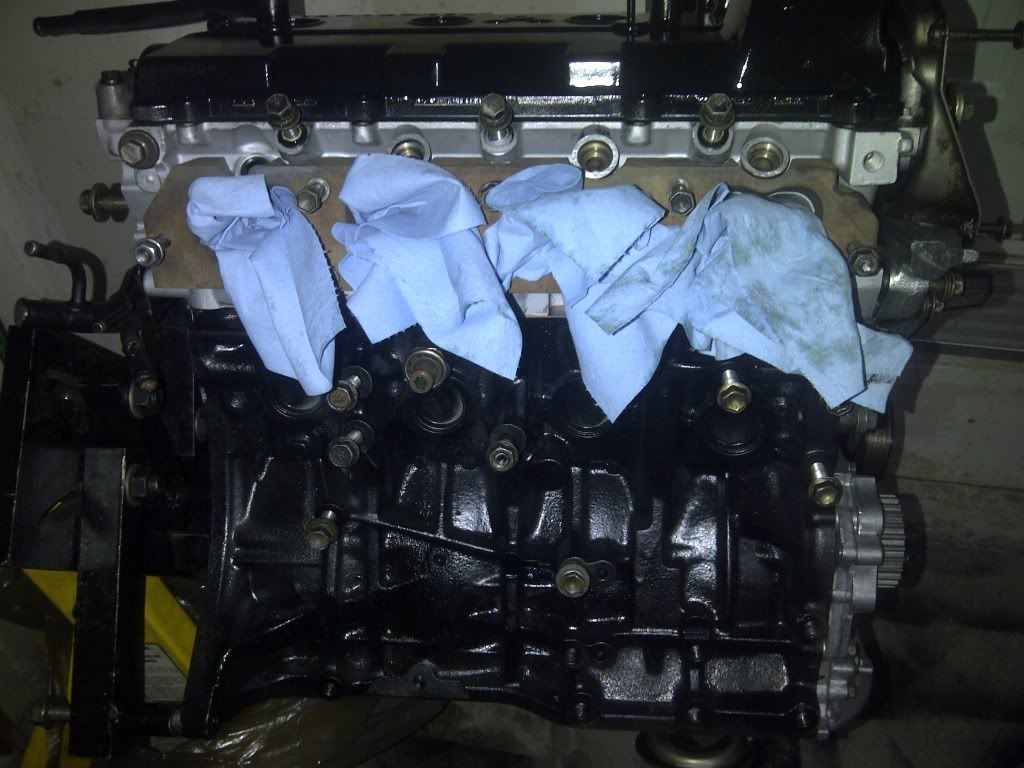
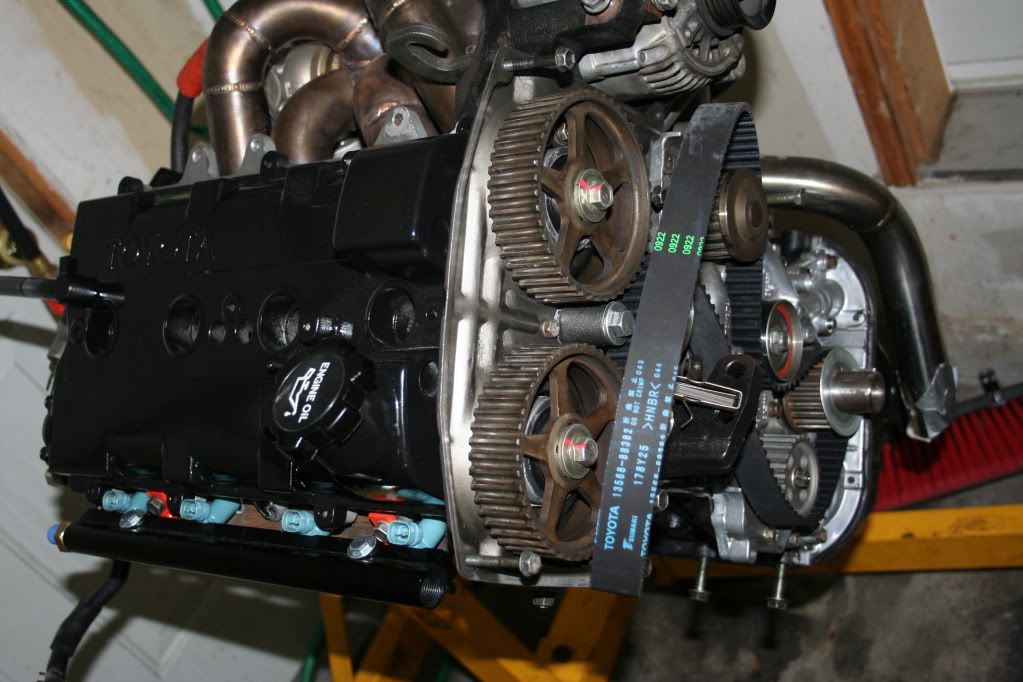
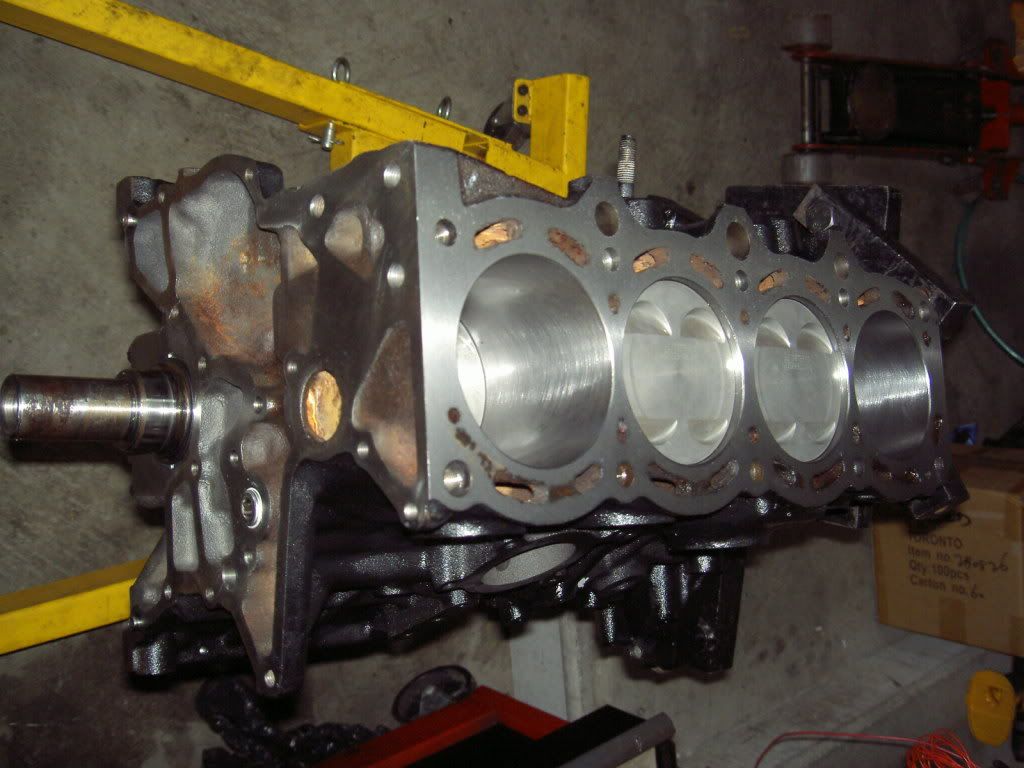
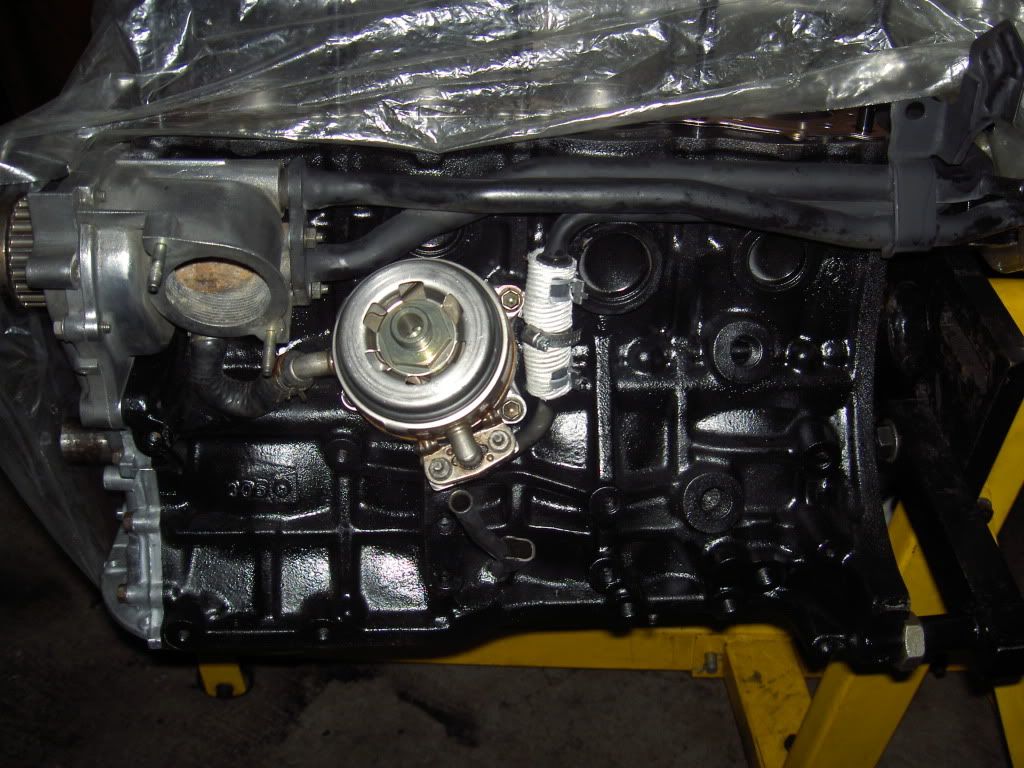
Here is the block right from the Machinist
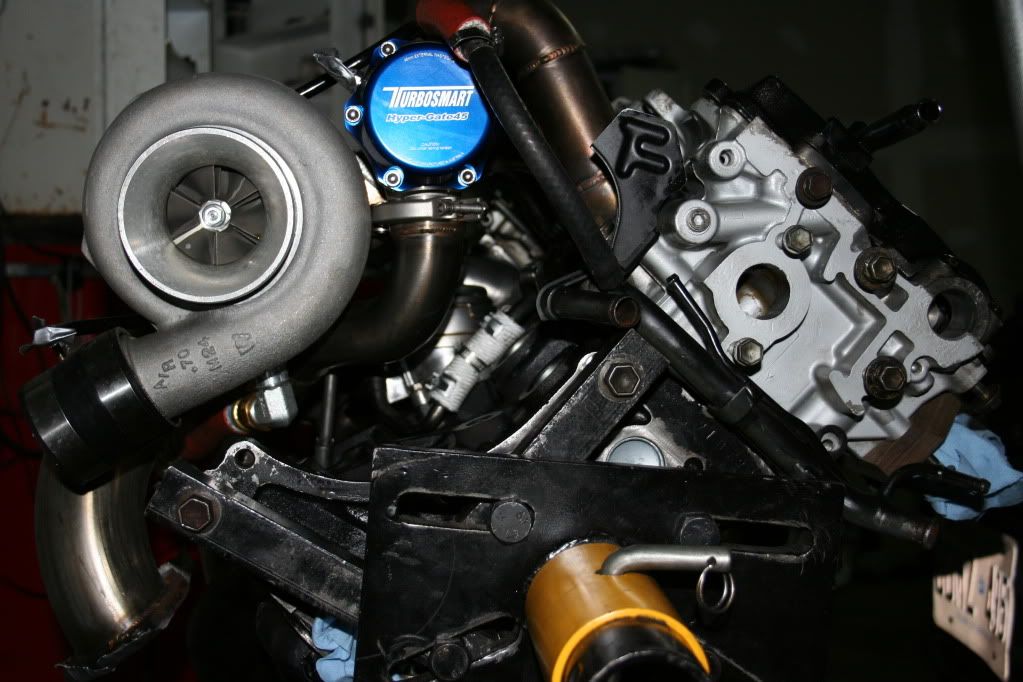
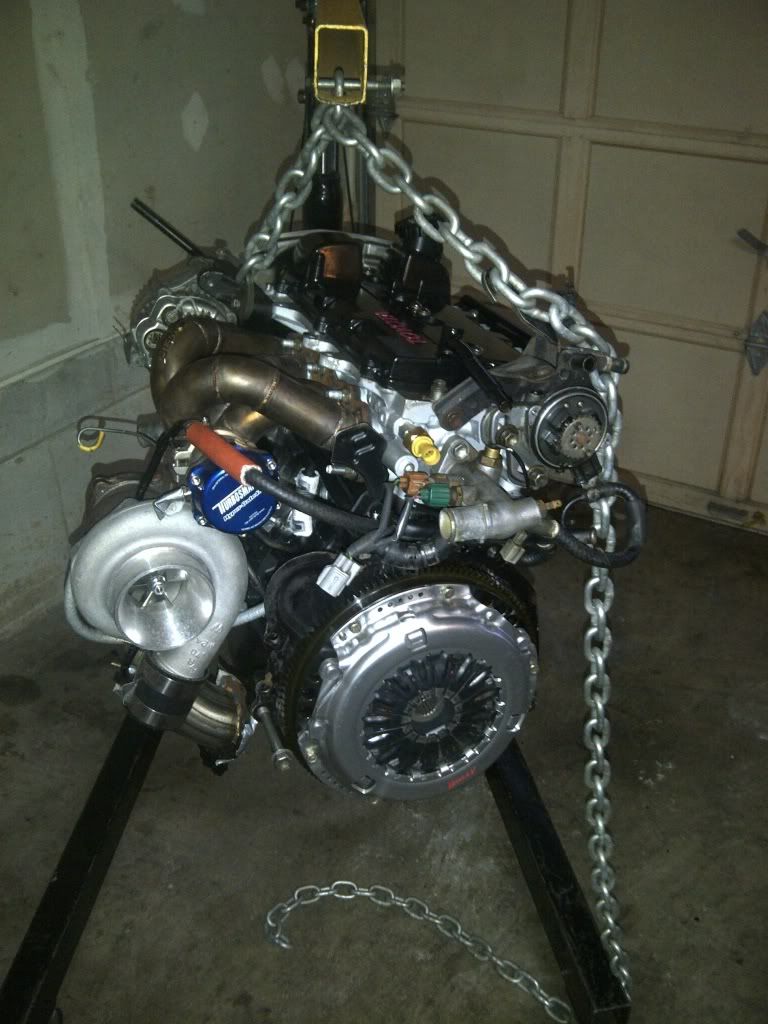
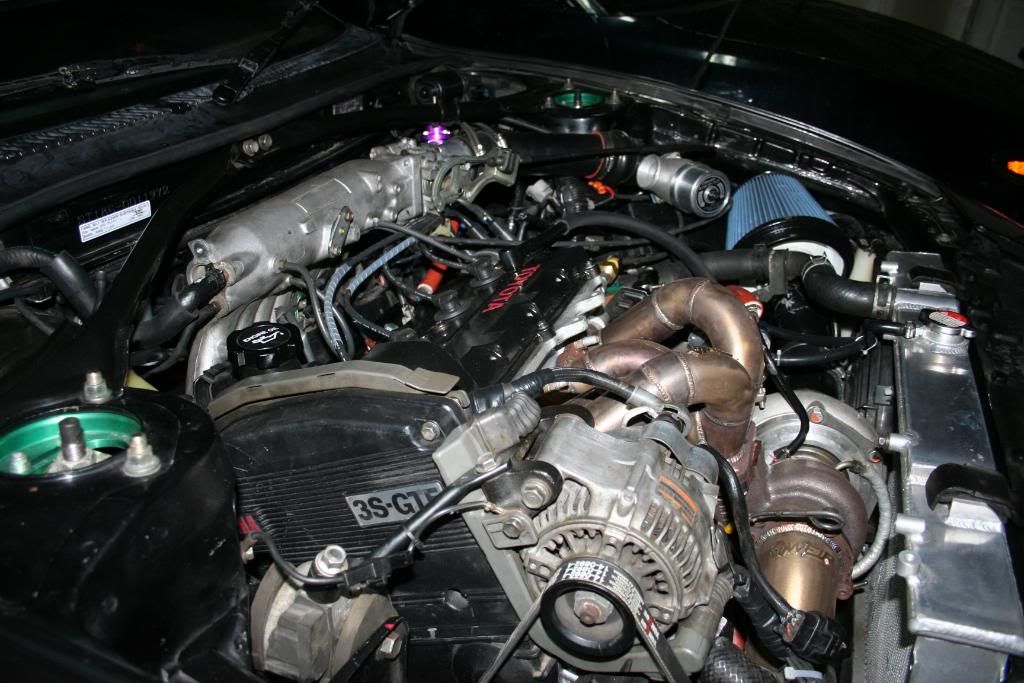
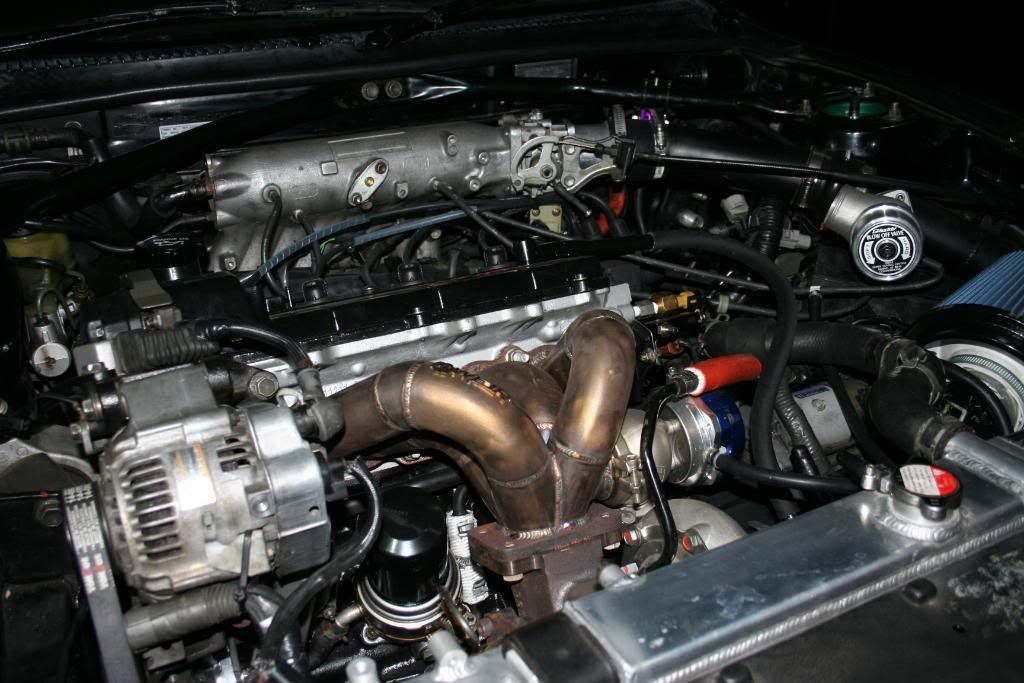
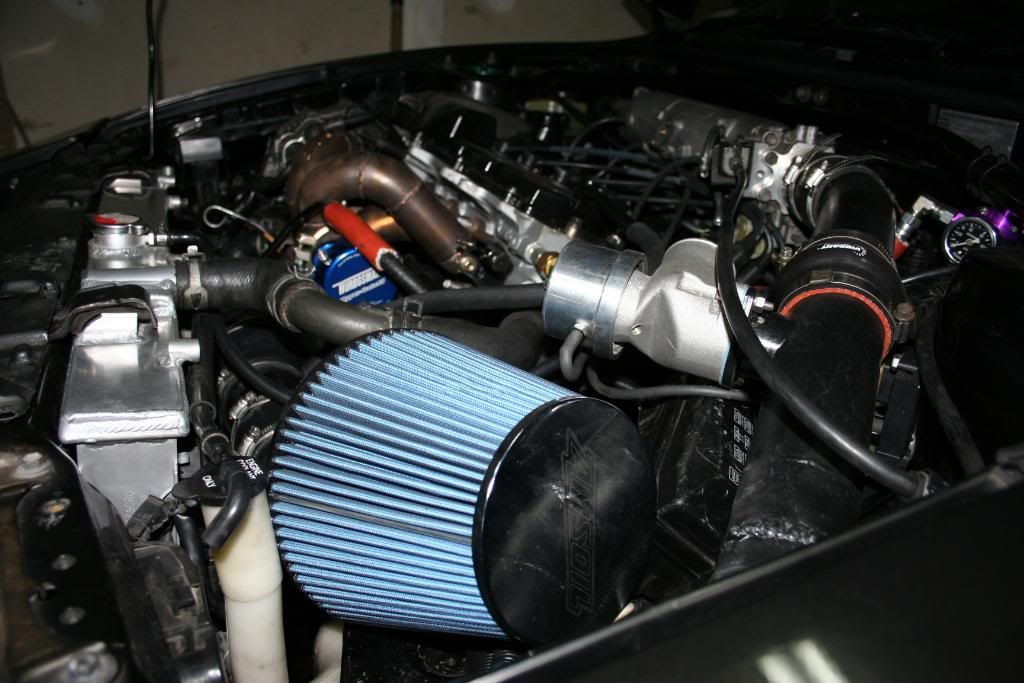
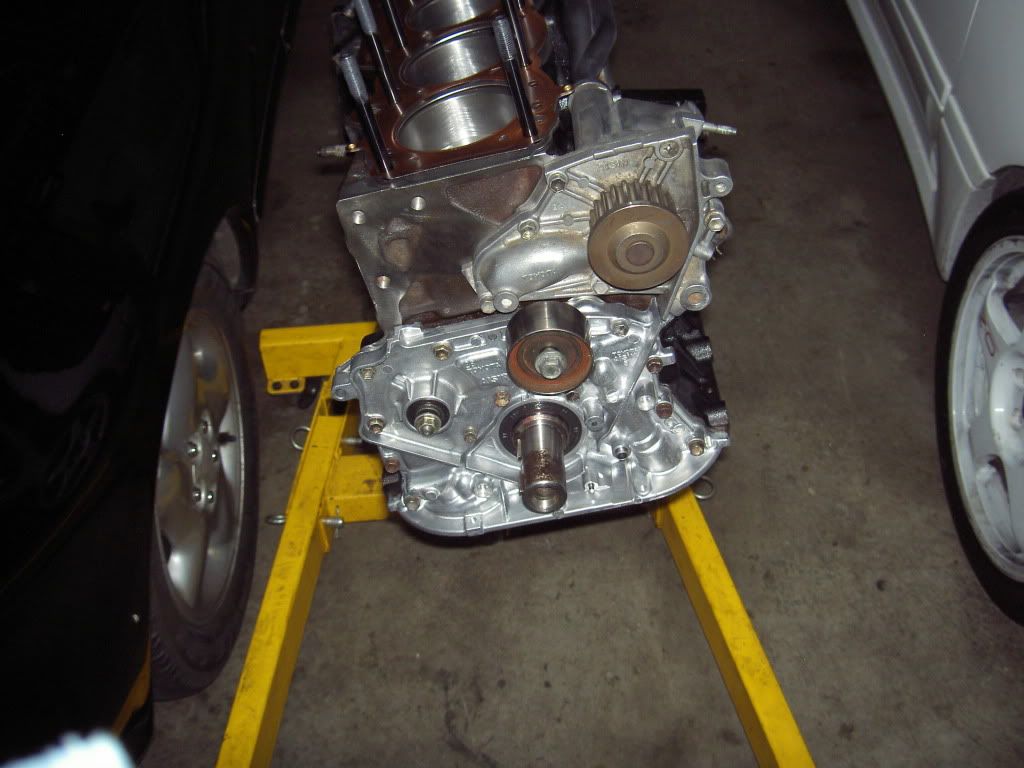
Pumps on, and tucked nicely between a st165 and st184T
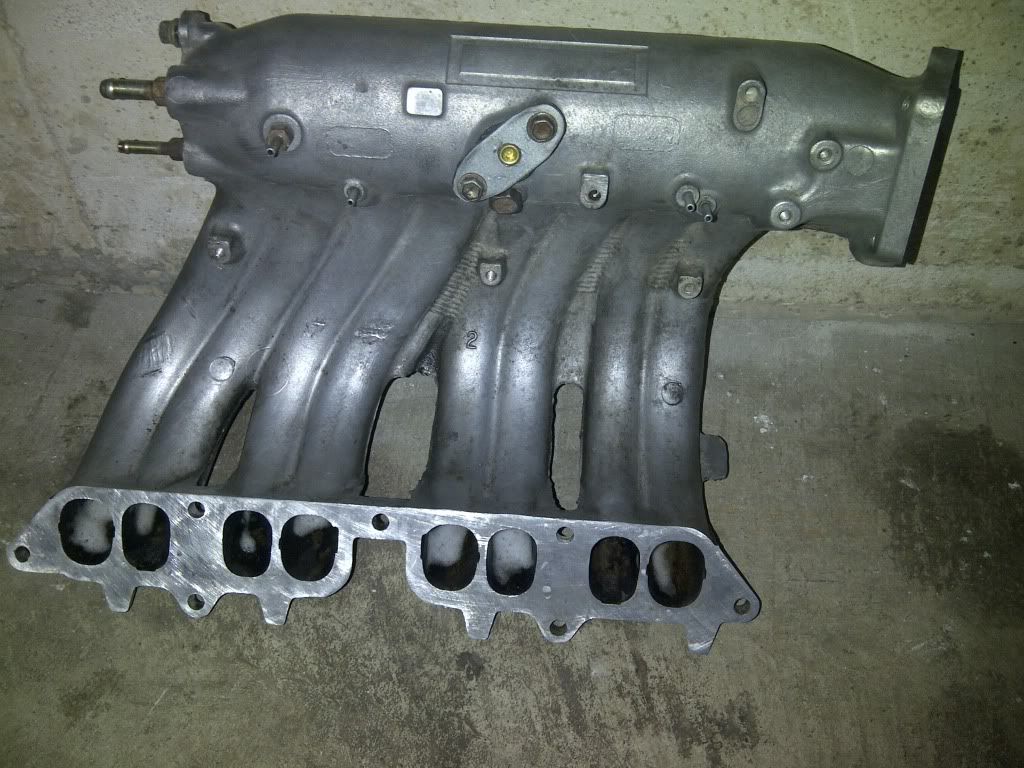
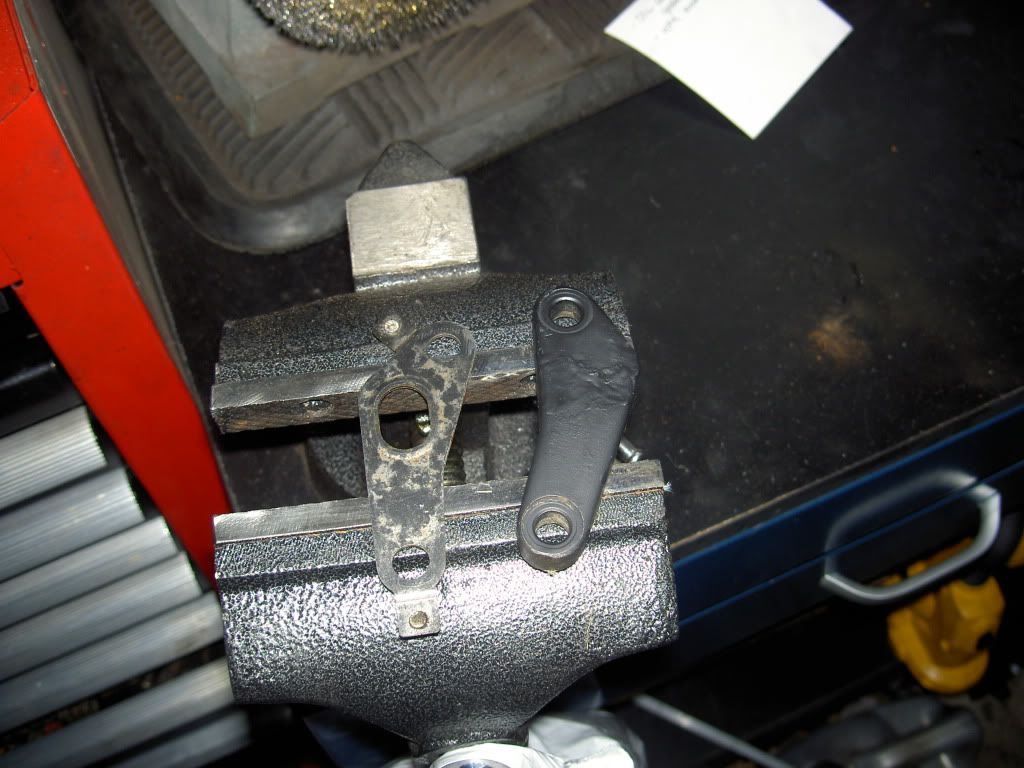
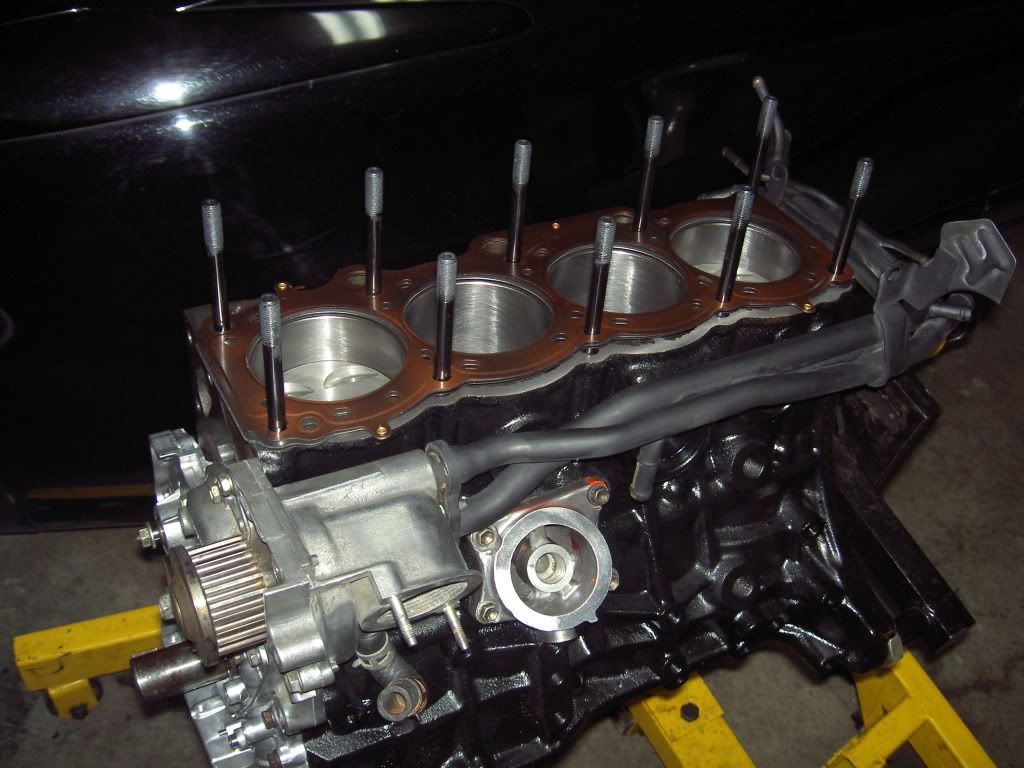
Custom EGR block off for the USDM head we sourced
HFH
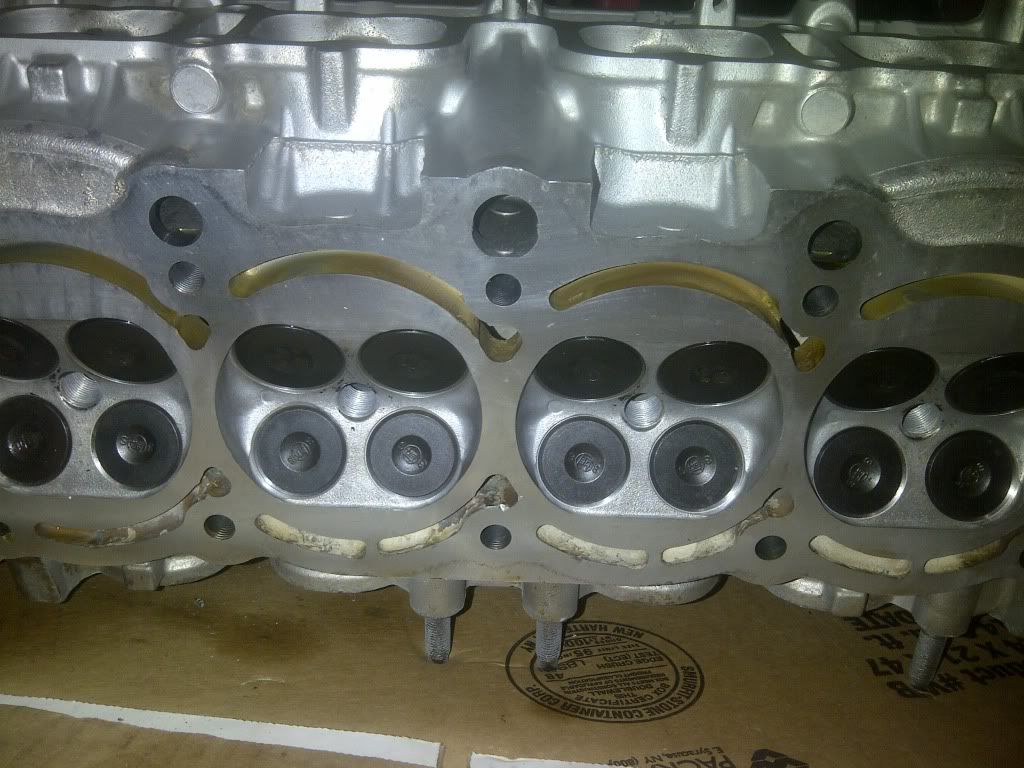
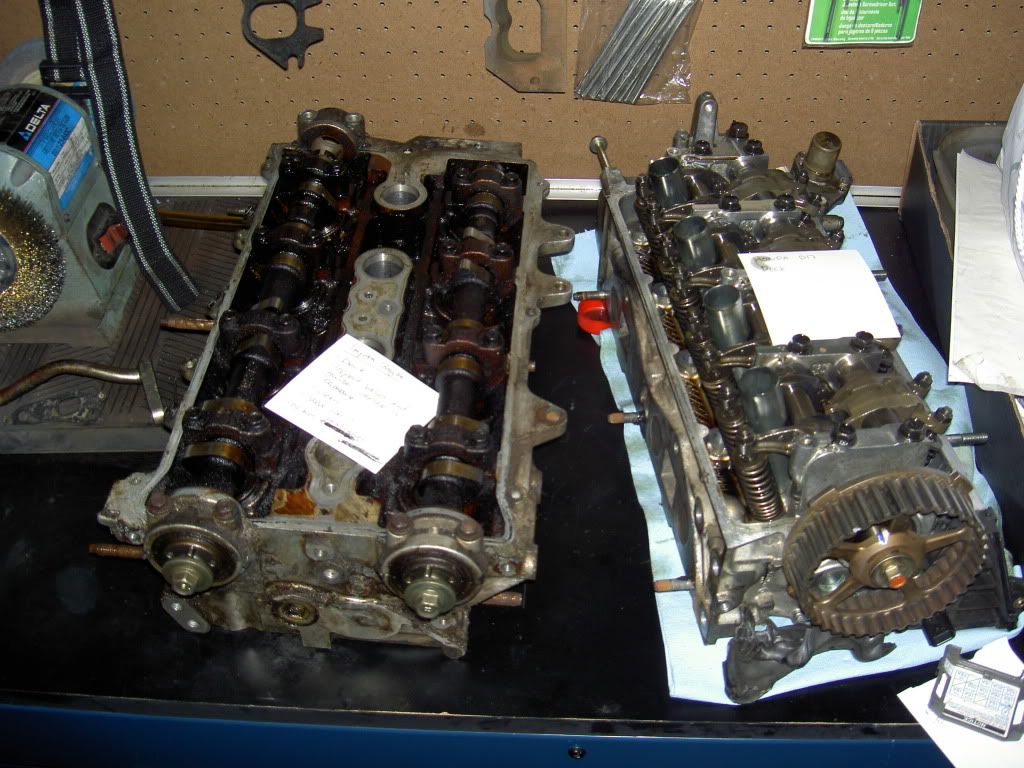
3sgte donor head, vs a d17 honda. both with instructions for the machinist
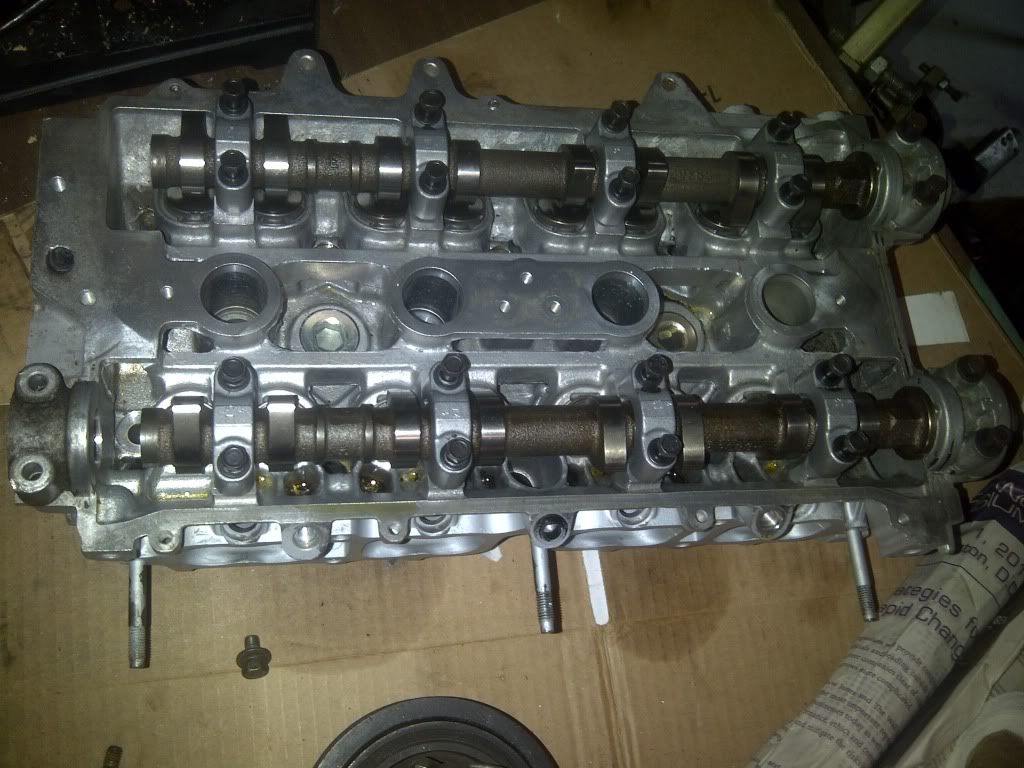
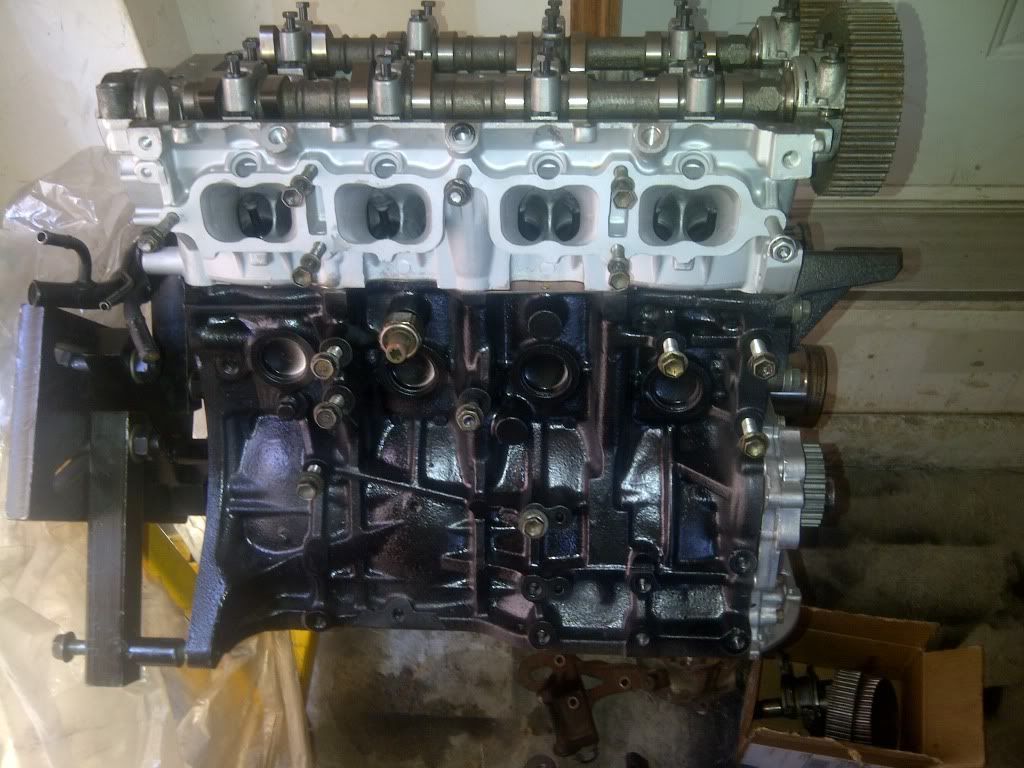
waiting for the head to come back
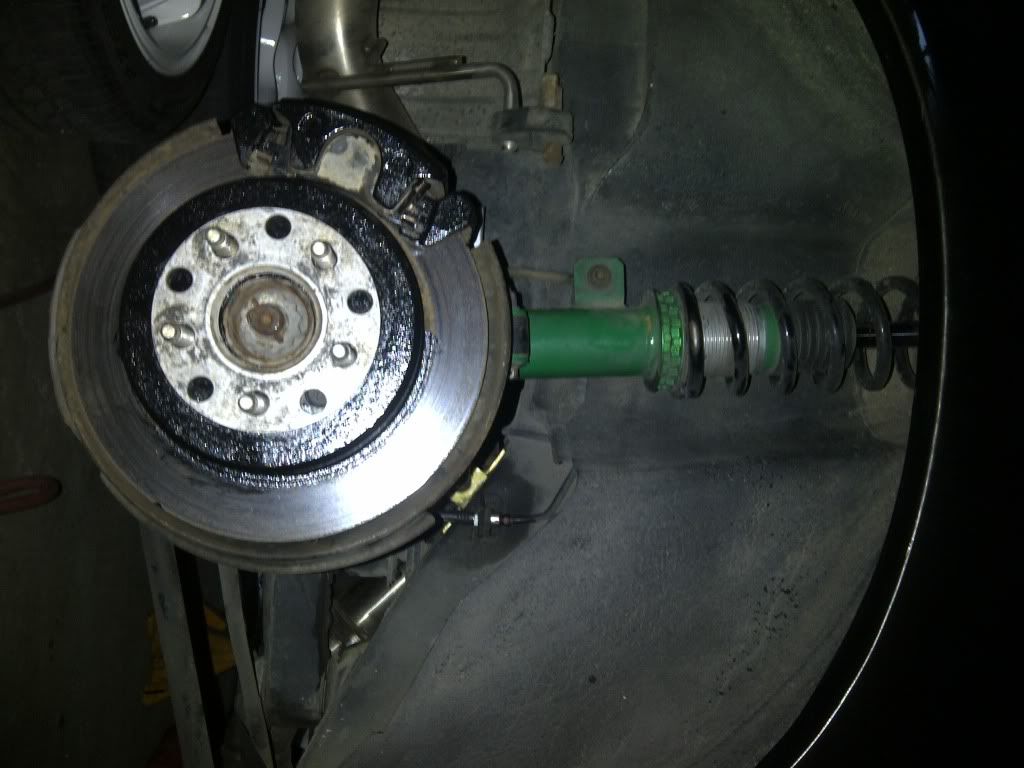
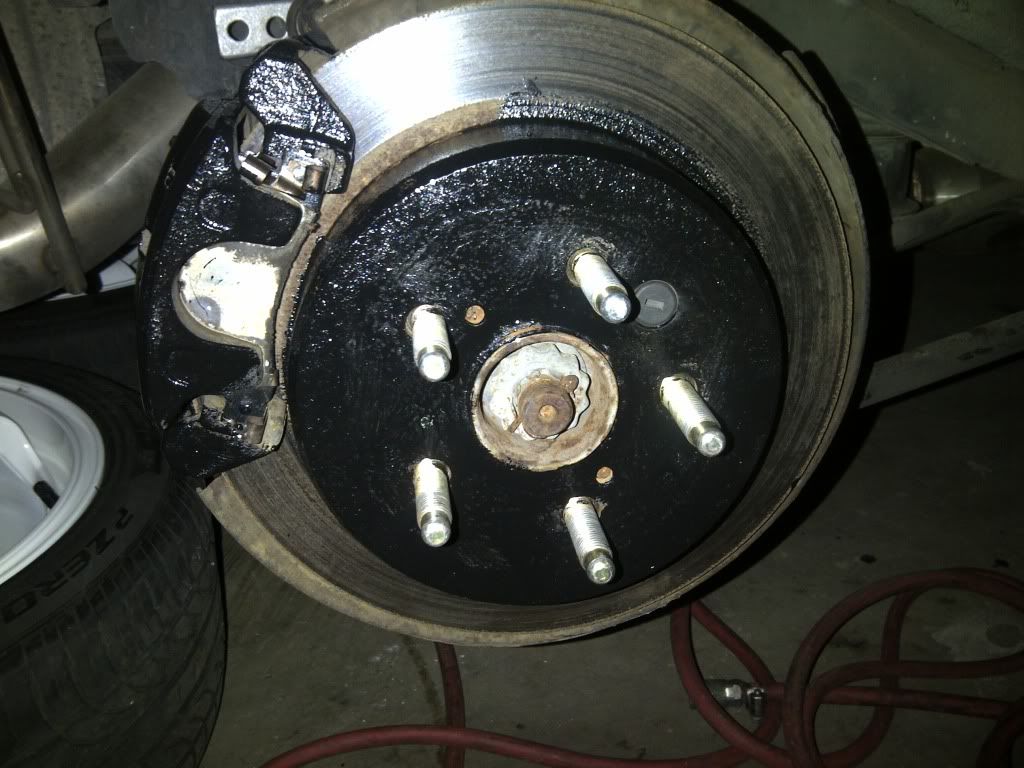
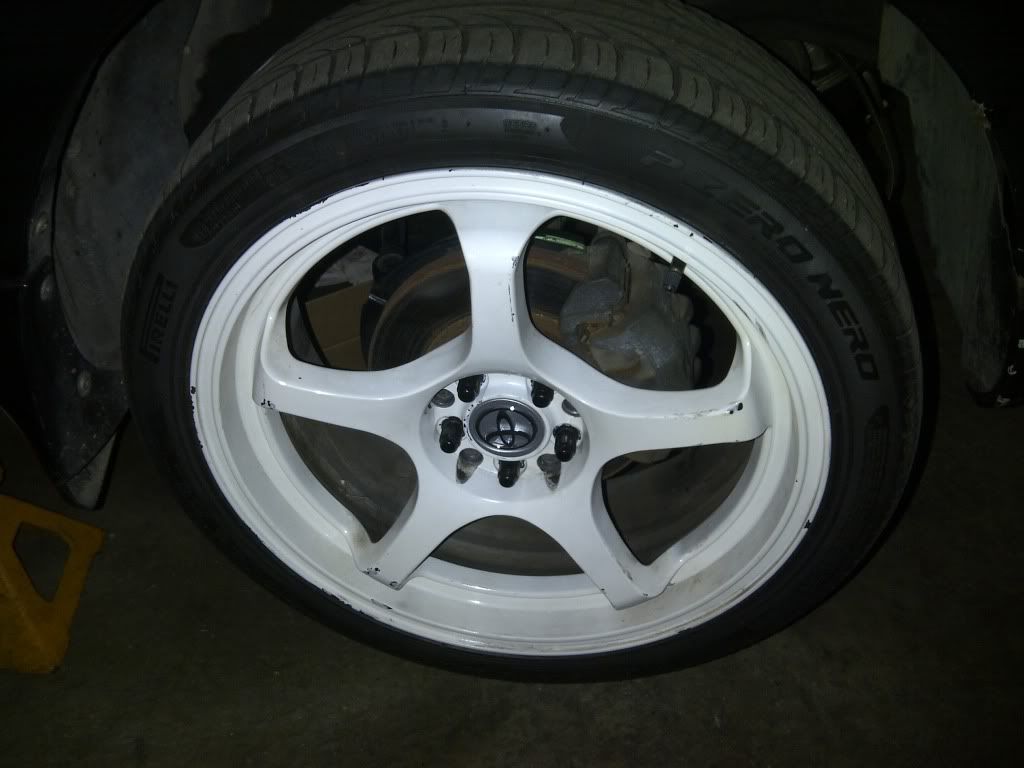
B4 pic of the rollers, 18inches of JDM drift
I decided to do a quick little write up on the car that I'm working on at the moment. Since I have never actually taken the time to do a my project for myself, I choose my second favorite car. The car is a 1990 GT4 straight from Japan. Condition is excellent inside and out, a real pleasure to wrench on VS the rusty Canadian cars I'm used to building. For a little back ground, the car was previously "stock" and running a GT2871 turbo kit. With upgraded management,fuel, inter cooling and suspension the car was able to muscle out a mid 13 sec pass. When I was first introduced to the owner it was already set up and running mediocre. He had it built and tuned at a local tuning shop and the work was sub par. They complained that it was running lean and thus was developing minimal power. Sadly, the shop just did not know apples from oranges. After some quick tuning with the management system we rekindled the missing power and the car was running great. This was short lived as I suspect the months of running lean took a toll on the pistons. After getting the extra 40-50 ponies they let go.
With a few tear drops and dollars in hand we set out to build a bad ass, force fed GT4. Guide line for this build was strictly give her hell. The whole build is based around the turbo charger. Selecting a Garrett GT35, .63 for the pumping duties. Forged pistons and rods will hold the ship together, and a rebuilt head to flow the air. Lots of custom parts on this build, and a few top secret mods :smokes:
Im going to add the pics slowly so bear with me
If your interested in seeing more up to date info you can log onto the club site at http://www.prydeauto.com
Cheers
Here is the block right from the Machinist
Pumps on, and tucked nicely between a st165 and st184T
Custom EGR block off for the USDM head we sourced
HFH
3sgte donor head, vs a d17 honda. both with instructions for the machinist
waiting for the head to come back
B4 pic of the rollers, 18inches of JDM drift