UtahSleeper
Active member
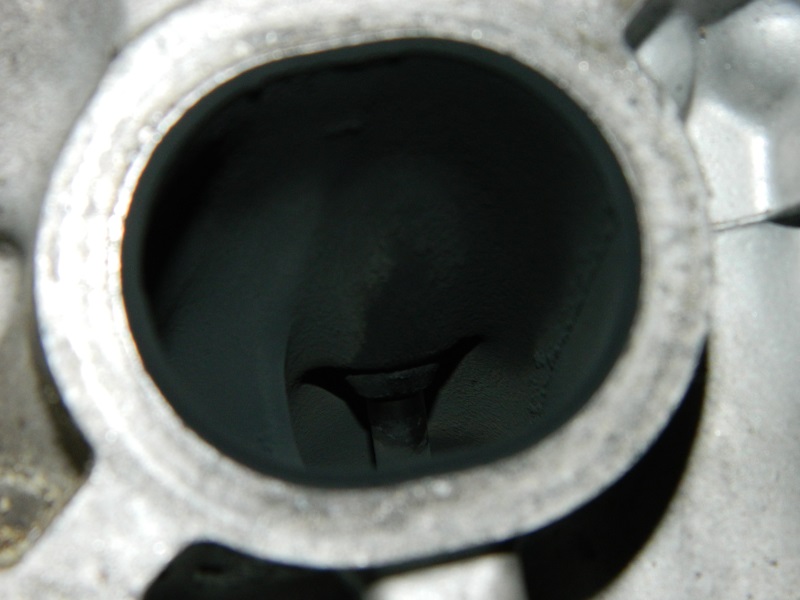
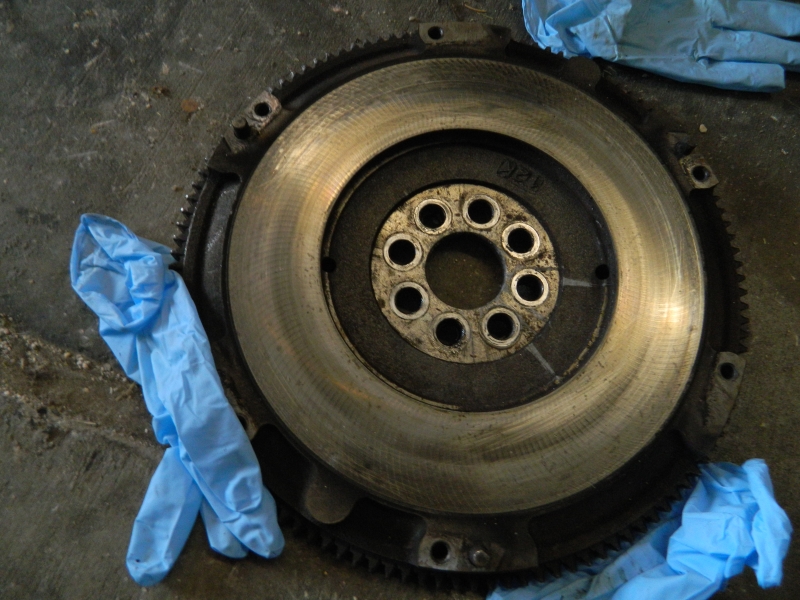
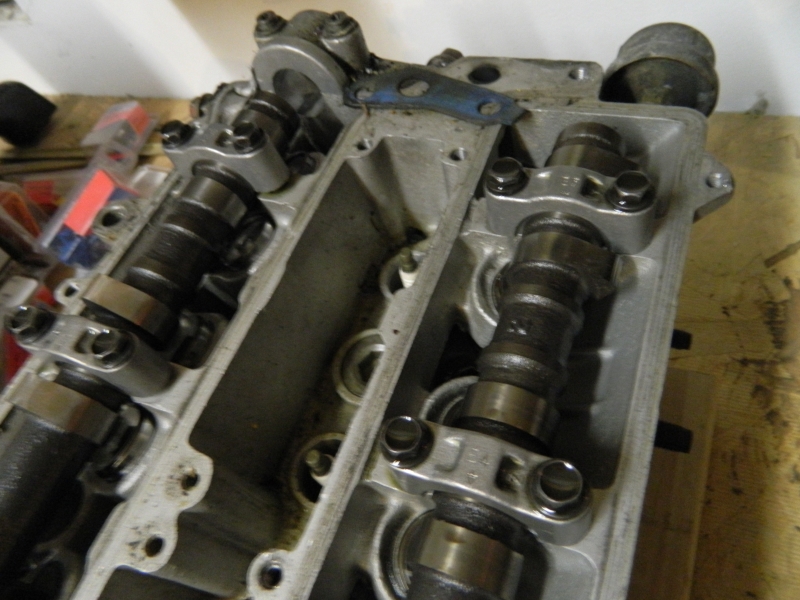
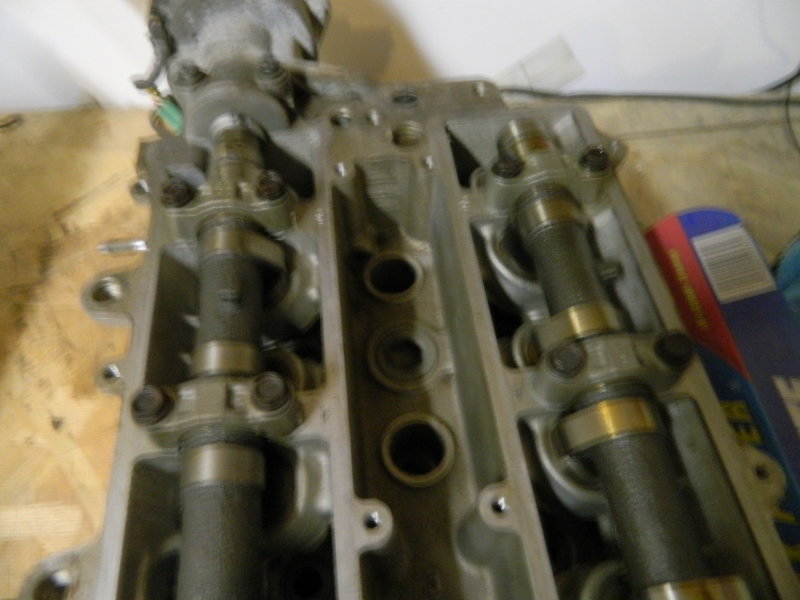
jaydog82":1tytii5y said:ya you should be ok, make sure you check the rod gernals and crank for scoring also remember what piston went were and if you remove the crank stand it on end or leave it in the block for storage.
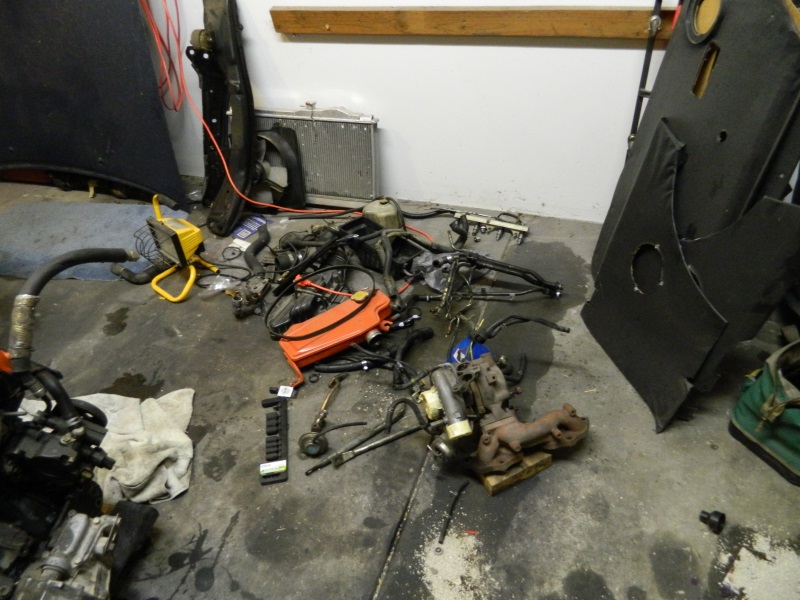
I currently have everything taken apart and organized in a box. Been sitting for a bit as I painted and did some work to my corolla.
Small update and bumping my thread to make it easier to get back to lol.
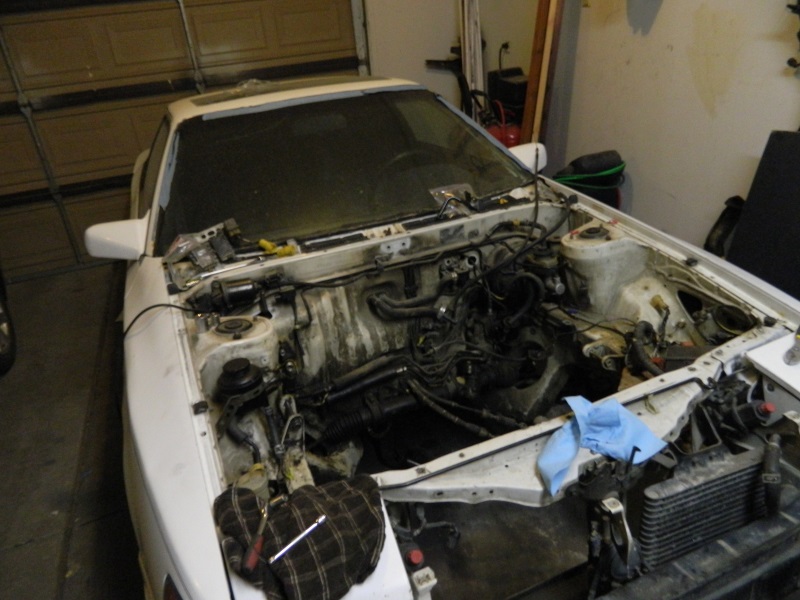
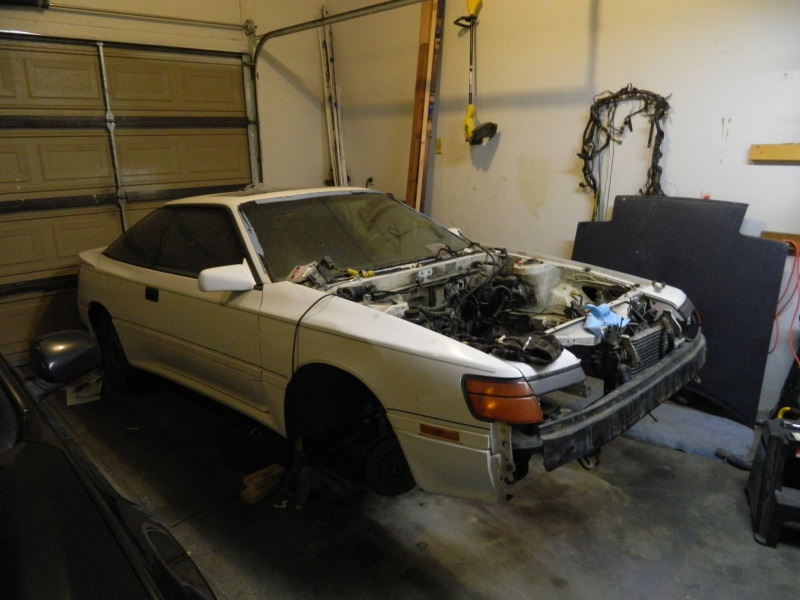
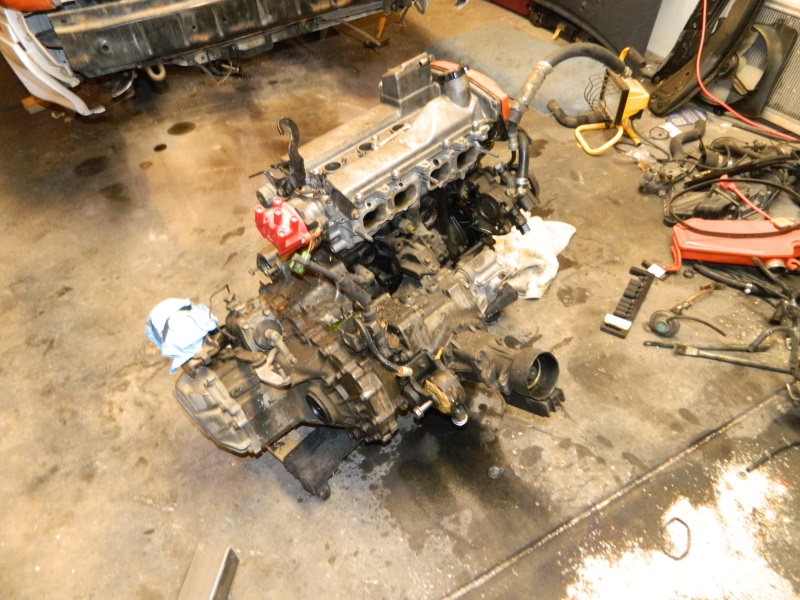
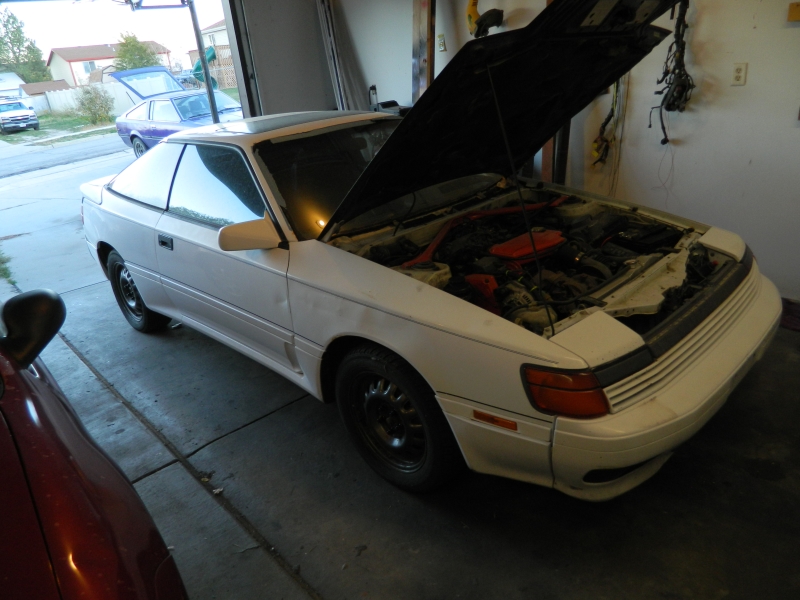
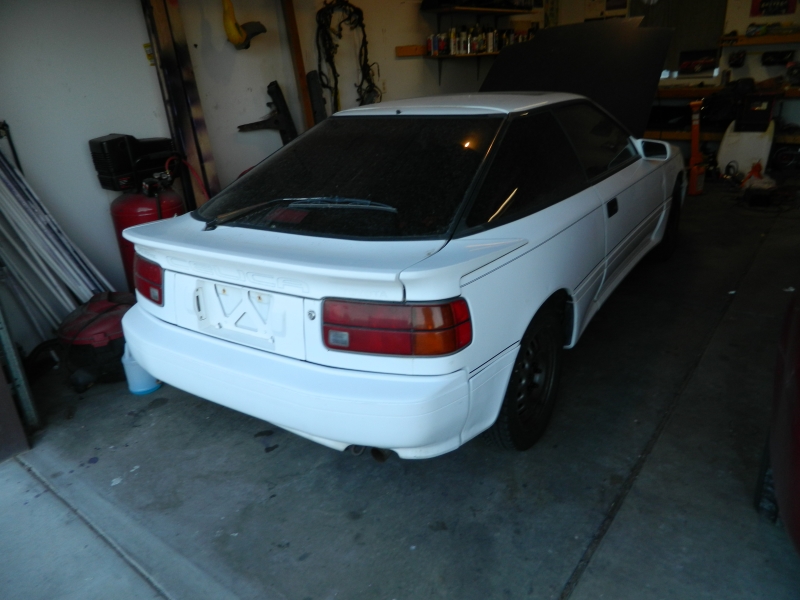
Should be moving her back into the garage this week and start the process of engine removal soon. Also hope to post a video of the engine noise just to confirm rod knock.
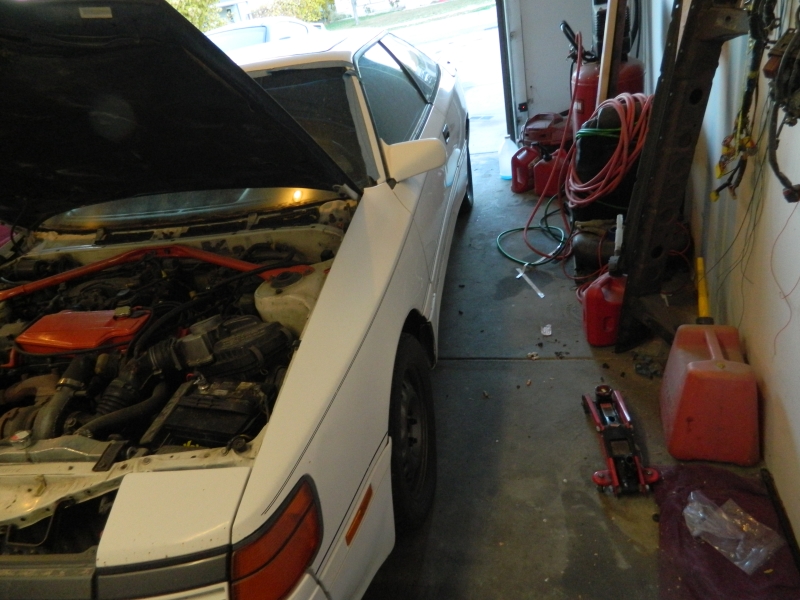
") . Put it underneath nicely and evenly distribute the weight, make sure its even. unbolt the motor mounts and from that point you should be able to slowly drop the motor below. dropping the motor you have to take off the mid pipe. Above you don't but I still say its easier
. Put it underneath nicely and evenly distribute the weight, make sure its even. unbolt the motor mounts and from that point you should be able to slowly drop the motor below. dropping the motor you have to take off the mid pipe. Above you don't but I still say its easier