SkagTits165
Member
Seeing as how im home sick today, i will finally post my car build. Bought it in 2011 and at that time replaced all wheel bearings, seals, u-joints, drive-axles, brake pads and rotors, fuel pump, ct26, complete exhaust, torsen rear diff, teins, 5zigens,etc. Drove it for the year, parked for winter.
Next year upgraded intercooler setup to big RC intercooler and built new intake and small battery upgrade, aluminum rad, etc, etc, etc..$$$$$$$$$ never seems to end. Had failure in engine at end of summer and it sat until this spring 2015 when i had finally accrued enough funds to build proper engine; GenIII.
Bought engine/tranny from JDMSource in Calgary

Bought complete Oem gasket kit and many more parts. Broke engine down to rotating assembly. replaced every seal and gasket i could possibly get to. Had head go in to machine shop for a complete once over. A competent shop, but they have some newer dude that re-assembled my head and right fucked it up. Good thing i pay attention to minor details and didn't just install.

Do you see it? The valve keepers seemed odd looking on 3 valves, took them all apart to find the idiot must have dropped or lost some keepers, and found something close. He didn't tell anyone and put it all together. Guaranteed it would have spit a half out and piled up my motor. I cant seem to find the pictures showing the differences in keepers, but the lock ring was .5mm different in placement.
Then i find these marks/damage on 4 valves
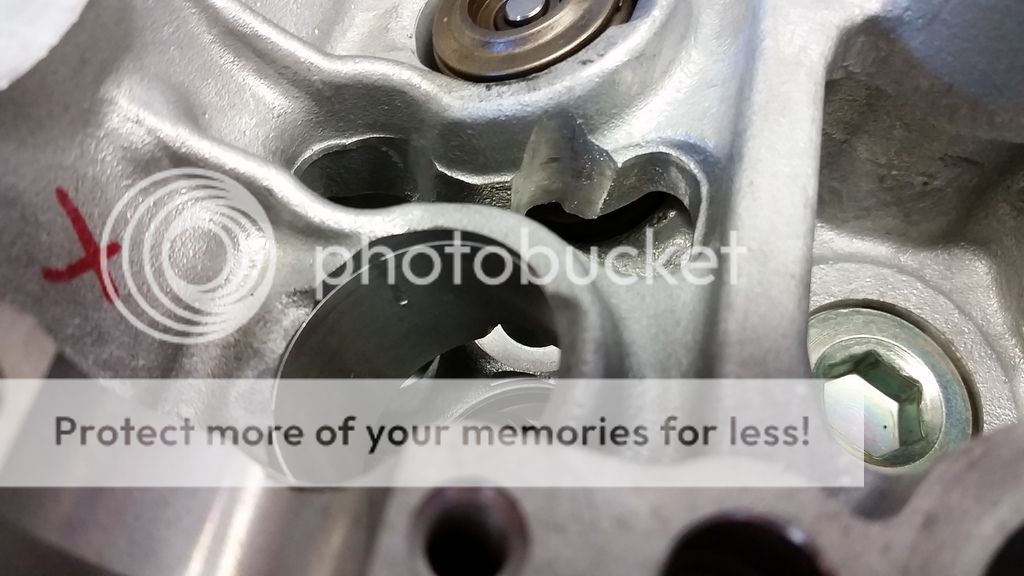
Took about 4 hours to polish it to a good state. Sucks they are damaged forever.
Head on with arp studs and Oem HG


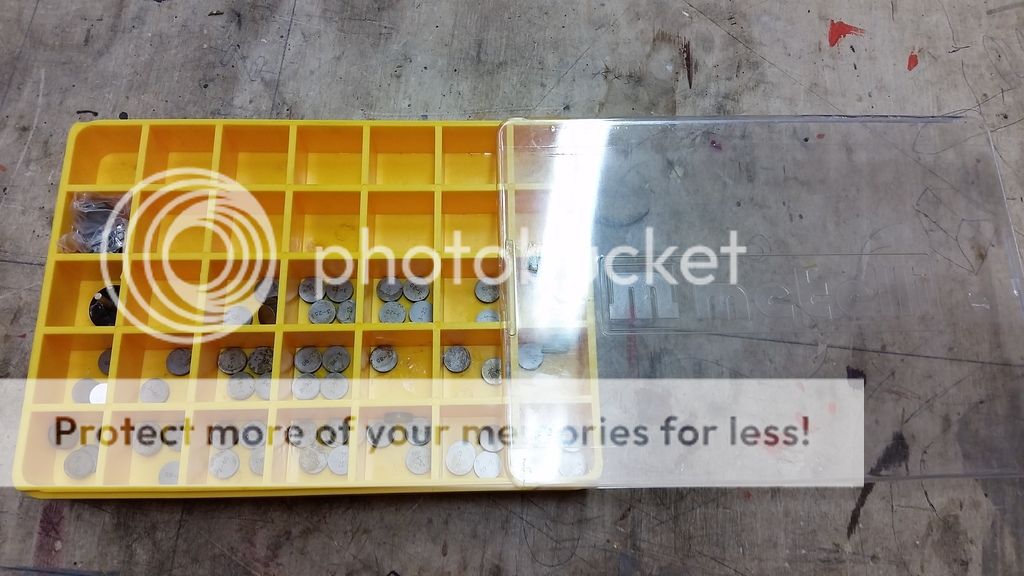
Because of head refresher, the valve adjustment was out on all but 1 valve. Looked everywhere i could think of, and most cost effective way was to order a complete shim kit. If anyone is in need, get a hold of me. The kit has every size shown in the BGB if i remember correctly.

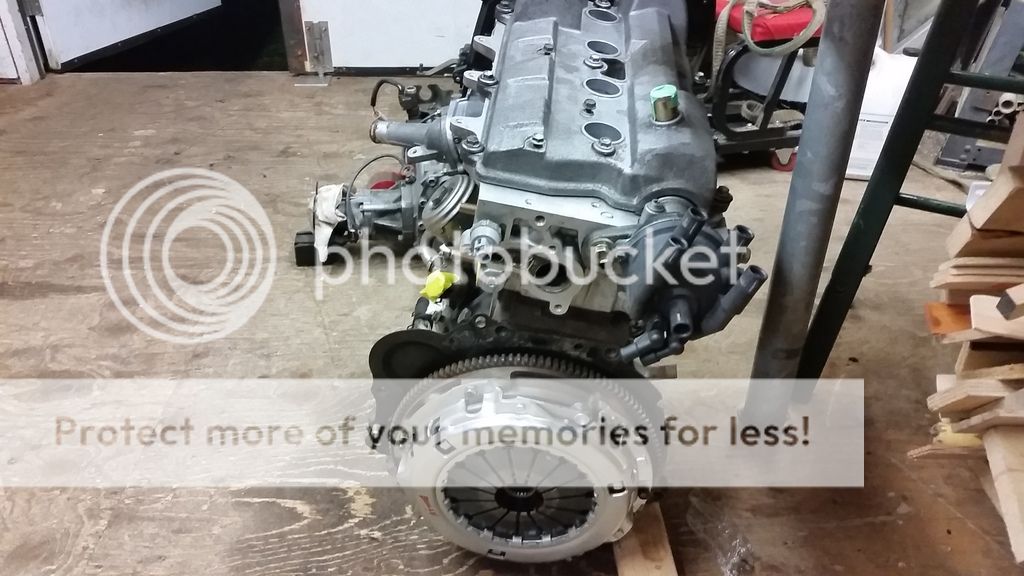
Bully clutch supplied by member Klue. This thing never slips, and is super smooth
i wish that i took more pictures of the harness, because i dont the a picture of it completed. I wanted a really stock look under the bonnet, so i completely took the stock GenIII harness apart, and extended them through all the stock st165 locations. I used the st165 fuse box. I also ran 4 extra wires just for future consideration.
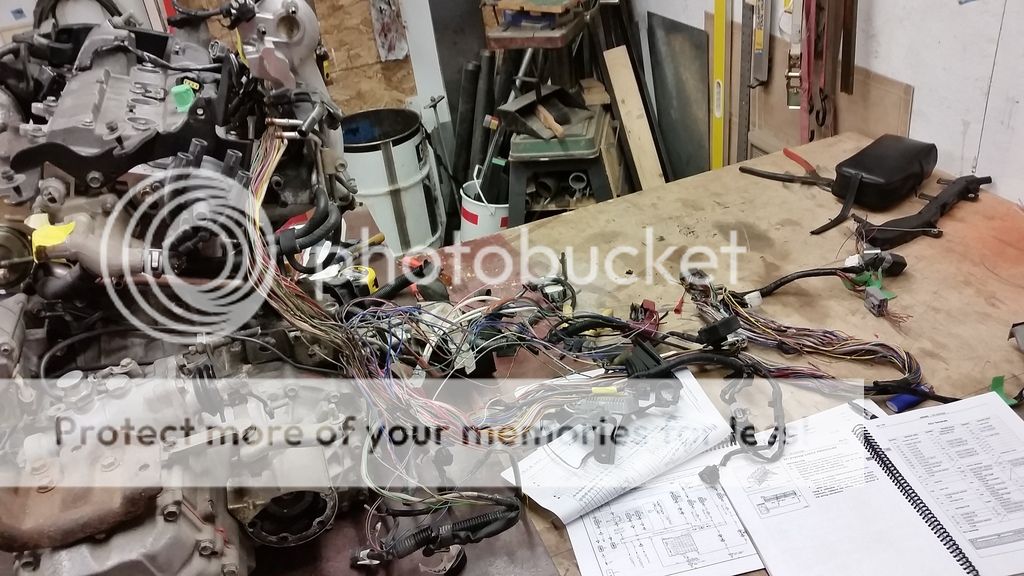
Stock st165 engine harness for proper measurements and pieces.

I'm an electrician by trade, so the wiring wasn't too tricky. Started up first try with no codes.

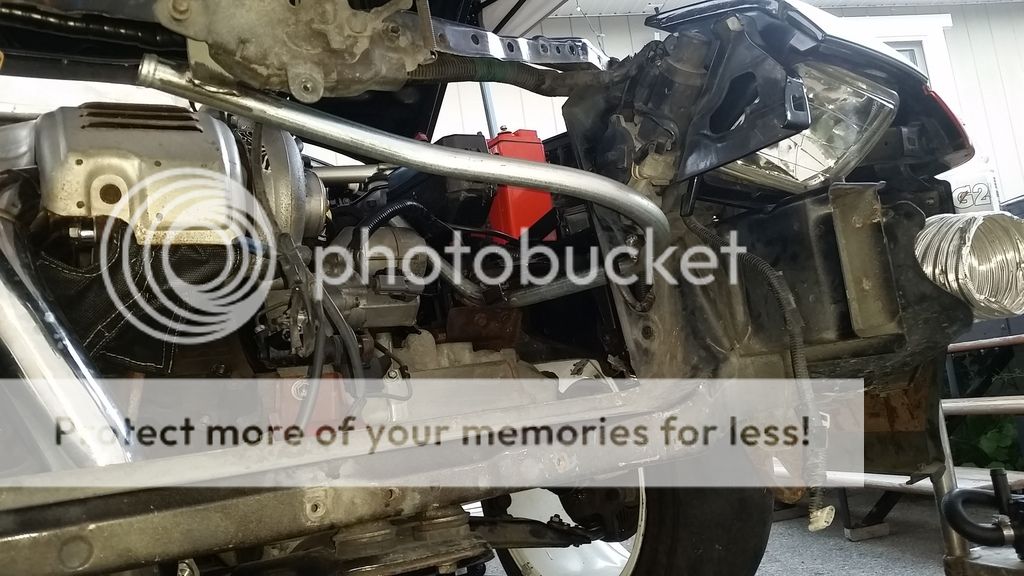
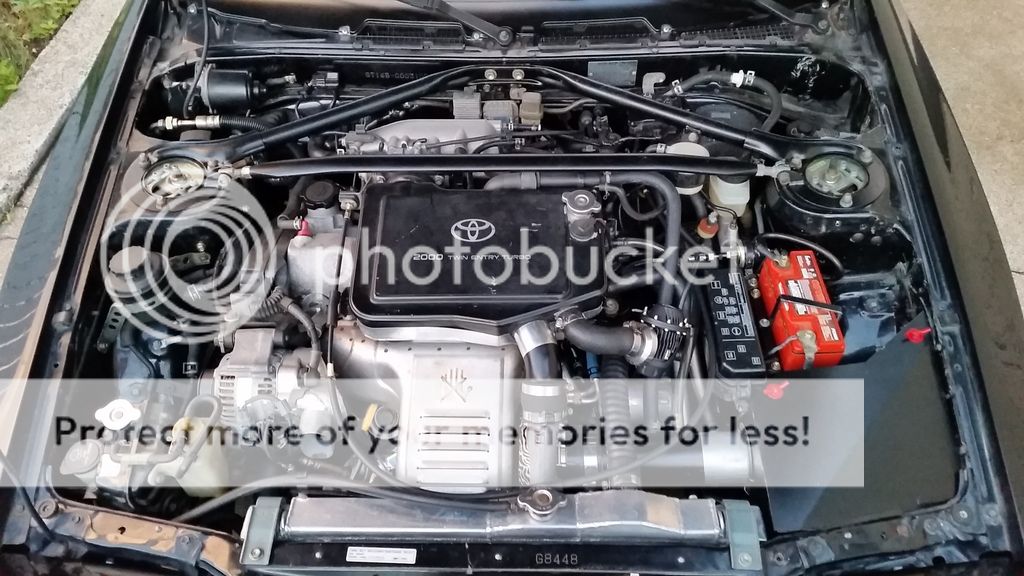
Ready for transplant

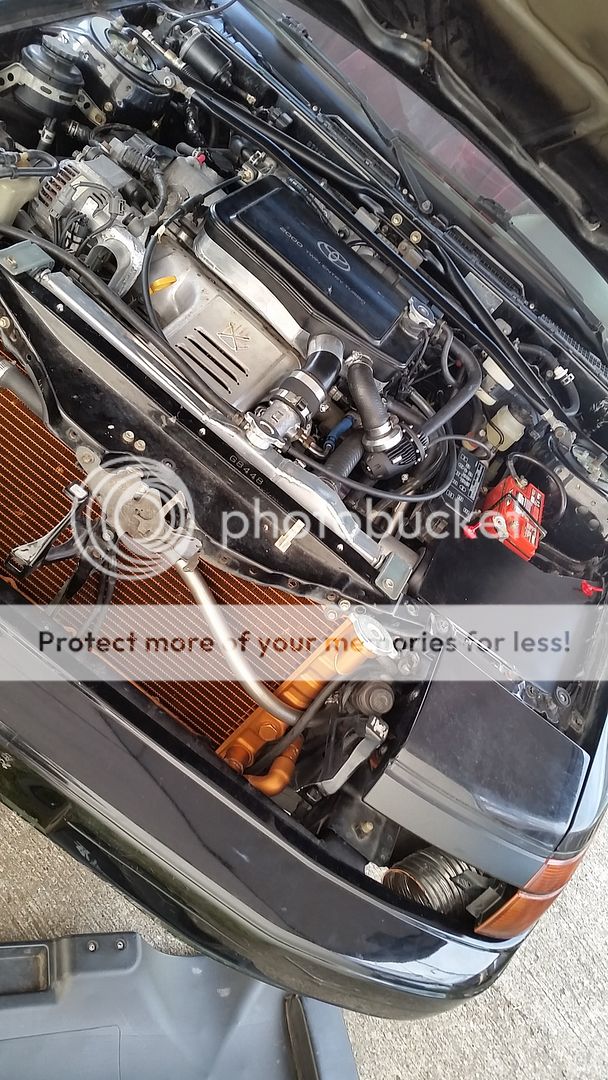
GenIII fit in very easily with mounts and stub shafts from GenI.

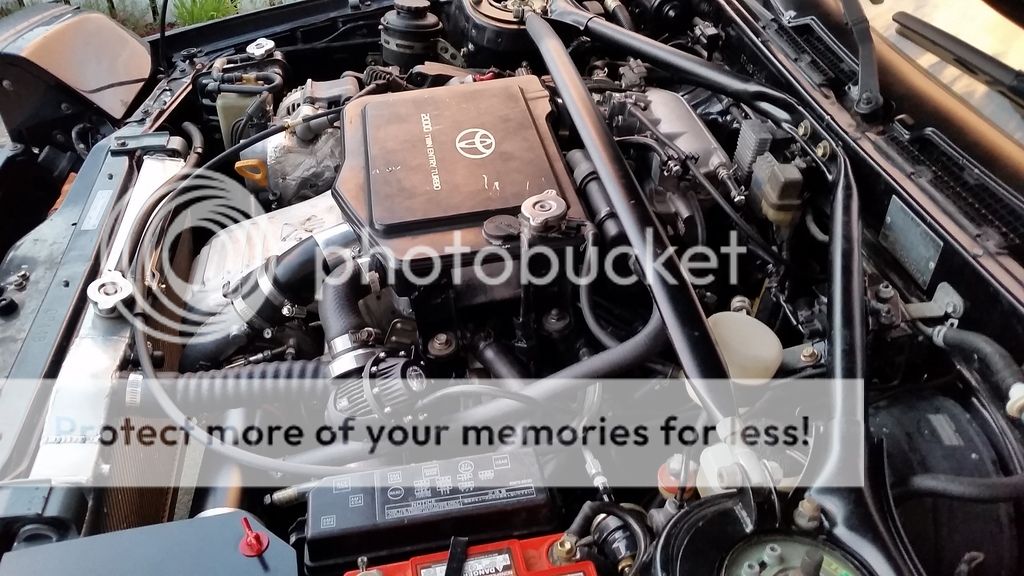
This time i told myself i would do an airbox

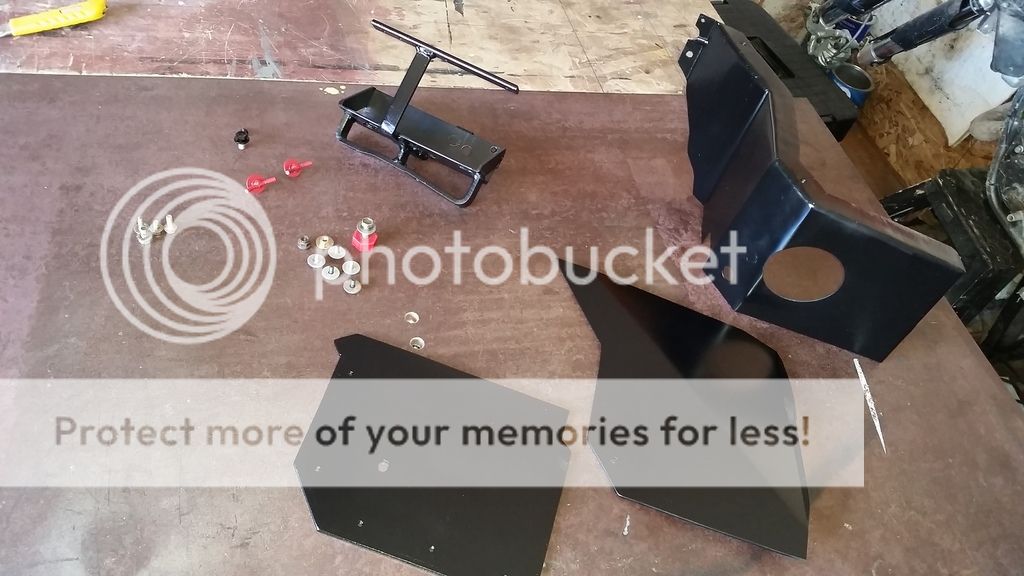
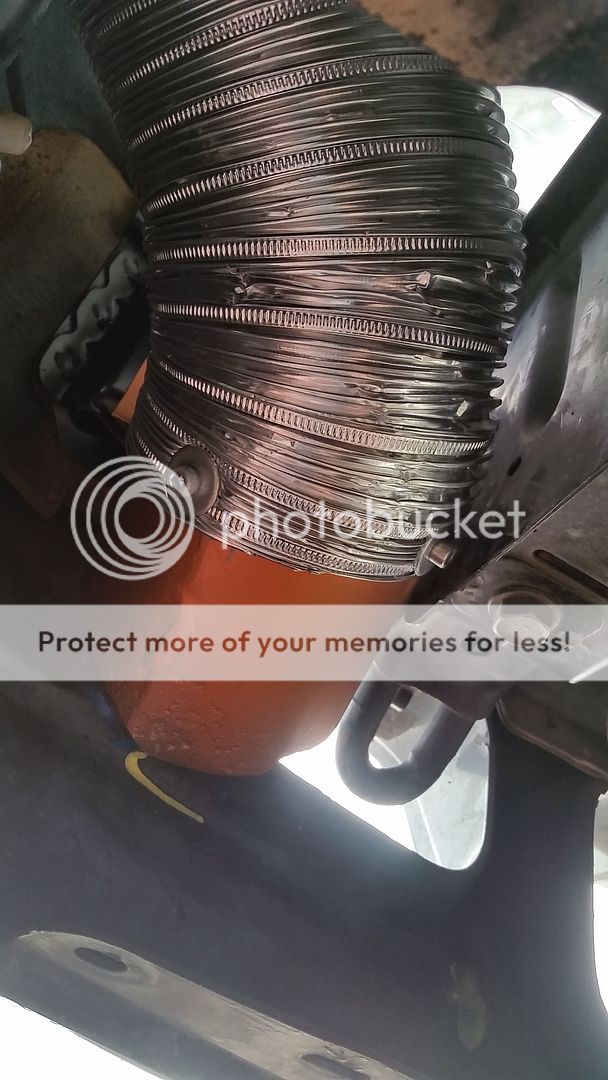
The cold air duct piece sandwiches the inner body through to the airbox on the other side with the same bolts, for a truly strong piece.

That's a full 4" inlet, to be finished later

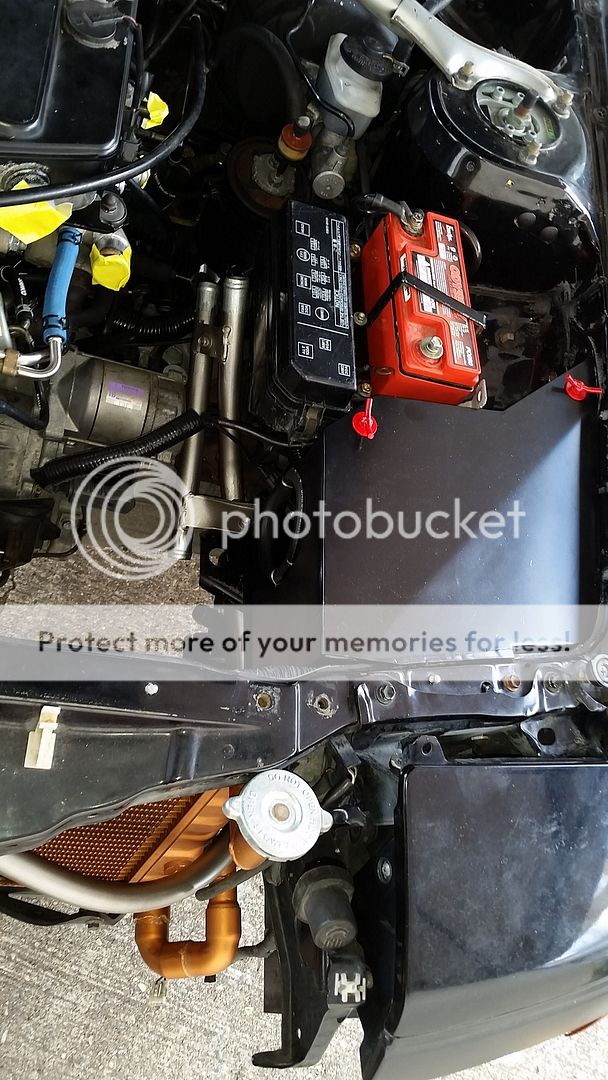
had to relocate brackets for secondary fuse box. I rewired these relays inside for intercooler pump, starter relay mod, and fan control.


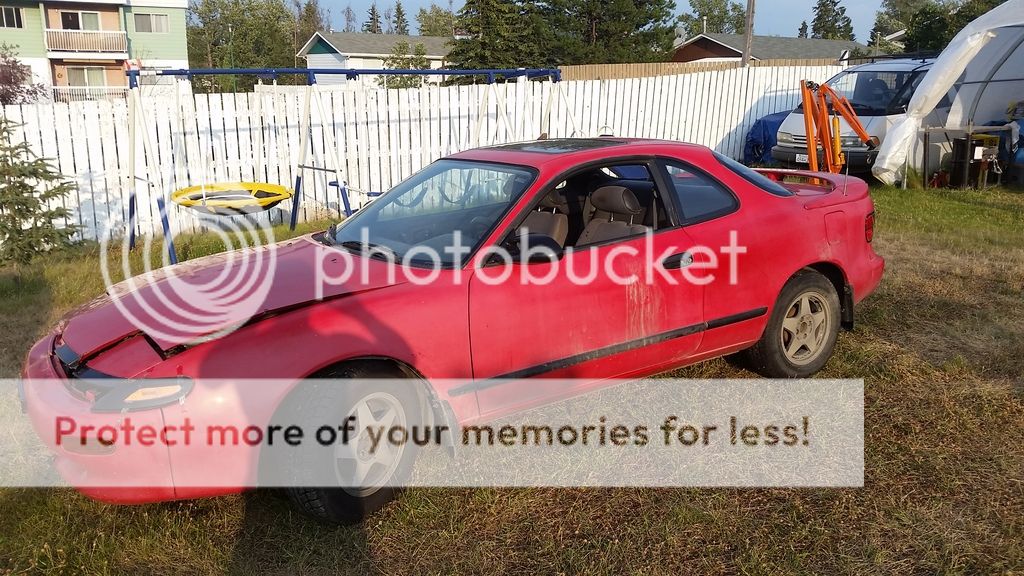
Bought a shitty parts car for various little bolts, relays, etc for $300
New hard lines for my big intercooler rad setup

I didn't want hoses leaking or coming off, so i made a tool to flare. worked awesome


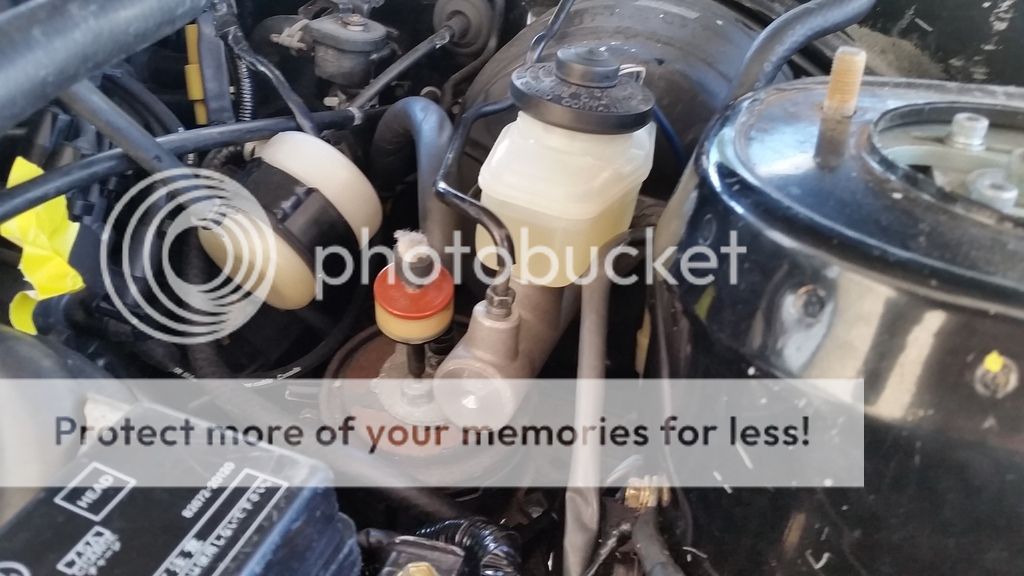
Brand new master cylinder, and tank from red parts car
255lph fuel pump upgrade

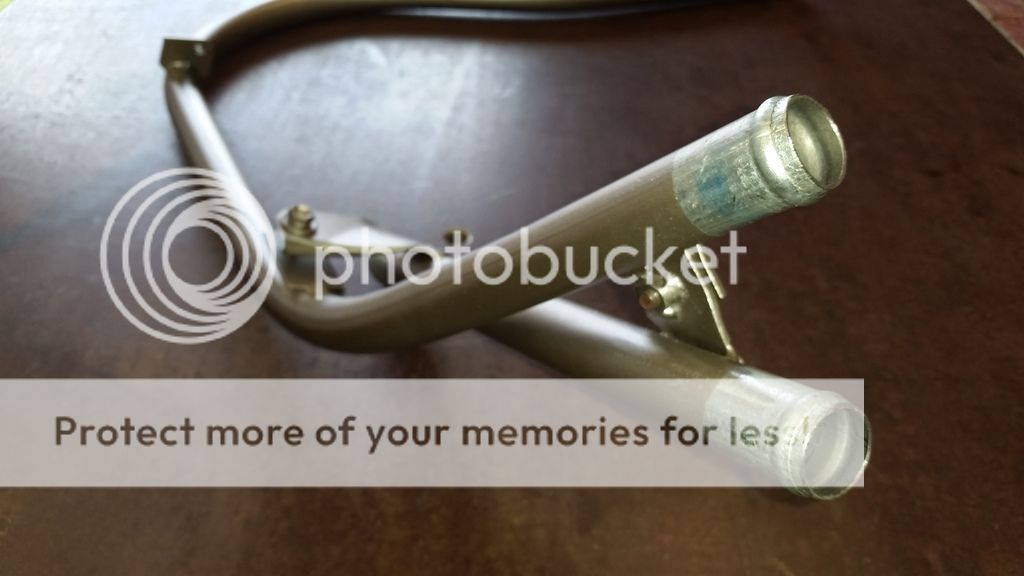
Finally put in front and rear whiteline swaybars that i have had sitting for about 3 years
Built shroud for fan


Had wires built by a spark plug wire manufacturer in Vancouver, they are junk. Their v8 wires are awesome, but they cant make 3sgte wires. I had them make a set back in 2012, took them 3 tries to get them right. I thought id give them the benefit of the doubt this time, but never again. They pulled apart first time i took them out. And i do always use the grease on the rubber bits.
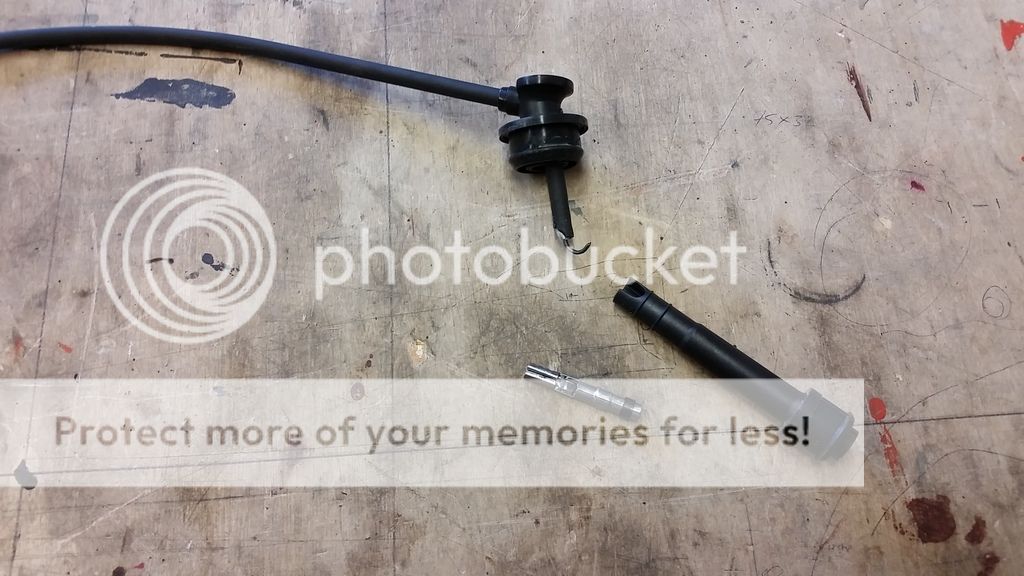
I got a full refund, then ordered a set off of RockAuto. $100 delivered
Ready for first start, only open down-pipe.

Started and ran great, just a few minor tweaks
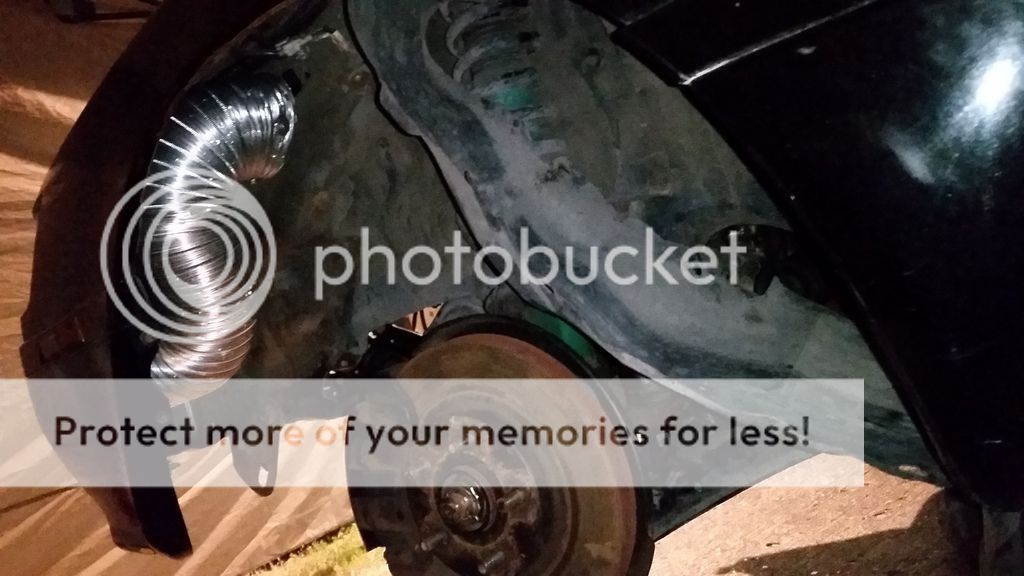
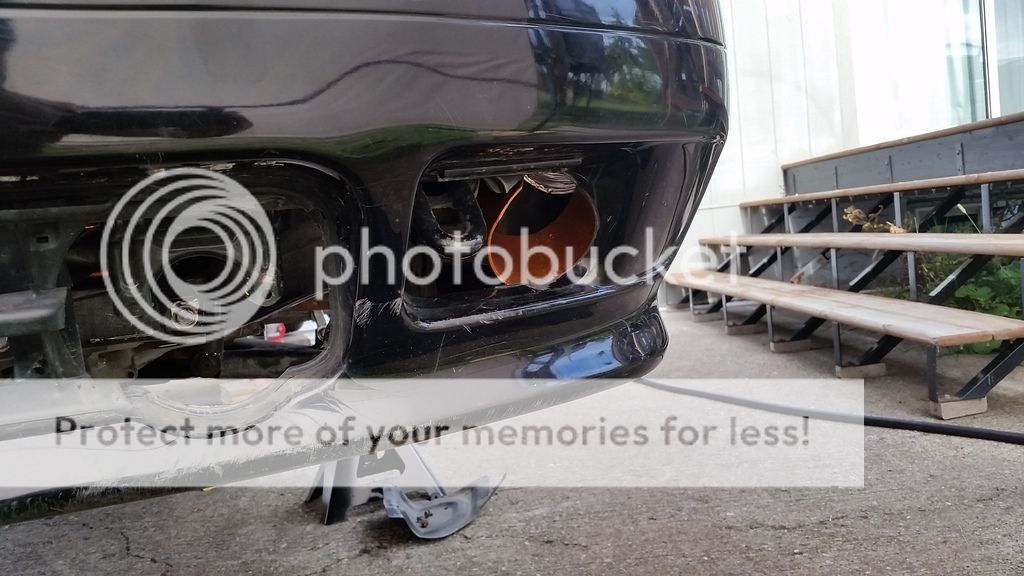
Made the duct inlet for cold air inside bumper
Whilst building harness, i wired componentry to fit exactly where the st165 components were, and cut and welded brackets to fit GenIII , like fuel relay, resistors, coil pack, etc. Painted front whtieline strut brace black as well as stock brace.
Painted fno1`s flat green

Bought some eBay complete 3" exhaust, had to build this weird nut to make sure that the flanges mated perfectly tight from downpipe to 'B' pipe. Also had turbo faces machined months ago, as well as exhaust manifolds faces, and down-pipe faces.
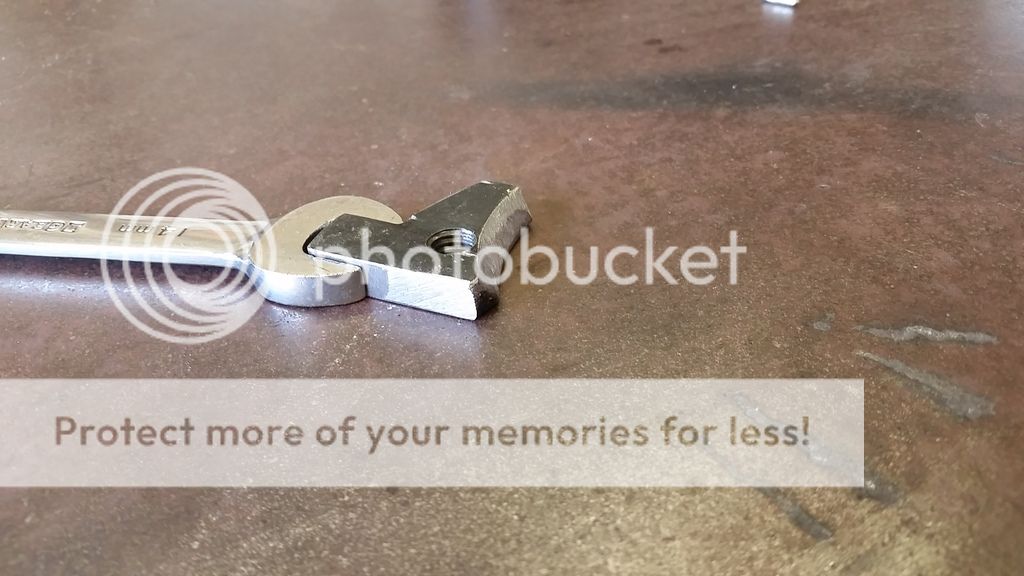
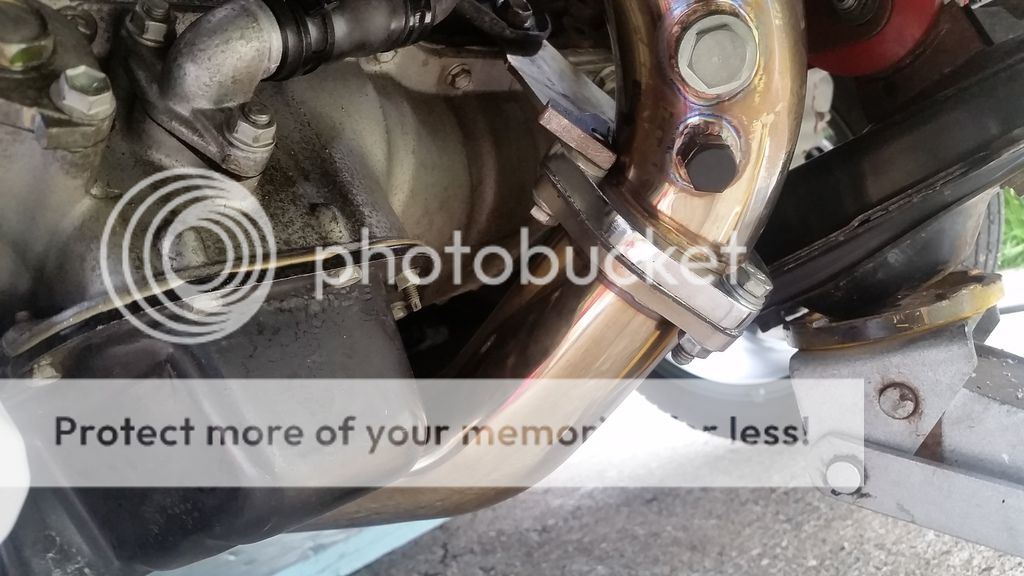
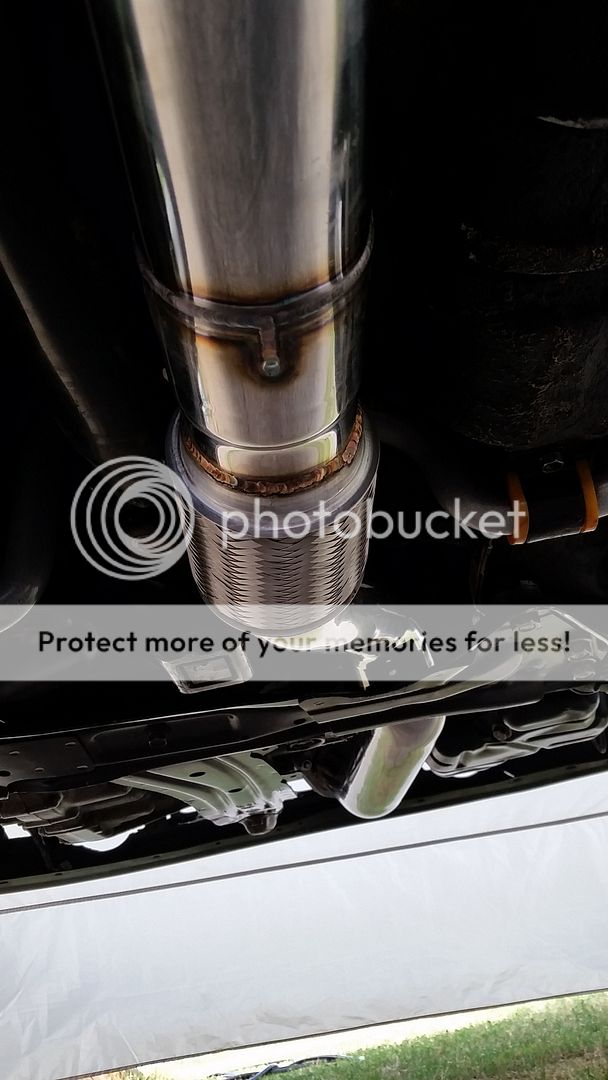
I refused to cut any Oem braces that would hinder the full 3" exhaust, so i spent roughly 8 hours assembling all components, seeing where i could deform exhaust, dismantle, distort,bend,tweak, reassemble. It worked great. If i cut and re-welded certain sections under the seating area, i could gain 2 inches more ground clearance, but im ok with it.
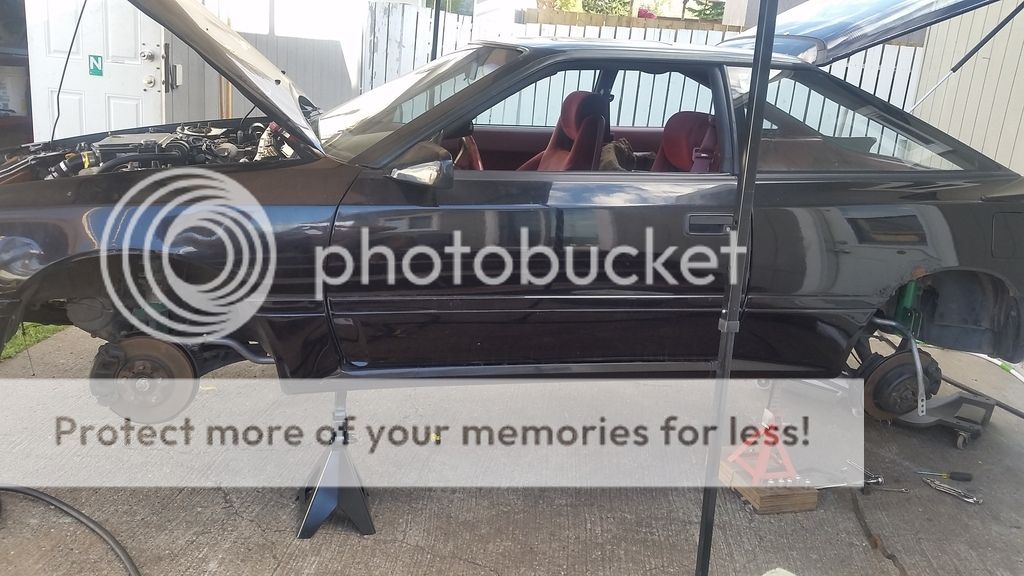
Sittin pretty

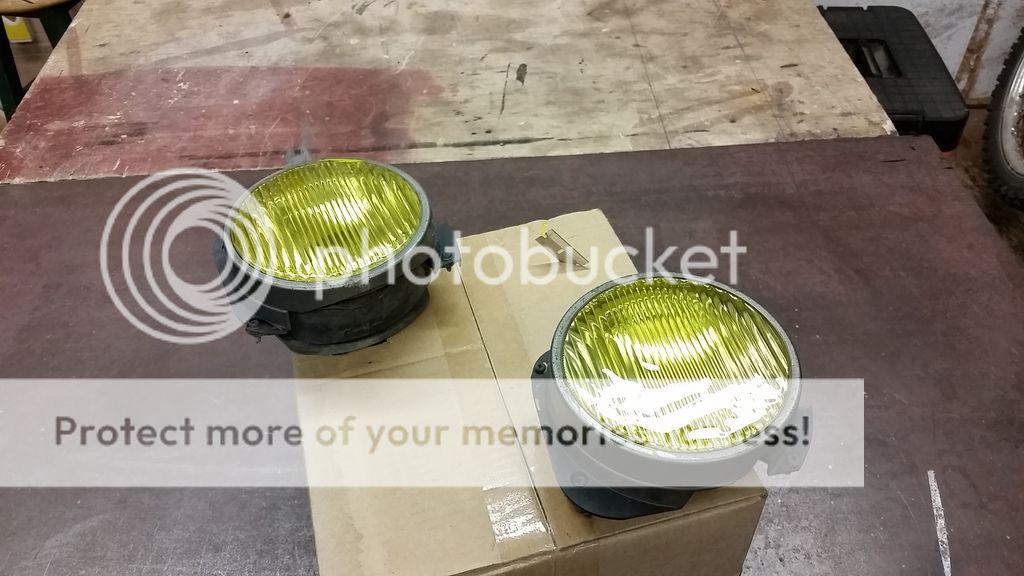
Stained fog lights
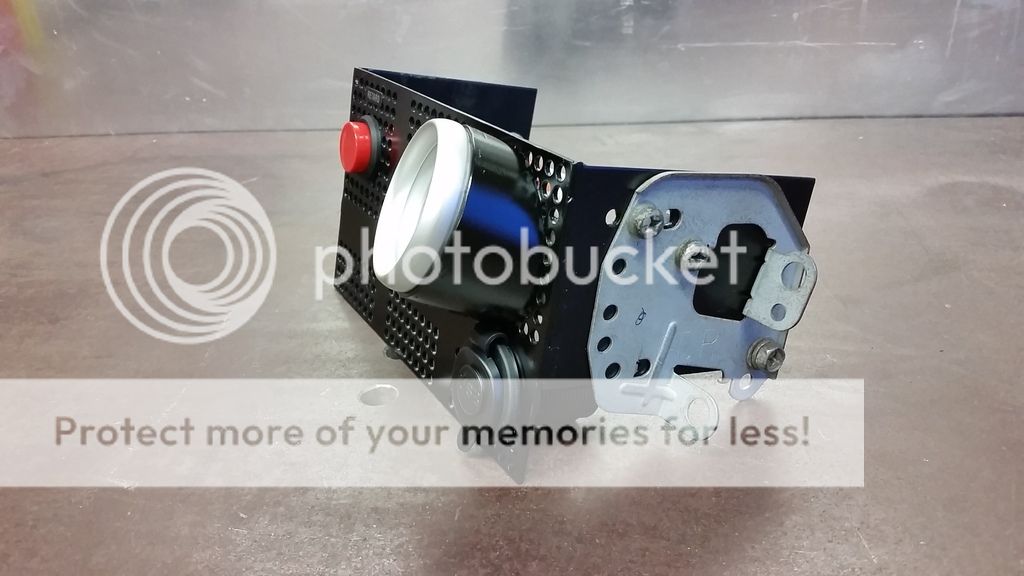
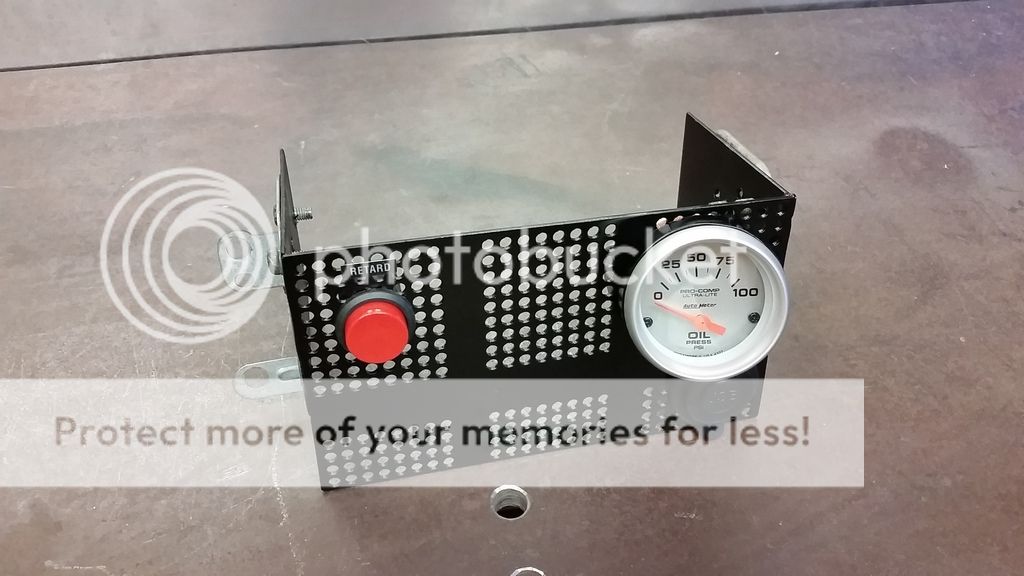
Don't want a head unit for stereo, so built this piece. Top left is the horn button, bottom right USB charging ports. Beside the oil pressure gauge i have to mount my voltmeter ammeter unit whenever it shows up

Also did short shifter upgrade from 94 celica. My measurements gave me a 4inch throw now, instead of stock 5+inches

Turned the adjustable Tein camber adjusters 120 degrees to give me 1degree more castor. Made a world of difference. Turns in and oversteers very nicely now


Ready to roll

Lots more that i cant remember. But a very labour intensive few months
I love this motor
BYE BYE STI
Next year upgraded intercooler setup to big RC intercooler and built new intake and small battery upgrade, aluminum rad, etc, etc, etc..$$$$$$$$$ never seems to end. Had failure in engine at end of summer and it sat until this spring 2015 when i had finally accrued enough funds to build proper engine; GenIII.
Bought engine/tranny from JDMSource in Calgary

Bought complete Oem gasket kit and many more parts. Broke engine down to rotating assembly. replaced every seal and gasket i could possibly get to. Had head go in to machine shop for a complete once over. A competent shop, but they have some newer dude that re-assembled my head and right fucked it up. Good thing i pay attention to minor details and didn't just install.

Do you see it? The valve keepers seemed odd looking on 3 valves, took them all apart to find the idiot must have dropped or lost some keepers, and found something close. He didn't tell anyone and put it all together. Guaranteed it would have spit a half out and piled up my motor. I cant seem to find the pictures showing the differences in keepers, but the lock ring was .5mm different in placement.
Then i find these marks/damage on 4 valves

Took about 4 hours to polish it to a good state. Sucks they are damaged forever.
Head on with arp studs and Oem HG


Because of head refresher, the valve adjustment was out on all but 1 valve. Looked everywhere i could think of, and most cost effective way was to order a complete shim kit. If anyone is in need, get a hold of me. The kit has every size shown in the BGB if i remember correctly.


Bully clutch supplied by member Klue. This thing never slips, and is super smooth

i wish that i took more pictures of the harness, because i dont the a picture of it completed. I wanted a really stock look under the bonnet, so i completely took the stock GenIII harness apart, and extended them through all the stock st165 locations. I used the st165 fuse box. I also ran 4 extra wires just for future consideration.

Stock st165 engine harness for proper measurements and pieces.

I'm an electrician by trade, so the wiring wasn't too tricky. Started up first try with no codes.

Ready for transplant

GenIII fit in very easily with mounts and stub shafts from GenI.

This time i told myself i would do an airbox


The cold air duct piece sandwiches the inner body through to the airbox on the other side with the same bolts, for a truly strong piece.


That's a full 4" inlet, to be finished later

had to relocate brackets for secondary fuse box. I rewired these relays inside for intercooler pump, starter relay mod, and fan control.


Bought a shitty parts car for various little bolts, relays, etc for $300

New hard lines for my big intercooler rad setup


I didn't want hoses leaking or coming off, so i made a tool to flare. worked awesome


Brand new master cylinder, and tank from red parts car

255lph fuel pump upgrade

Finally put in front and rear whiteline swaybars that i have had sitting for about 3 years

Built shroud for fan


Had wires built by a spark plug wire manufacturer in Vancouver, they are junk. Their v8 wires are awesome, but they cant make 3sgte wires. I had them make a set back in 2012, took them 3 tries to get them right. I thought id give them the benefit of the doubt this time, but never again. They pulled apart first time i took them out. And i do always use the grease on the rubber bits.

I got a full refund, then ordered a set off of RockAuto. $100 delivered
Ready for first start, only open down-pipe.

Started and ran great, just a few minor tweaks
Made the duct inlet for cold air inside bumper


Whilst building harness, i wired componentry to fit exactly where the st165 components were, and cut and welded brackets to fit GenIII , like fuel relay, resistors, coil pack, etc. Painted front whtieline strut brace black as well as stock brace.

Painted fno1`s flat green

Bought some eBay complete 3" exhaust, had to build this weird nut to make sure that the flanges mated perfectly tight from downpipe to 'B' pipe. Also had turbo faces machined months ago, as well as exhaust manifolds faces, and down-pipe faces.


I refused to cut any Oem braces that would hinder the full 3" exhaust, so i spent roughly 8 hours assembling all components, seeing where i could deform exhaust, dismantle, distort,bend,tweak, reassemble. It worked great. If i cut and re-welded certain sections under the seating area, i could gain 2 inches more ground clearance, but im ok with it.

Sittin pretty

Stained fog lights

Don't want a head unit for stereo, so built this piece. Top left is the horn button, bottom right USB charging ports. Beside the oil pressure gauge i have to mount my voltmeter ammeter unit whenever it shows up


Also did short shifter upgrade from 94 celica. My measurements gave me a 4inch throw now, instead of stock 5+inches

Turned the adjustable Tein camber adjusters 120 degrees to give me 1degree more castor. Made a world of difference. Turns in and oversteers very nicely now


Ready to roll

Lots more that i cant remember. But a very labour intensive few months
I love this motor
BYE BYE STI

")


