Nitro Alltrac's '92 185

darthripley

Moderator
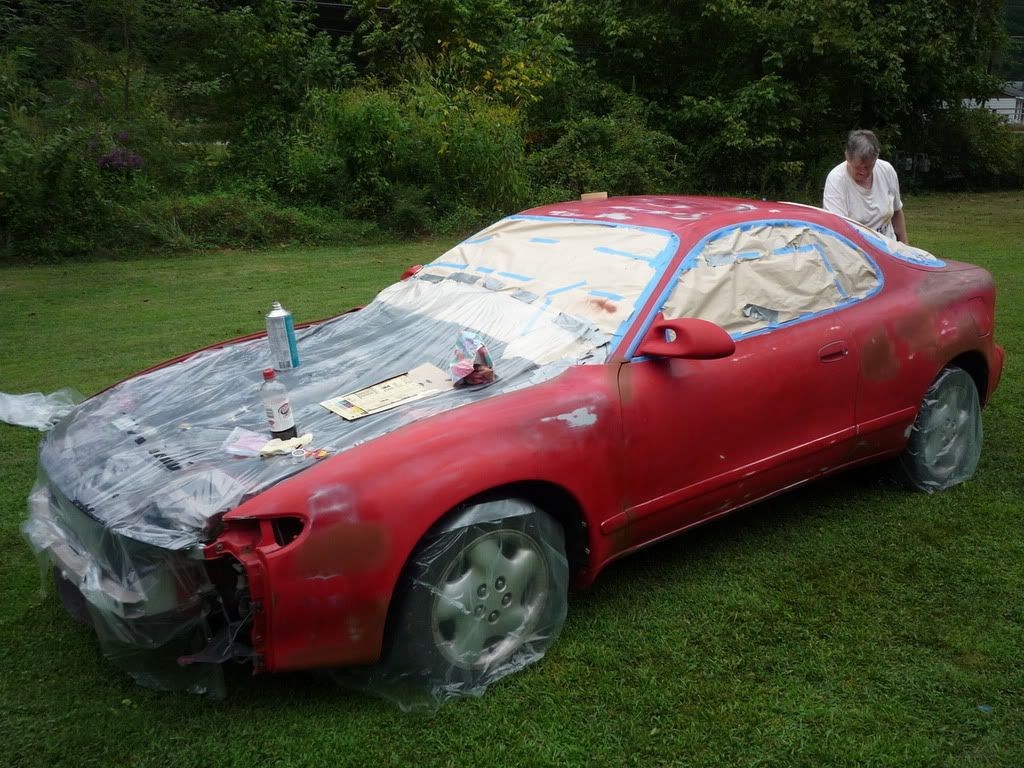
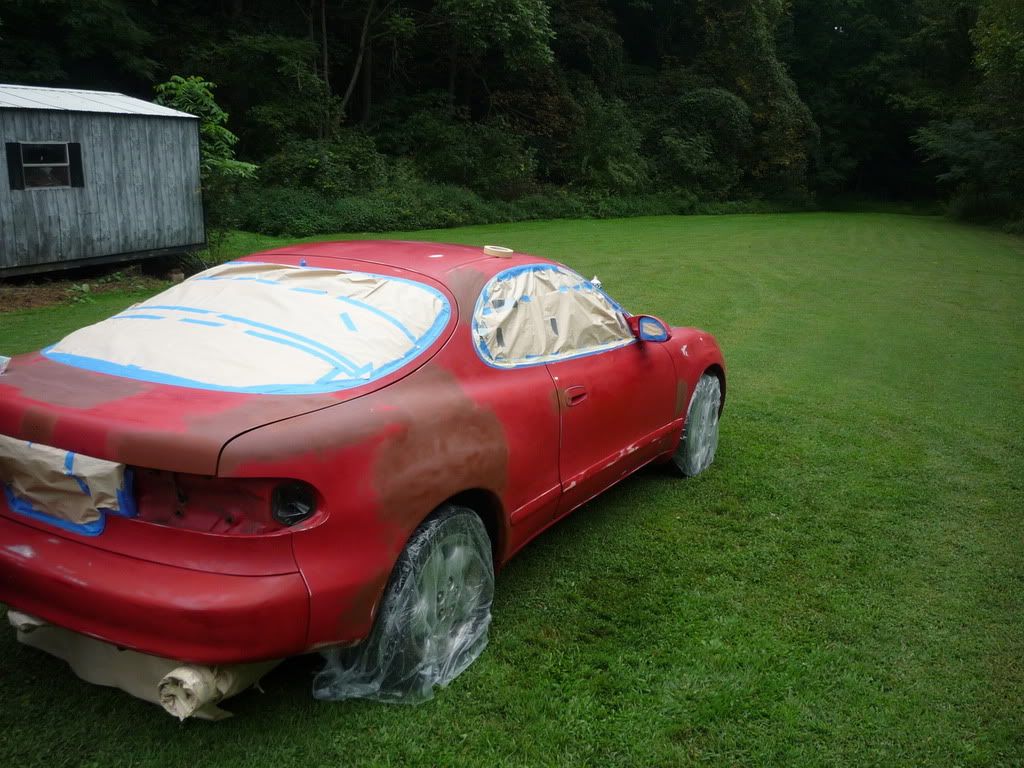
it's looking good so far Mike.

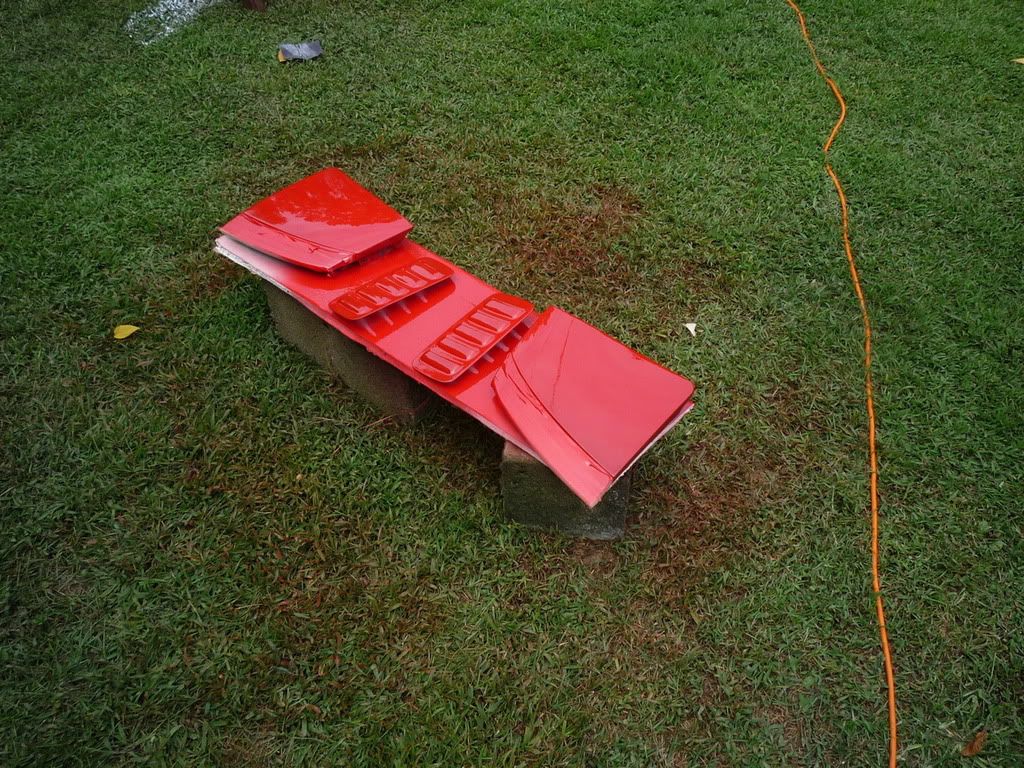
since you're just rattle can painting it, i'd like to suggest a place that I got some paint from - I used it on the mudflaps & it sprays like a dream.

http://www.automotivetouchup.com/spray_paint.asp

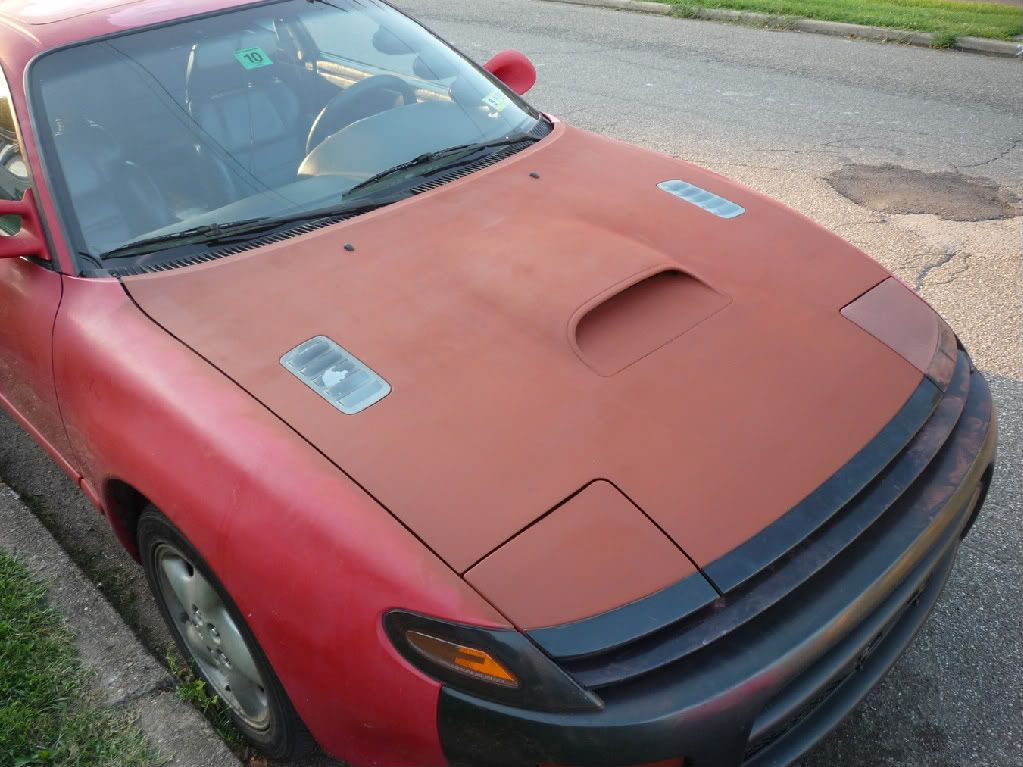
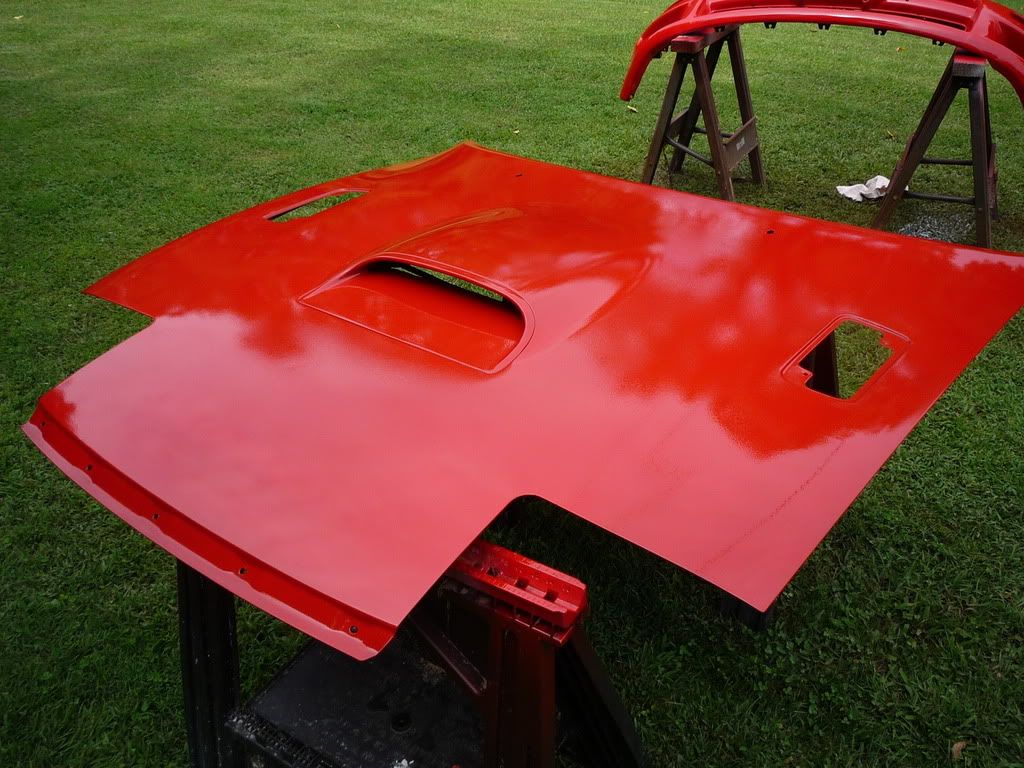
the tips on their cans are a very wide fan tip so it will help prevent getting the streak marks like what you got on your hood from a smaller regular tip.

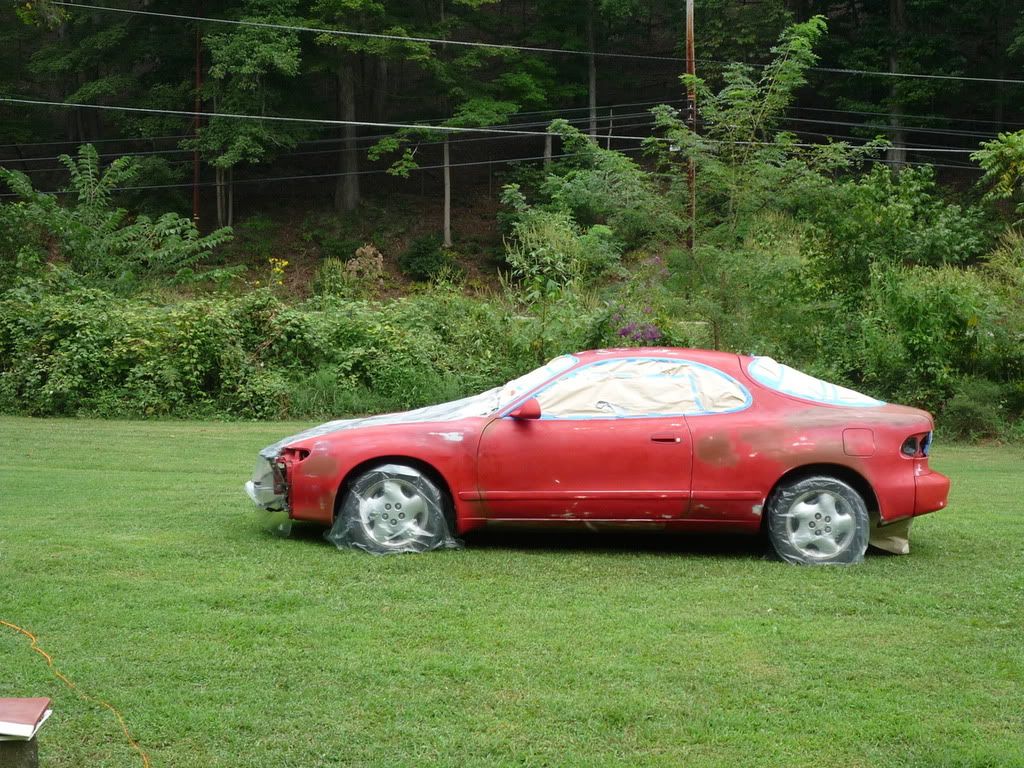
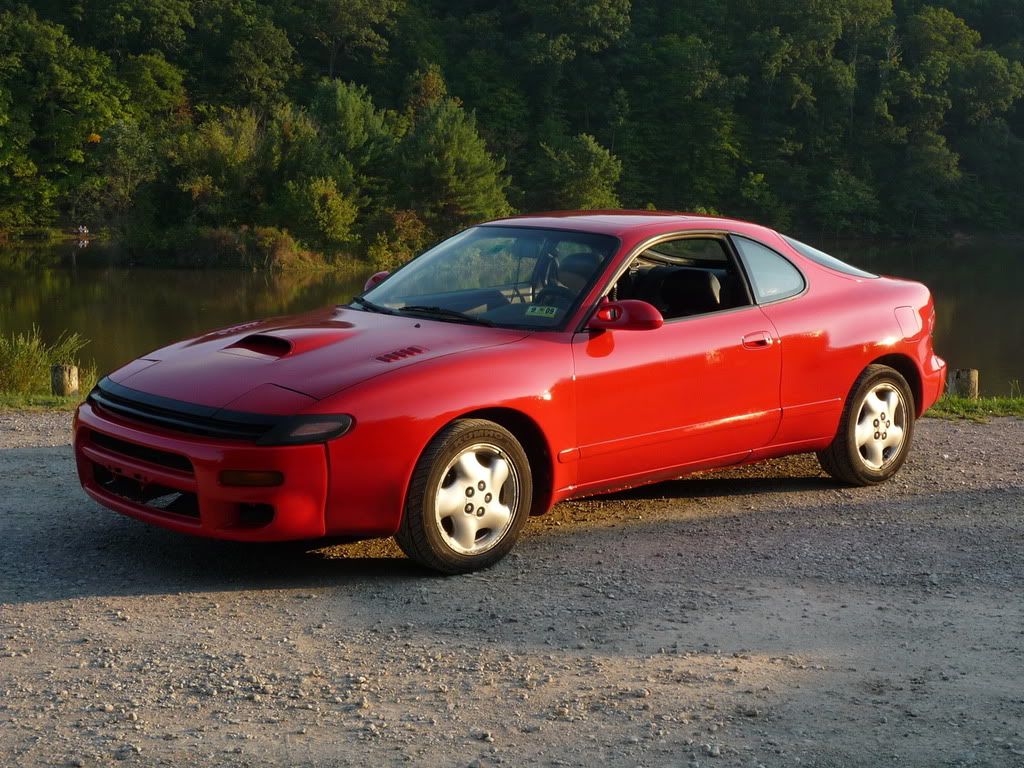
the shade of Super Red 3E5 they have is spot on correct as well.
i had a problem with the Duplicolor paint i got not matching up right - i thought that Vadar had been repainted stock 3E5 but after that i had some doubts.
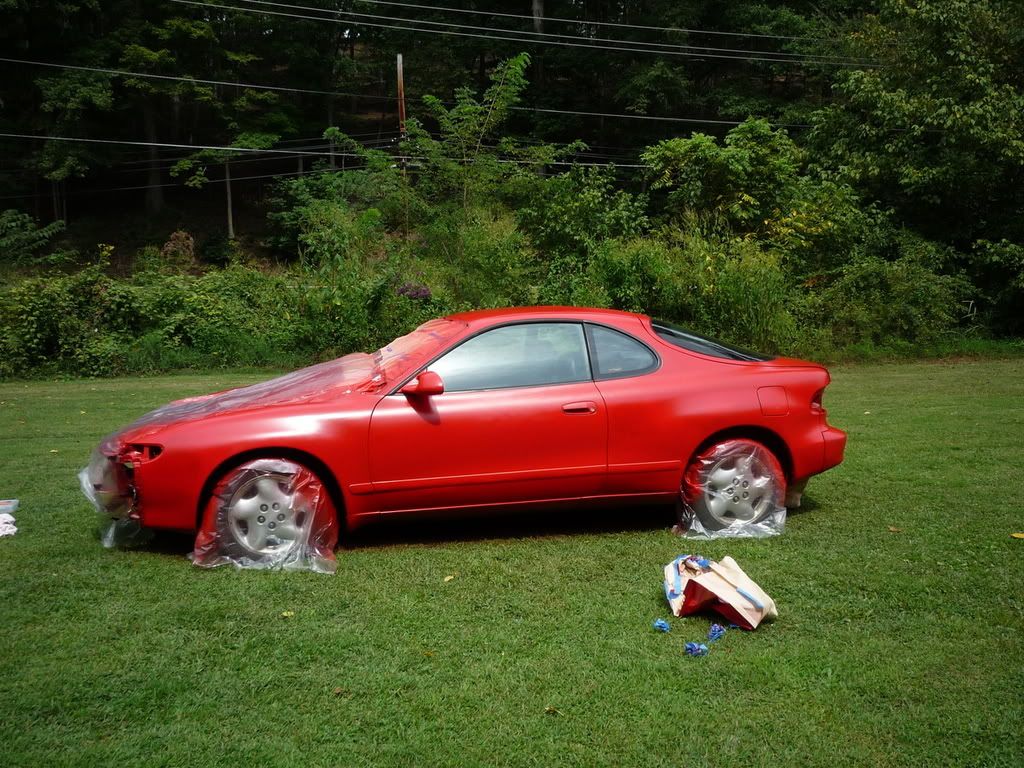
i stumbled across the paint site & decided to order a can of Super Red for the mudflaps just to see. to my delight it's a perfect match.

the paint is not that expensive from them at all & it all sprays really nicely.
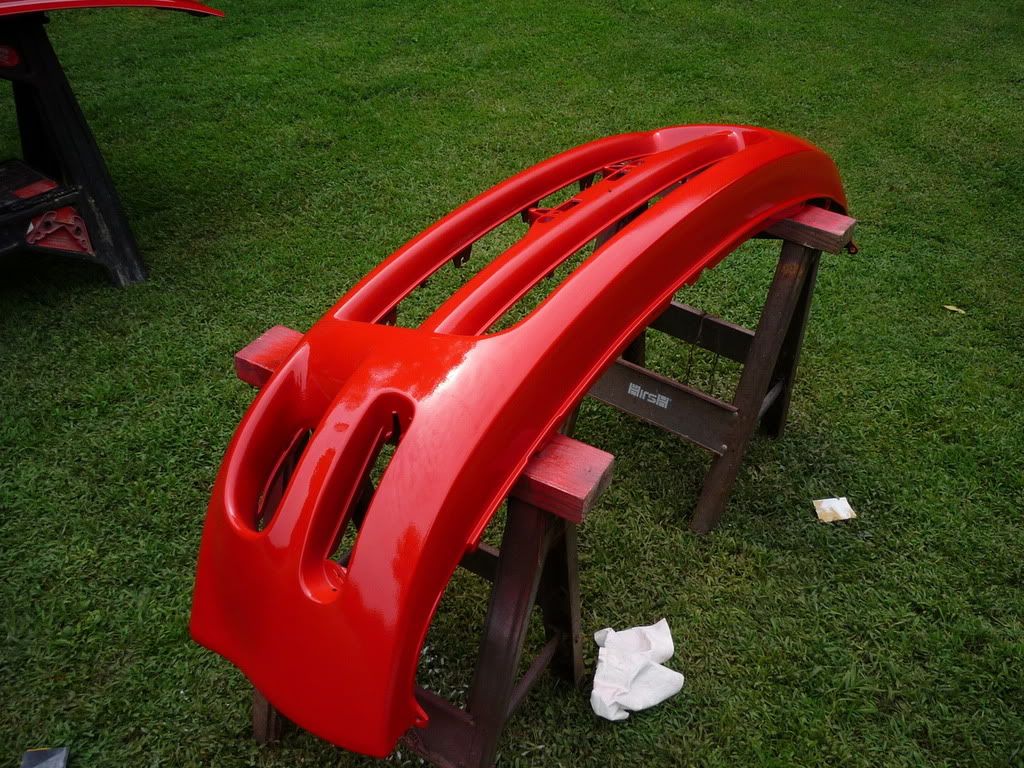
for painting your RC bumper i'd suggest getting a can of the Adhesion Promoter. i used that on the mudflaps & i'll be using it on the RC bumper once we get it.

they are in louisiana & i got my order from them super quick since they're so close to us.

keep up the good work! :)

p.s. you can also go to a Sherwin Williams auto paint place & ask them to put their automotive paint into aerosol cans for you.
the quality of their paint is close to PPG at a more affordable price.
 

Nitro_Alltrac

New member
Thanks for the info Keri. The nozzle was exactly the problem I ran into. The first can that I used had the wider fan nozzle. The second one didn't. The second can also seemed to dry way to fast, evern before it hit the hood. It had a lot more overspray and kind of balled up.

I picked some adhesion promoter for the bumper on Friday as well. Does anybody know if you need to prime the bare Toyota bumper as well as use the adhesion promoter? On the can it says to topcoat right over the promoter.

Hopefully I'll have some more progress to share shortly.
 

darthripley

Moderator
on the mudflaps, i just topcoated over the adhesion promoter.
i'm planning on doing the same thing with the bumper.
as long as you get 2-3 good coats of base paint + 3-4 good coats of clear coat it should be a-ok without primer.
 

Nitro_Alltrac

New member
Thanks Keri. I've got mudflaps coming now as well. After seeing yours I started looking and a member at Celicatech had car that he was parting out that had them. I should have them in a couple of days. Something else to paint now! :D
 

Nitro_Alltrac

New member
Another progress post. Things are going a little slow between getting the kitchen remodel finished and the damn weather (WV has become part of the monsoon zone this summer).

I had some time and decent weather today. I had to resand the hood after primer didn't go on right. I got that taken care of and reprimed. Looks a lot better. I've got to get some paint stripper tomorrow and strip the vents.

I also worked on the rear hatch some more. I got everything on top sanded along with the bad area on the top of the left rear quarter. I'm going to have to skim a little more filler on the hatch and the quarter as the work the previous owner did when he removed the spoiler and wiper are the best. It won't be too bad though. Hopefully I can get that done next weekend.

I've got a few little dents to fix still and the I'm ready to start with the color. The front bumper and hood are definitely getting painted soon. Here's a few updated pics.

P1010264.jpg

The hood after repriming

P1010265.jpg

The hatch in process

P1010266.jpg

Left quarter
 

Nitro_Alltrac

New member
OK, Saturday I start spraying color. I'm going to try and get as much of the car painted as I can. I definitely will get the hood and bumper done but I'm shoot for the whole thing. Wish me luck! I'll post up progress pics as I get them.
 

Nitro_Alltrac

New member
We'll find out tomorrow. The weather's supposed to be excellent. I'm doing it outside so I know there be some dirty and crap. Only option I have though. It's got to look better than it does now. Wish me luck!
 

Nitro_Alltrac

New member
Well, I didn't get as far as I wanted today. I'm pretty much ready to spray but started to run out of light. I'll have to get up early tomorrow and head back out. Hopefully the rain holds off or they're completely wrong.

I broke three bolts getting the bumper off. I have to drill those out before putting the bumper back on. The front bumper was rougher than I thought. I guess that's what driving with no paint for a couple of years will do for you. I've got it primed but had a couple of runs, so I have to sand those out. I also had to adjust the driver's fender so it wouldn't rub the door and that took about an hour and half. :doh:

I had about 3.5 more hours of work than I planned. Hopefully things go a little smoother tomorrow. I figure, if nothing terrible happens, I've got about 3-5 more hours of work. I've got some progress pics but the camera is taped up in the car, so I'll post those up tomorrow, hopefully with finished pictures as well.
 

Nitro_Alltrac

New member
OK, latest update. I got paint sprayed today but I didn't have enough to finish whole thing. If the weather is good one day this week, I'm taking off and finishing. Hopefully it will cooperate.

The hood, headlight covers and bumper are finished and cleared. The bumper didn't come out as good as I hoped and will need to be redo in the future. It primered fine but when I started putting color on it tried to raise in a couple of places around the outer lower holes. Part of it laid down but I've got one spot on the right side that looks blistered. Other that, it looks pretty good. The hood and head light covers came out really well. I've got one hair that I need to said out of the hood and the hood does have a some orange peel to it. The head light covers look pretty good and are slick.

As for the rest of the car, I got color on the driver's side, the roof, the hatch, the rear bumper, the right fender and part of the right quarter panel before I ran out of paint. I knew that was going to happen but like a dumb ass I didn't pick up more before hand. I've got a few spots on the roof and the driver's side that need a little more color to cover the primer I used in spots. I think it will cover it OK. If I was doing it again, I would probably use a primer sealer. This is my first paint job so I'm learning. Spraying was actually a lot easier than I thought it would be.

Here are some update pictures. I got the hood and front bumper back on but forgot to take the camera back with me. I'll get some updated shots in the next couple of days with those back on.

A couple of shots before I started teardown and final prep.

P1010277.jpg

The last time you'll see the multicolored front end!
P1010278.jpg

Hood and bumper off!
P1010279.jpg

After washing.
P1010281.jpg

Wiping it down prior to painting. Mom's a trooper. She's always helped me with auto projects. Thanks Mom!!
P1010282.jpg

Project supervisor
P1010283.jpg

Passenger side after final wipe down.
P1010284.jpg

Last shot before painting.
P1010285.jpg

After color. I still have to go back over it after I get more paint and then clear coat.
P1010286.jpg

Head light covers and hood vents colored and cleared.
P1010287.jpg

Hood colored and cleared.
P1010288.jpg

Bumper
P1010289.jpg


That's it for now. It's been a long weekend and I heading for bed. I post more updates later.
 

88st165

New member
Have you messed with your air pressure? It looks alittle orange peeley from the pics but a great job for doing it outside! Keep up the good work 8)
 

Nitro_Alltrac

New member
Thanks for the comments guys. It's coming out a lot better than I expected.

88ST165, I think you're right about the air pressure. The color has laid down fine. The clear on the hood is what orange peeled. It went on the head light covers and vents smooth and pretty decent on the bumper but orange peeled on the hood. I notice more overspray in the air with the clear.

I'm going to try setting the pressure down a little when I do the rest of the car. I ran a little over 40 lbs which should have given me a little over 10 at the cap. The material sheet for the color recommended 10. I couldn't find a product sheet for the clear so I shot it at the same pressure as the color. I'm going to dial it back a little next time to get in the 8 lb range at the cap.
 

Nitro_Alltrac

New member
I bought the rest of the color yesterday and painted today.

Here it is finished. It's not perfect. I've got some runs in the clear that I have to sand out and I've got a few other spots I'll have to wet sand, but for a first all over paint job, I'm pretty happy.

P1010300.jpg

P1010301.jpg

P1010302.jpg
 
Top