I will update this with what has been done and completed:
Completed:
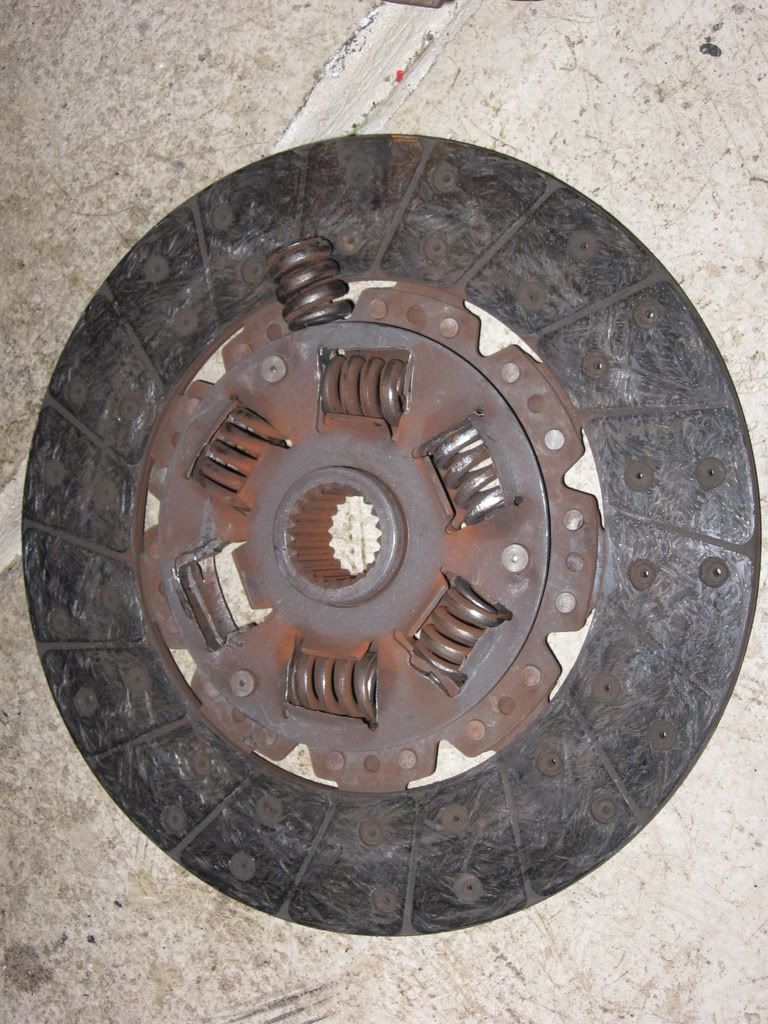
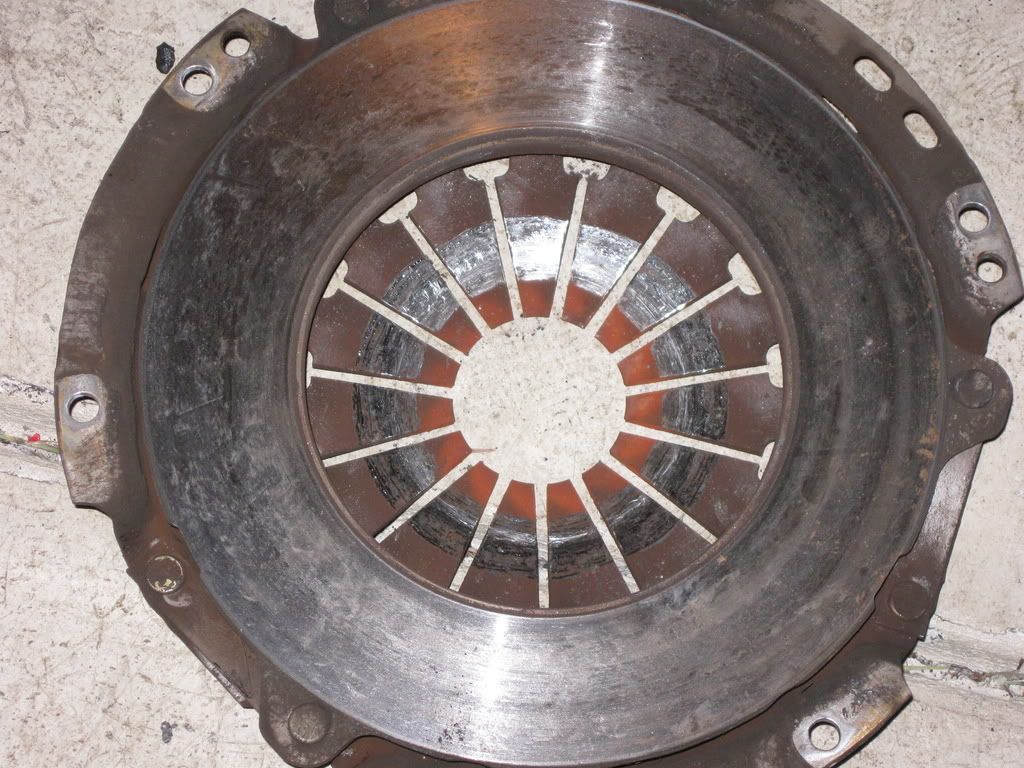
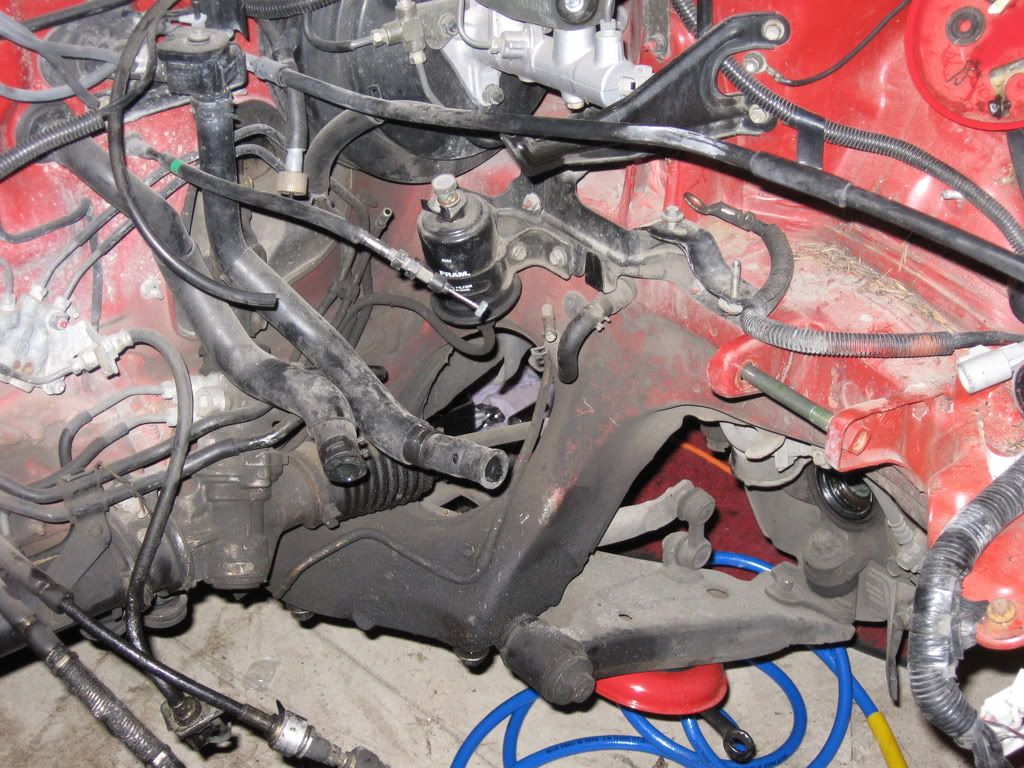
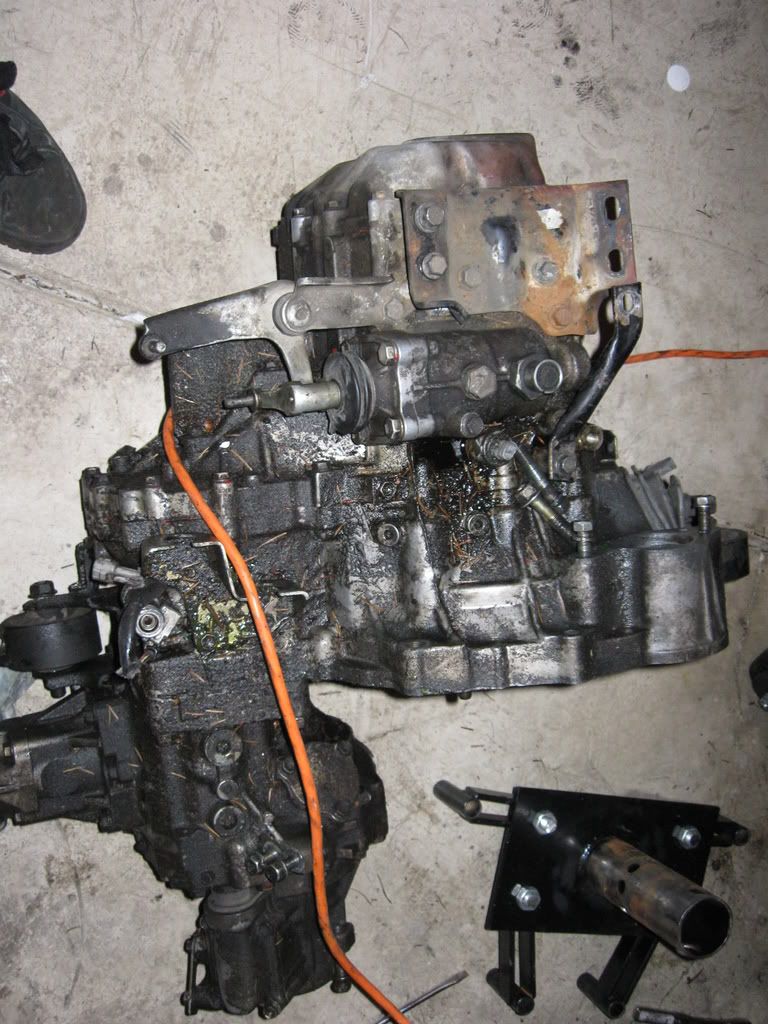
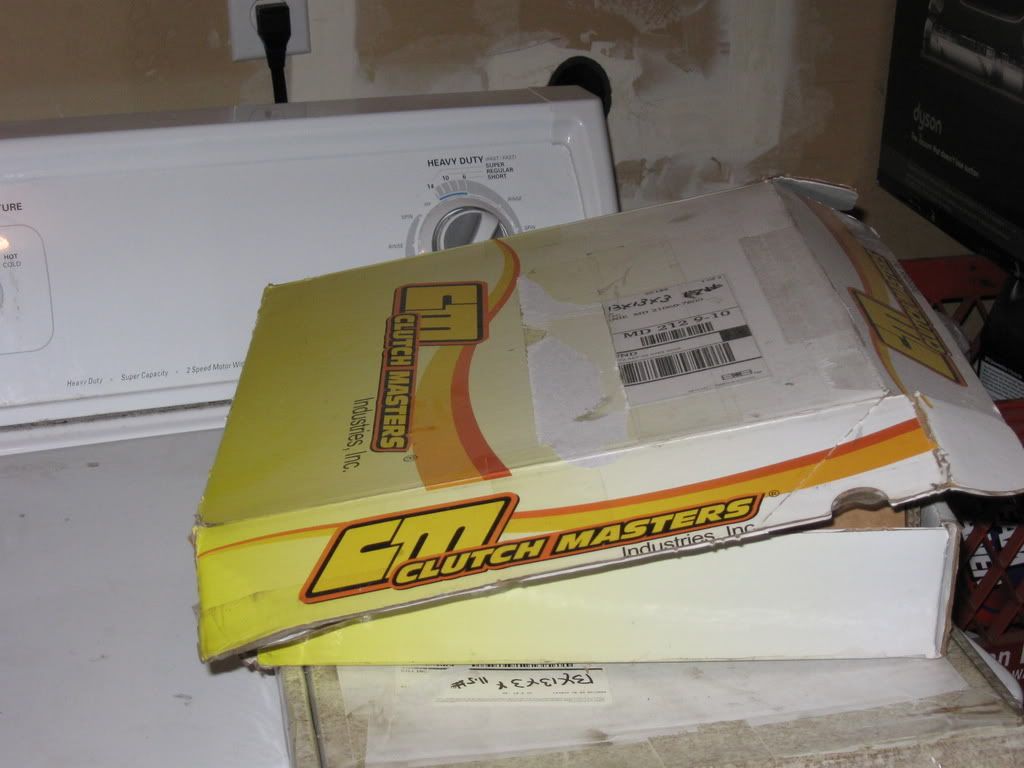
-Replaced clutch
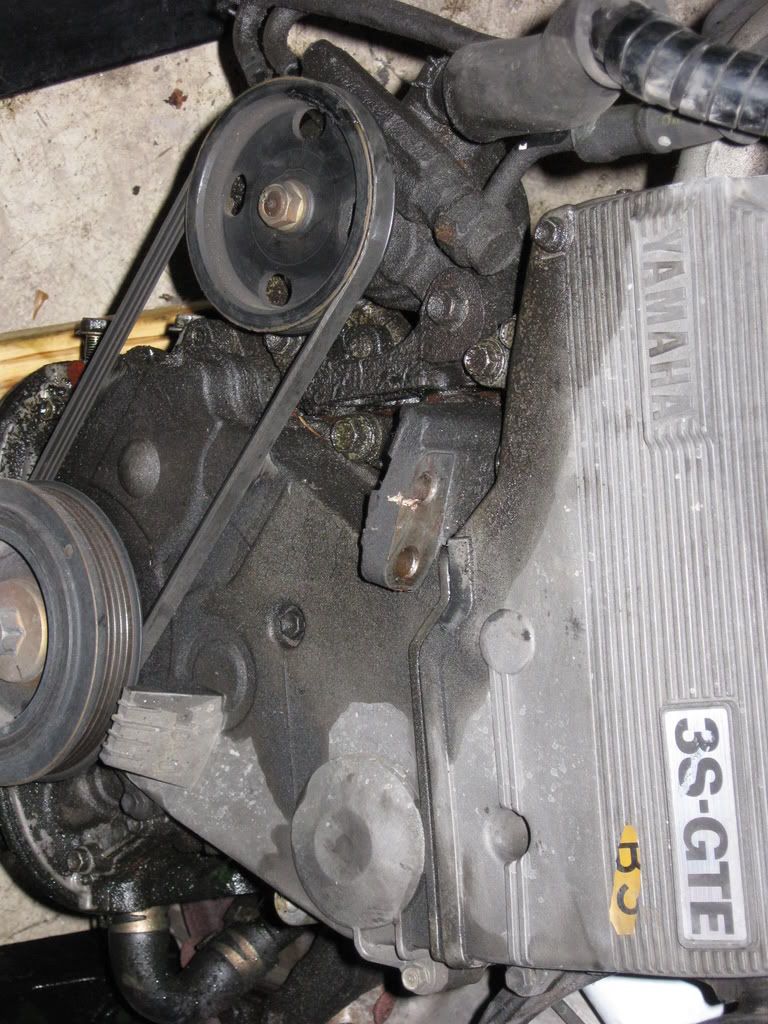
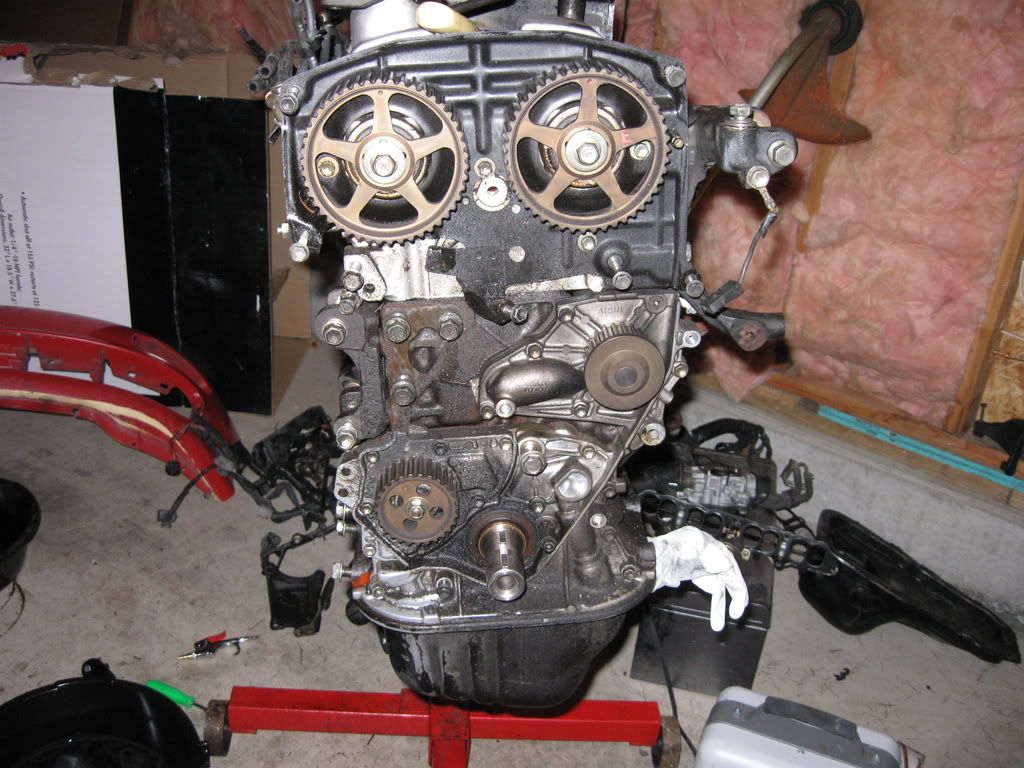
-Replaced timing belt & idlers
-Replaced HFH x 3
-Replaced Oil pump
-Replaced Water pump
-Replaced Valve Cover gaskets
-Replaced Distributor O-ring
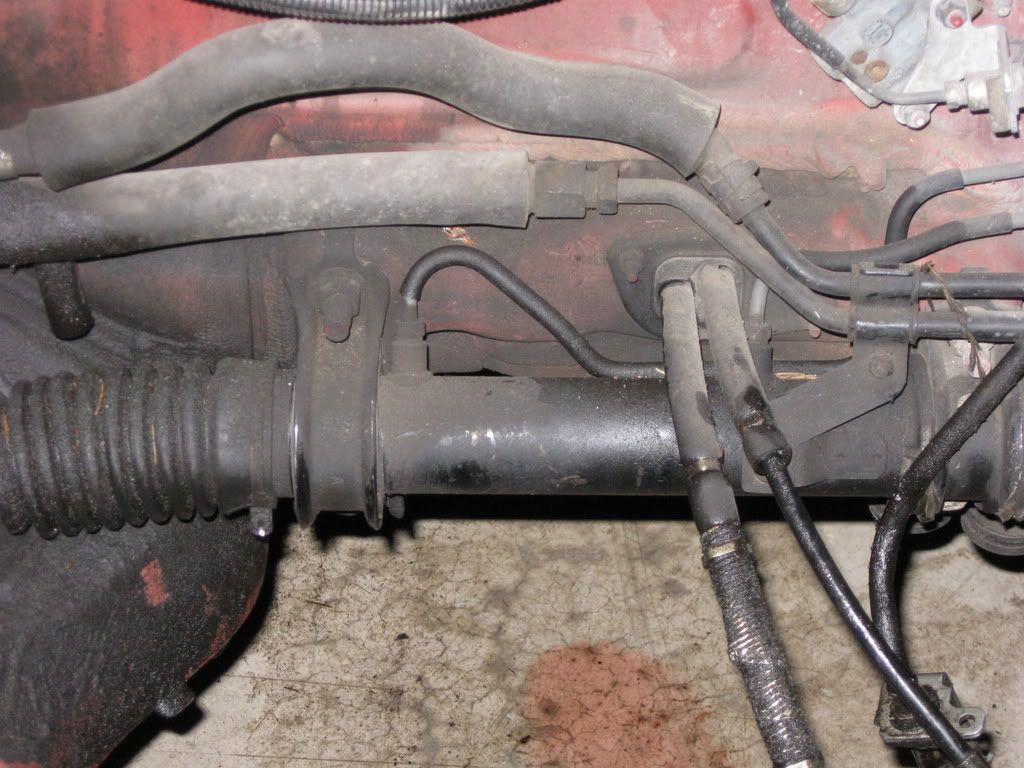
-Replaced vacuum lines
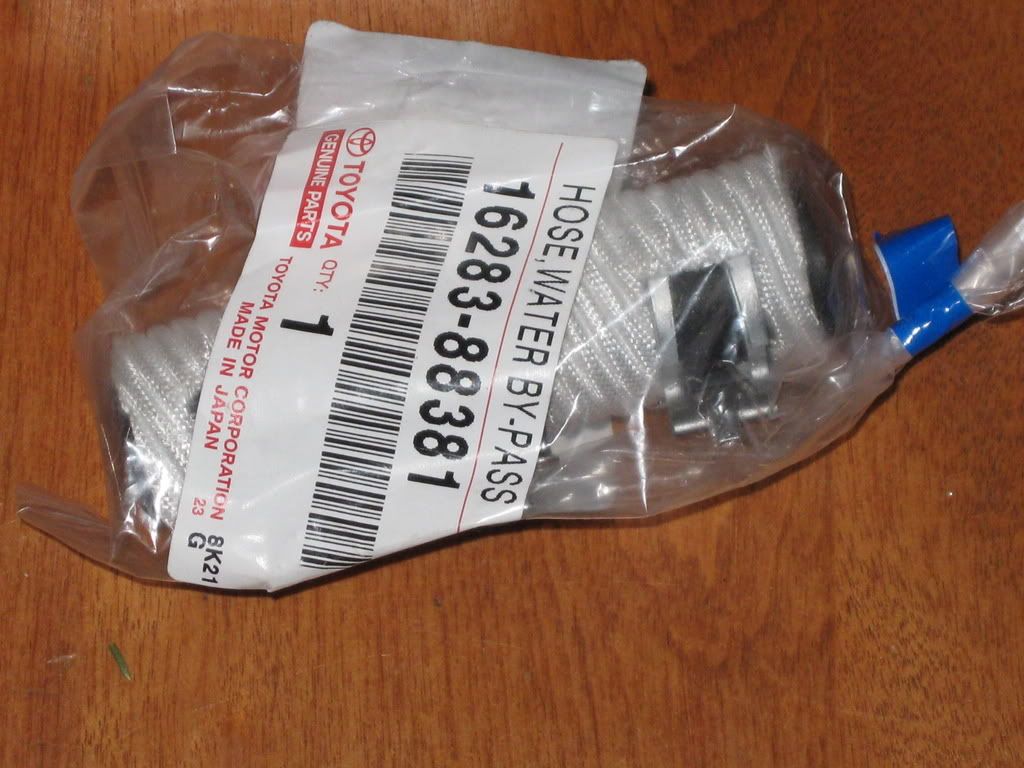
-Replaced all rubber hoses
-Replaced Charcoal Canister
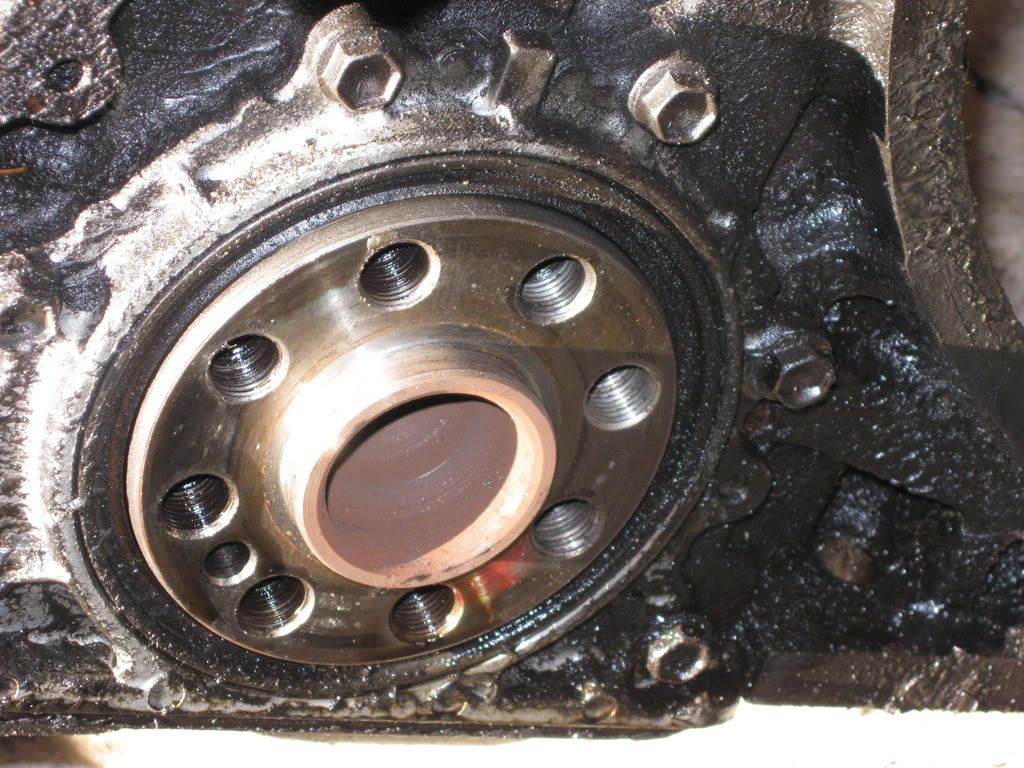
-replaced Rear & front main seals
-replaced oil pump seal
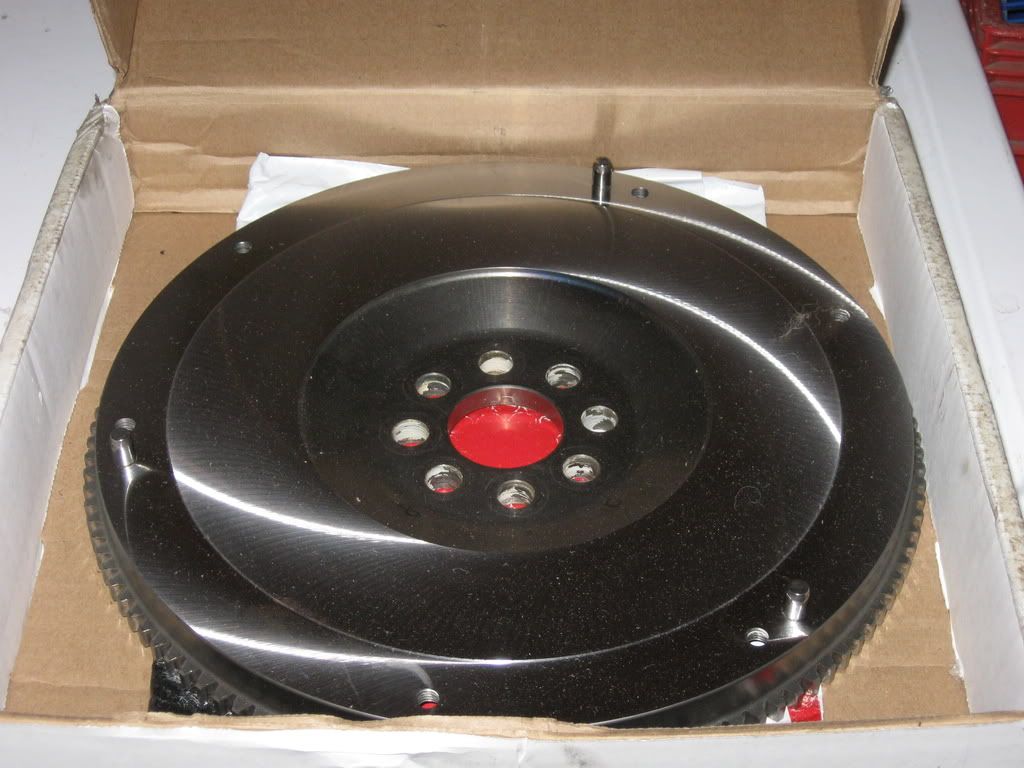
-replaced stock f/w with Jun Ultra light f/w
-VC hex bolt conversion
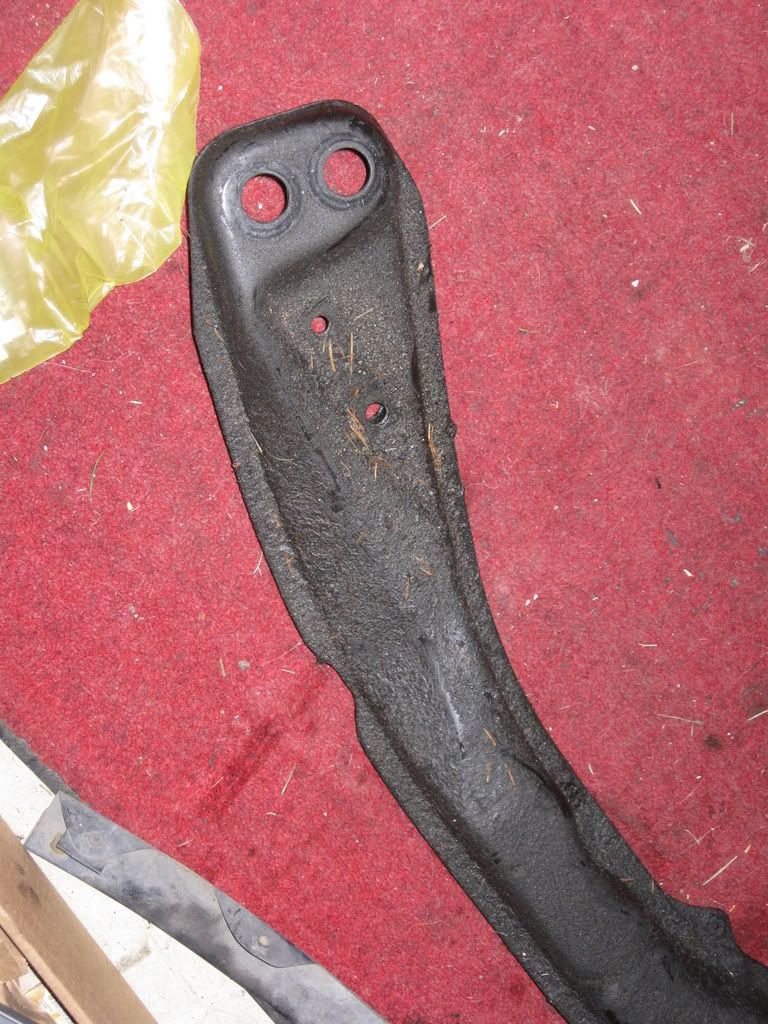
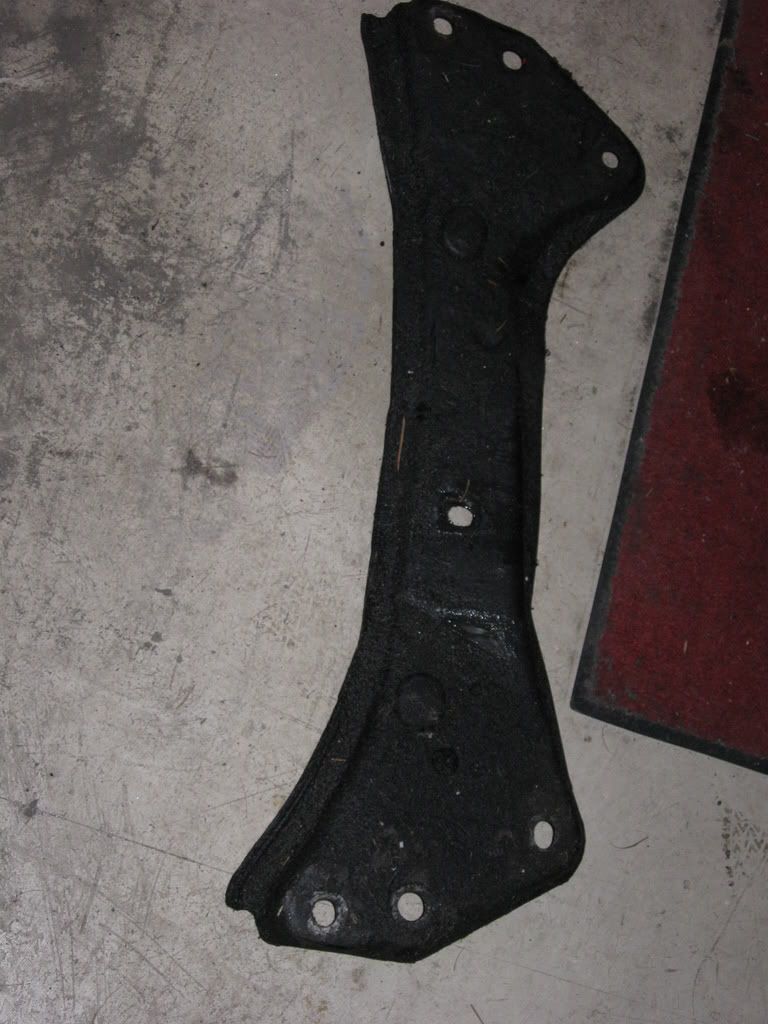
-replaced all the missing bolts/brackets
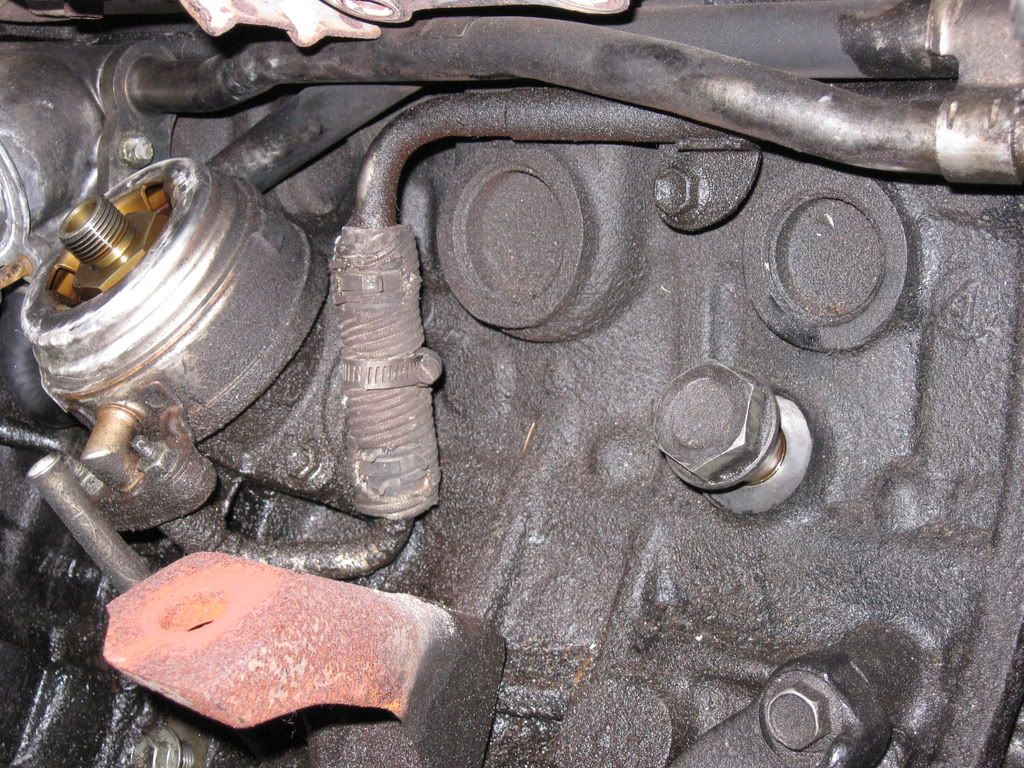
-rebuilt power steering pump
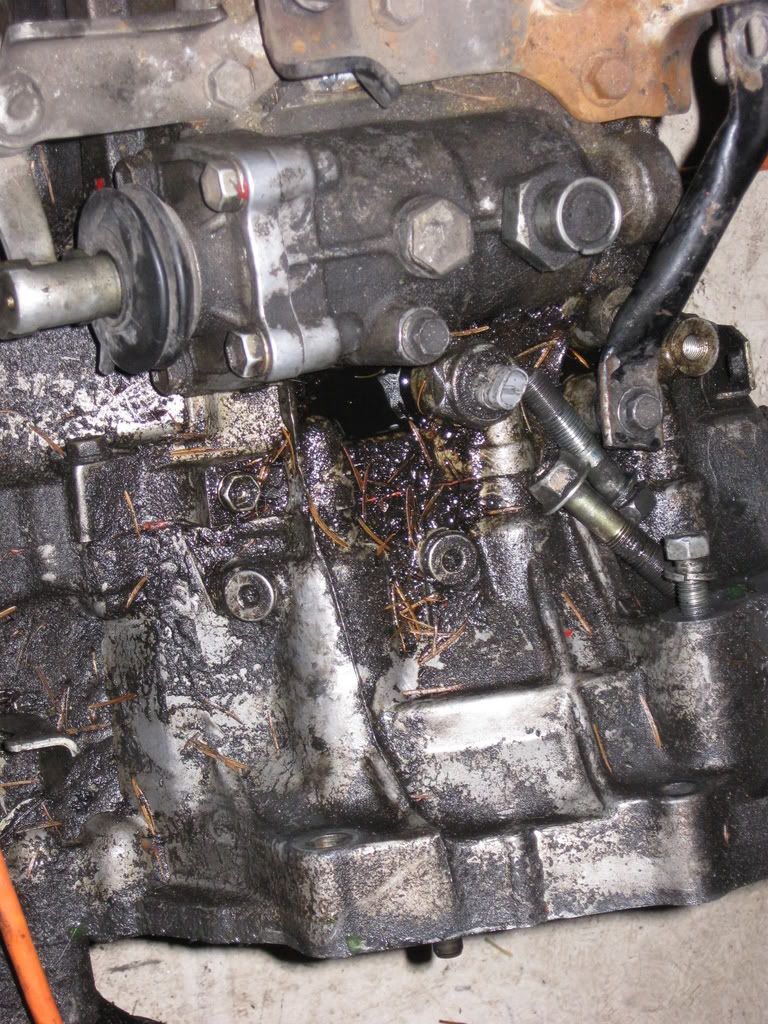
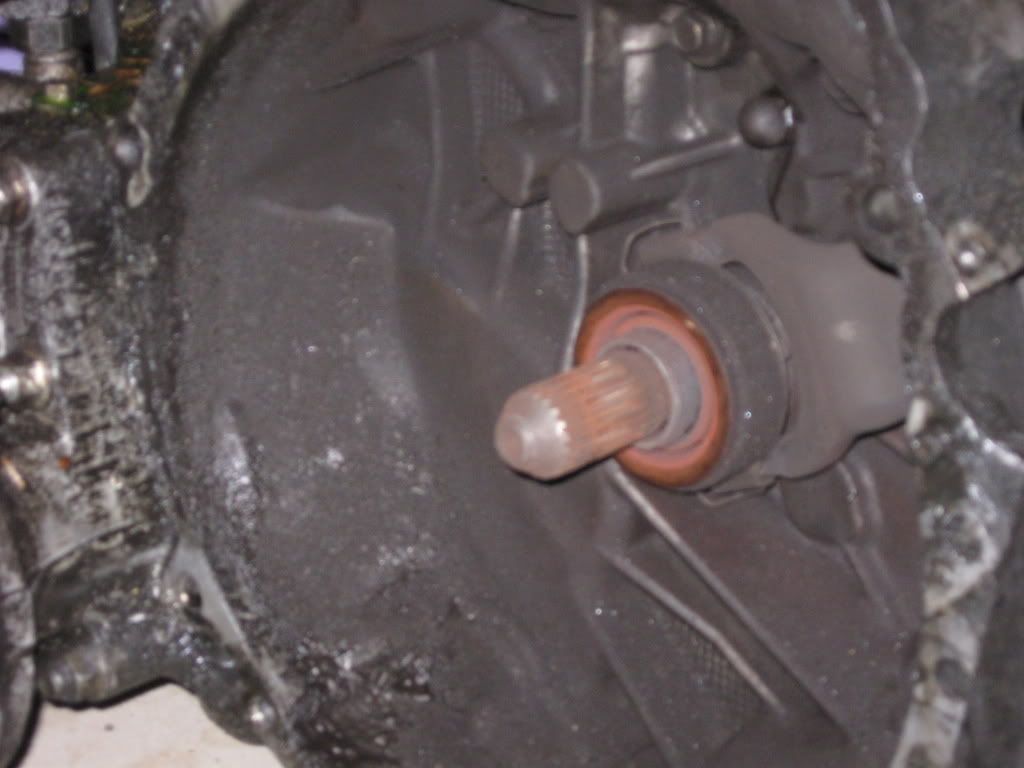
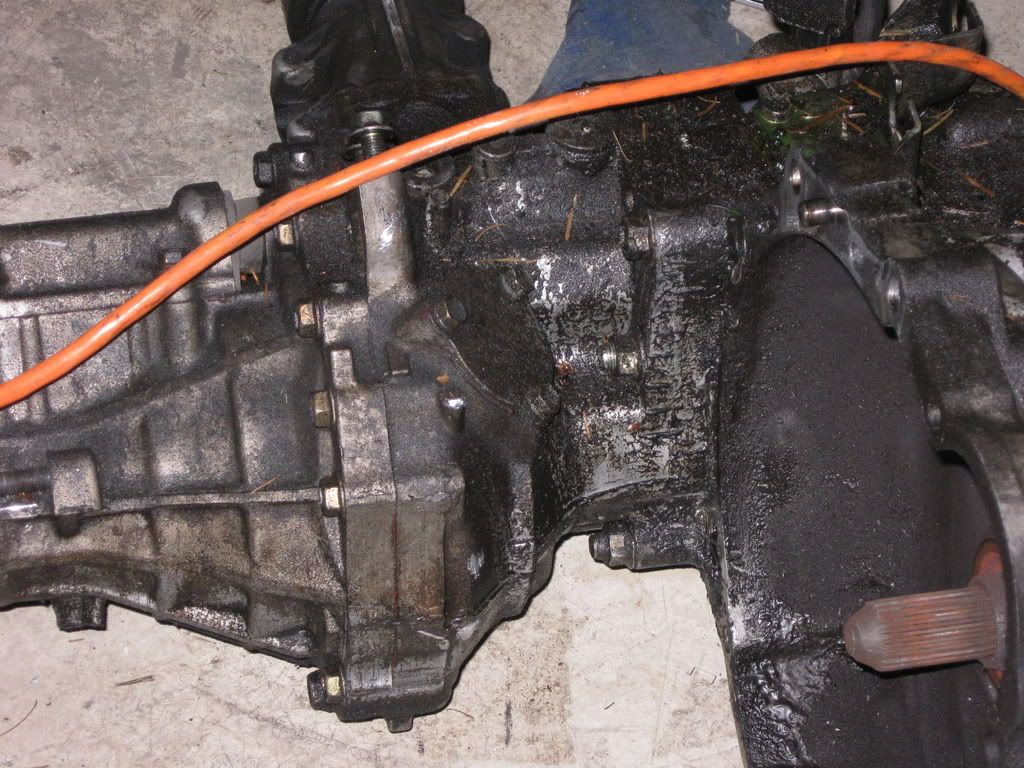
-replaced axle seals on trans
-Tune-up and refresh fluids
-replaced oil pan gasket
-replaced Turbo return hose
-braided clutch line
-Speed source mounts
-Extended slave cyl push rod
-shifter bushings
- Added Lotek 3 pod pillar
-Added boost/oil pressure gauges
-KO DP
- LED Knock detection mod
- Intake
Hello All,
I have been reading everyone's project threads and figured it was time to make my own. It has been cold and snowing so took a week off later in the month to tackle the items below... that and not have to worry about waking up at 3:30 am the next morning to go to work
Current plans:
Replace the following:
-Replace clutch
-Replace timing belt & idlers
-Replace HFH x 3
-Replace Oil pump
-Replace Water pump
-Replace Valve Cover gaskets
-Replace Distributor O-ring
-Replace vacuum lines
-Replace all rubber hoses
-Replace Charcoal Canister
-replace Rear & front main seals
-replace oil pump seal
-replace stock f/w with Jun Ultra light f/w
-VC hex bolt conversion
-replace all the missing bolts/brackets
-rebuild/renew power steering pump
-replace axle seals on trans
-Tune-up and refresh fluids
-replace oil pan gasket
-replace Turbo return hose
-braided clutch line
-Speed soruce mounts
-Extended slave cyl push rod
-shifter bushings
Future plans:
A/F guages
Motoria exhaust
New rims
re-tint the windows
Future Future plans:
V6 conversion
'01 1mz-fe
'04 Rav4 trans/xfer
add forced induction
OR
GT3071 .63 a/r
Hydra EMS (since KO is local)
Aeromotive FPR
Wolfkatz rail (preferably top feed)
Walboro or supra pump
264 or 268 cams - leaning more towards 264
cam gears
Intake Manifold
FMIC/exhaust goes without saying
Block/head will be freshly rebuilt
800cc injectors (top feed)
So I have been hording parts and picking up deals here and there for the 'trac.
So far the parts sitting in my garage/around the house:
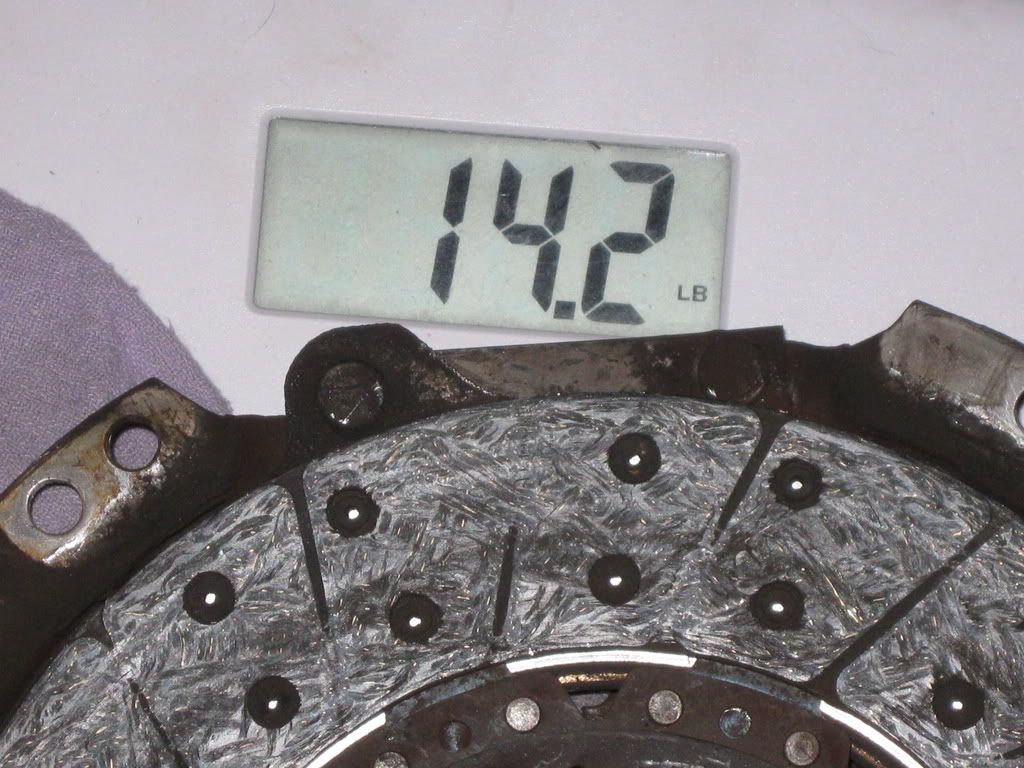
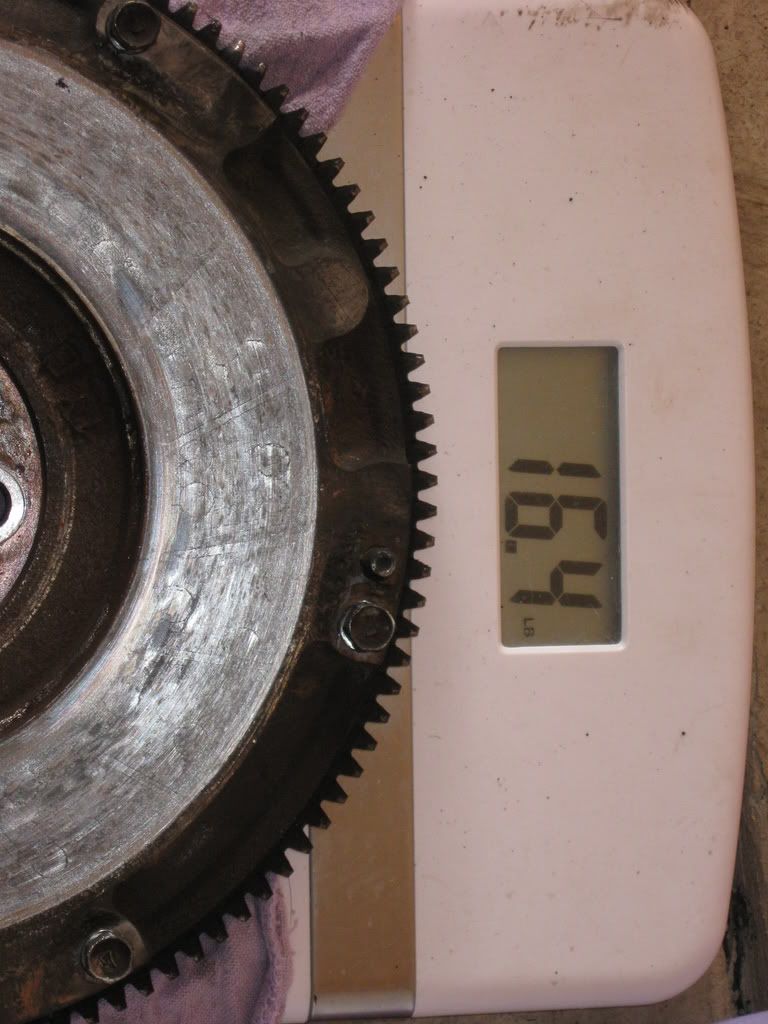
Jun lightened flywheel freshly turned - this & the clutch were a steal
Clutchmasters FX300
T-belt & idlers
Front & rear main seals
Hoses from hell
MR2 BPV
AFM extender
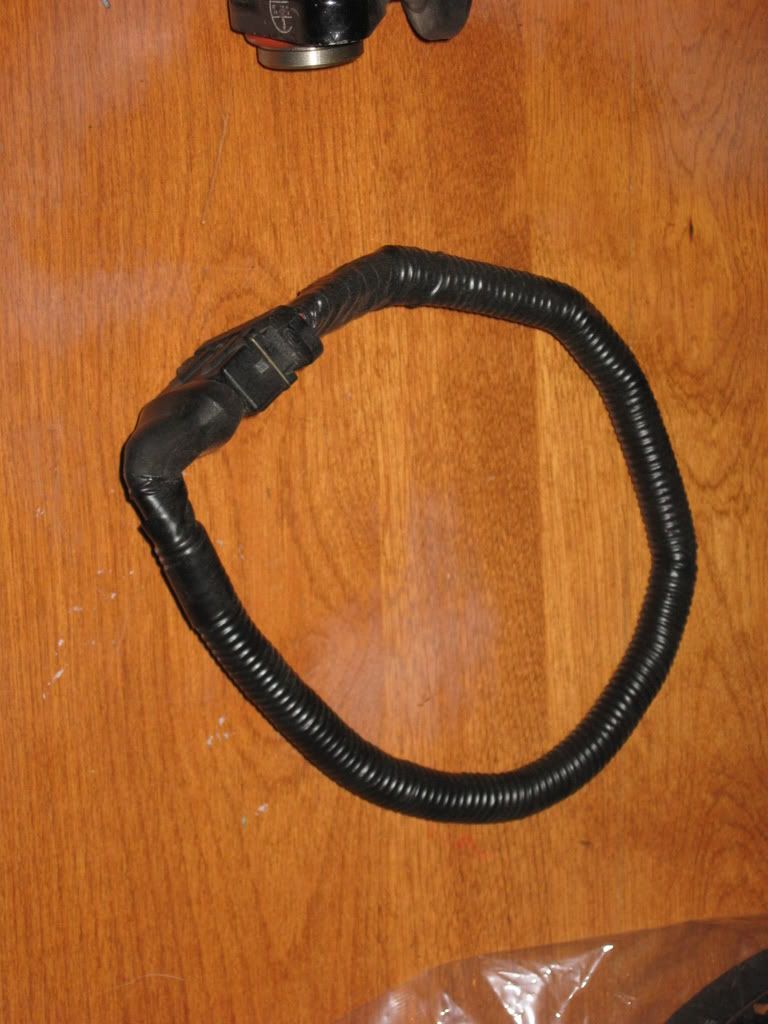
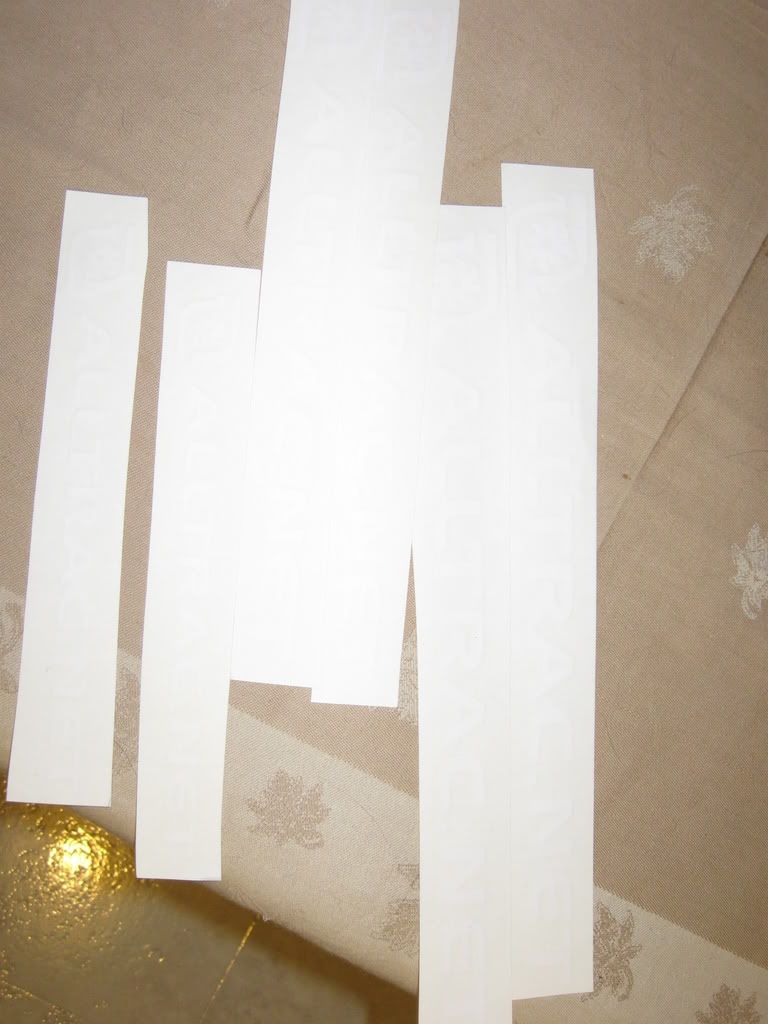
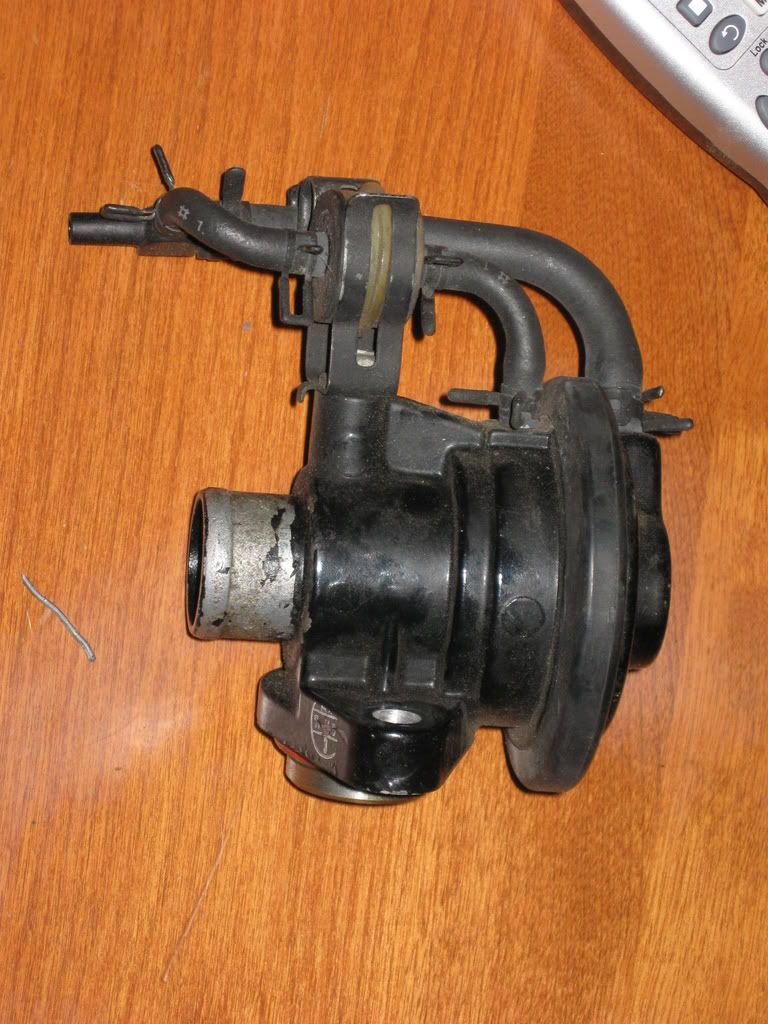
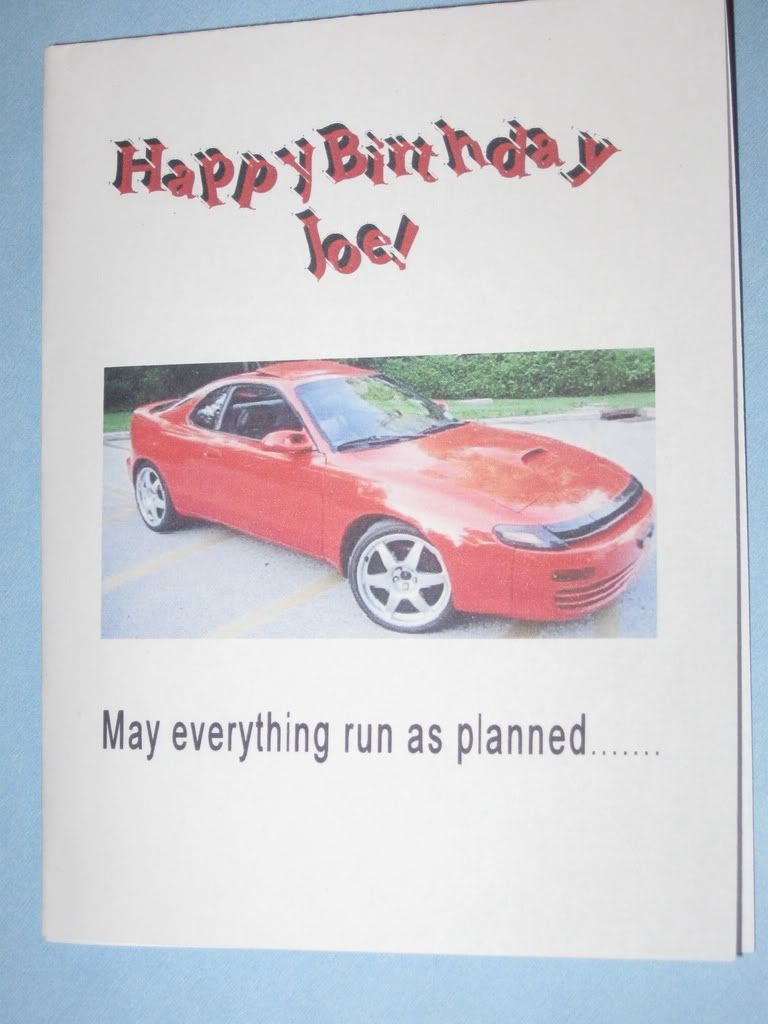
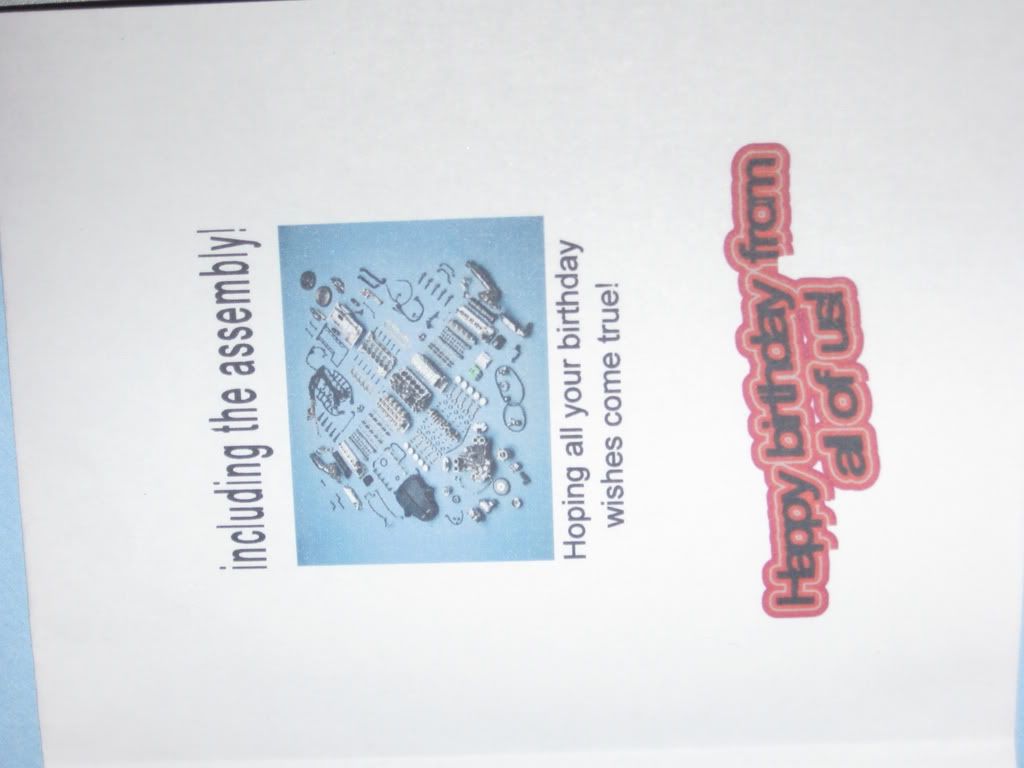
As some of you know the girlfriend and I have been focusing on some credit card debt of hers so the 'trac has been on the back burner for a while. For my birthday she got me the dealership parts with a homemade card that is priceless (sorry for the owner of the alltrac pictured - hope you don't mind she found it on the internet)
front page
second page
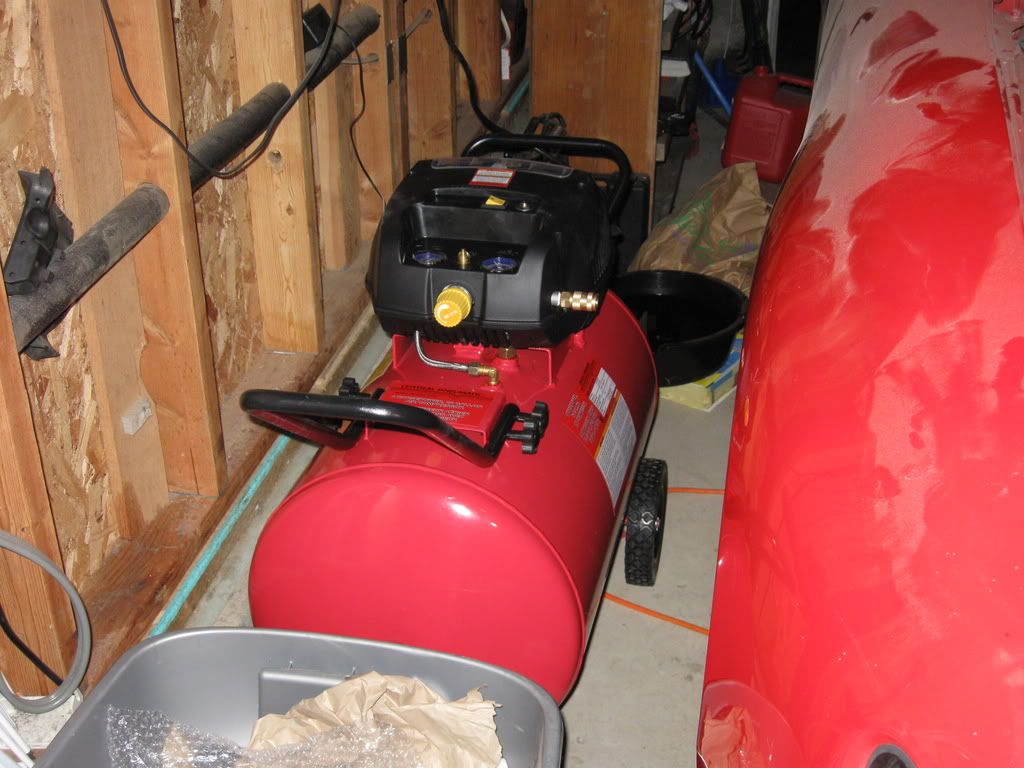
Couldn't help but laugh. My parents got me another gift I have been needing for a while (ain't the best, but it will do just fine):
I also finally brought some of the other equipment/parts that had been sitting at the parents house:
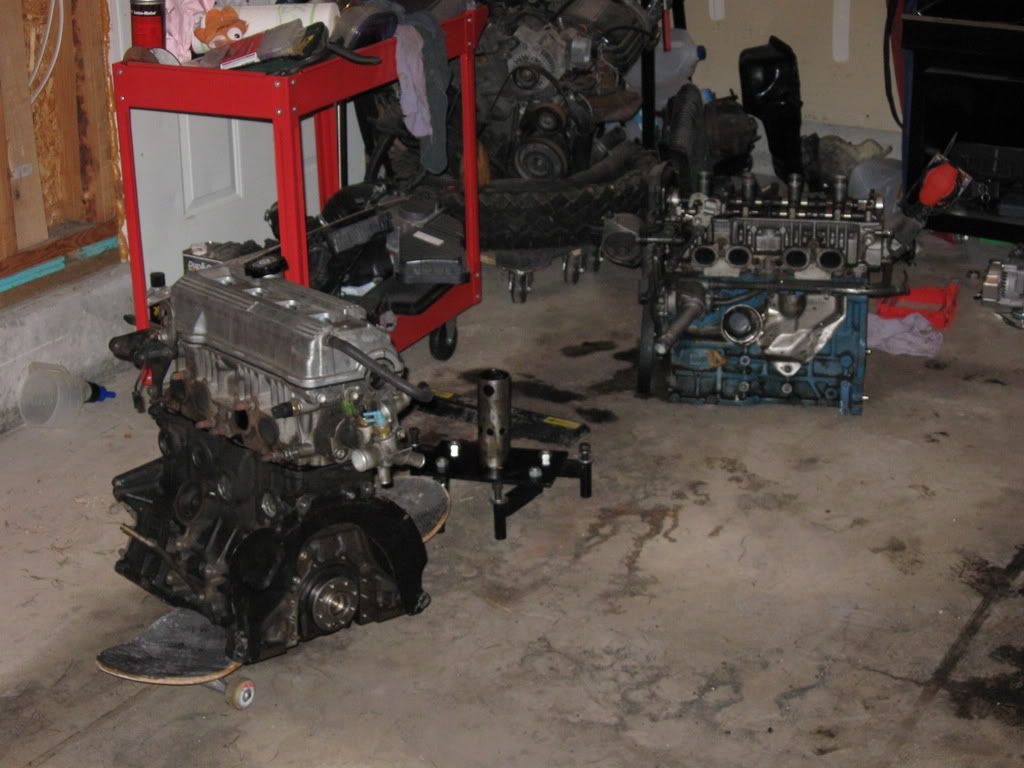
You would be amazed how much you can fit in the trunk of my galant.....
5s block, 2 heads, engine stand, a couple heaters, car ramps, misc tools and the ever faithful skateboard.
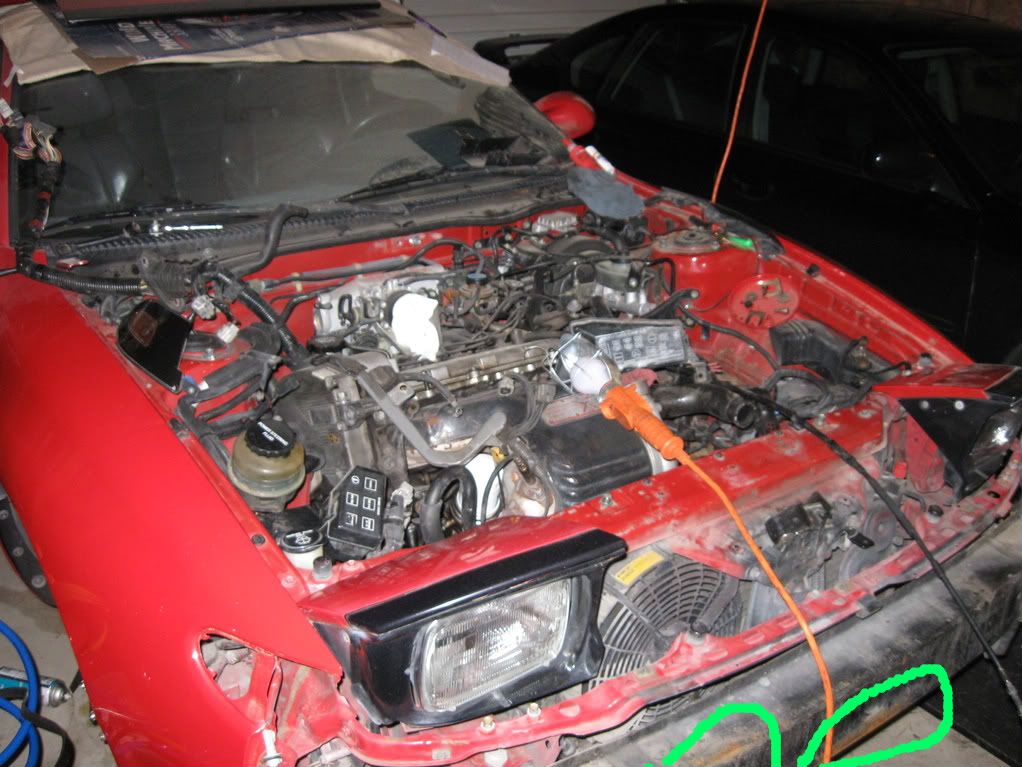
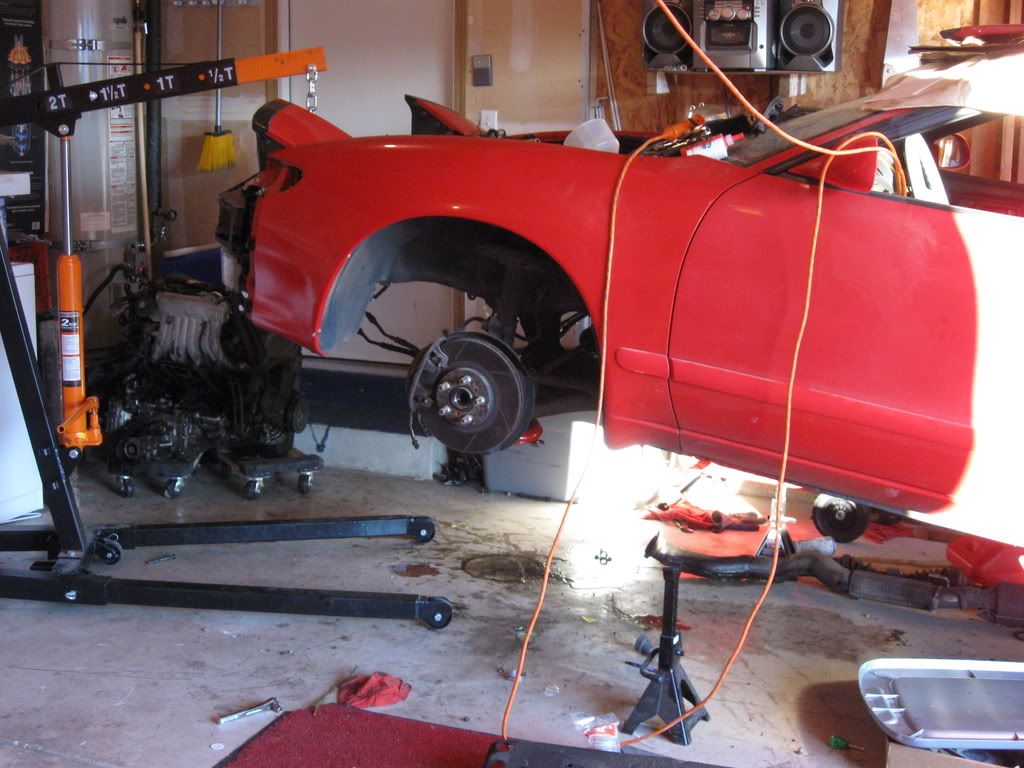
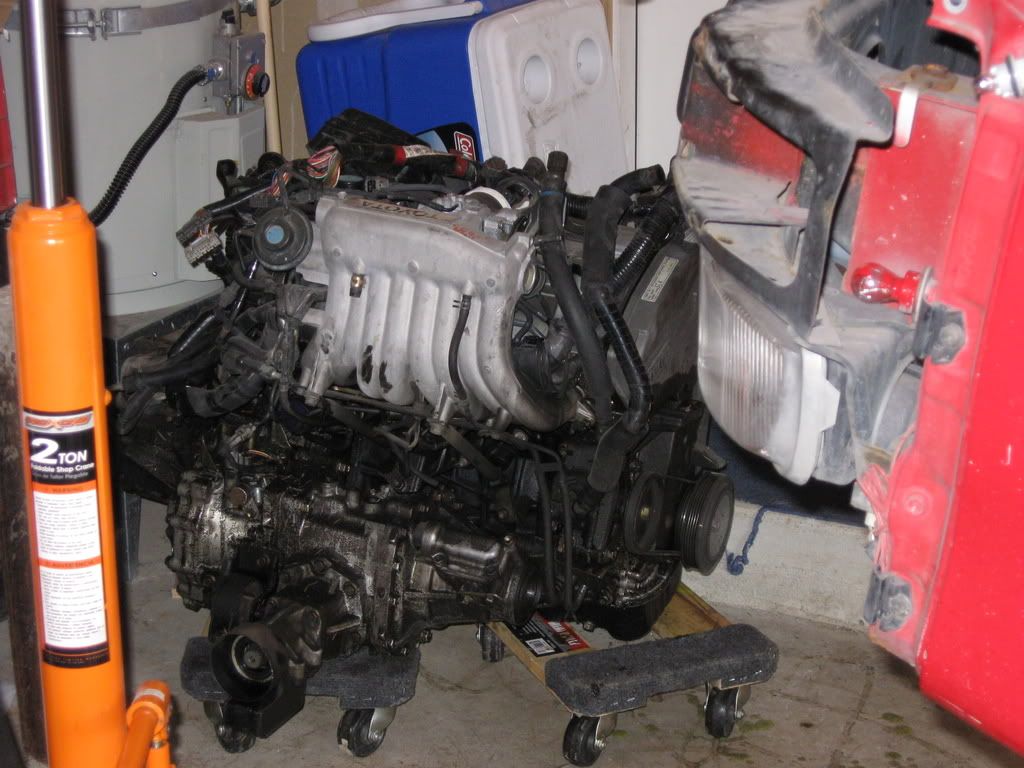
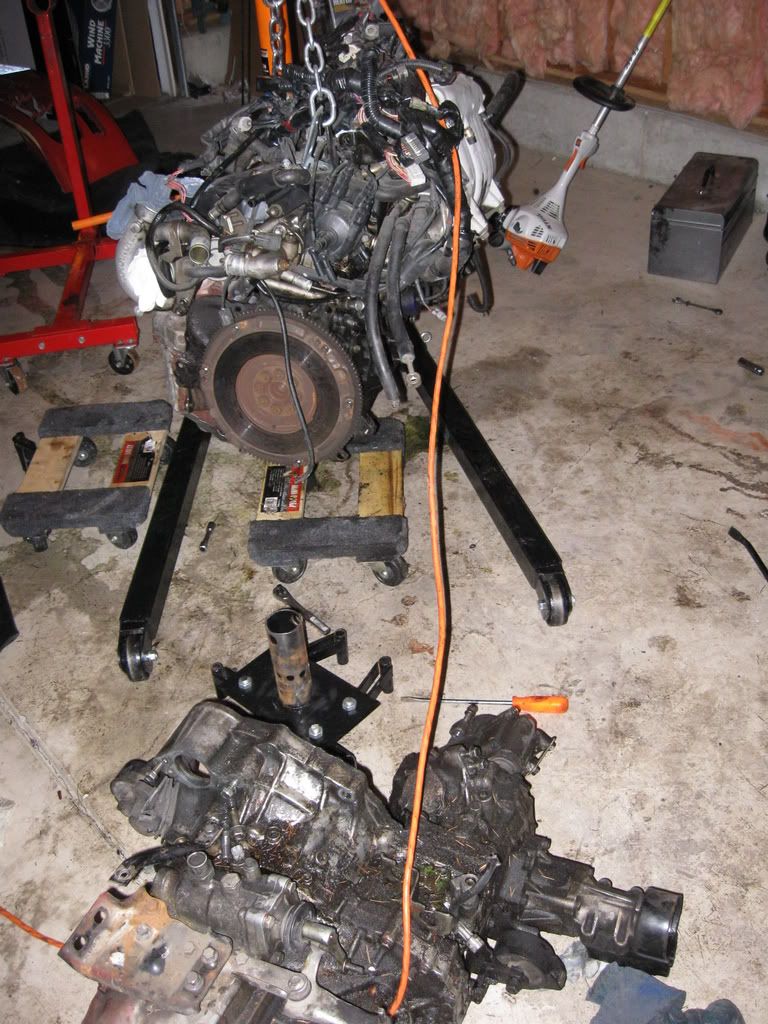
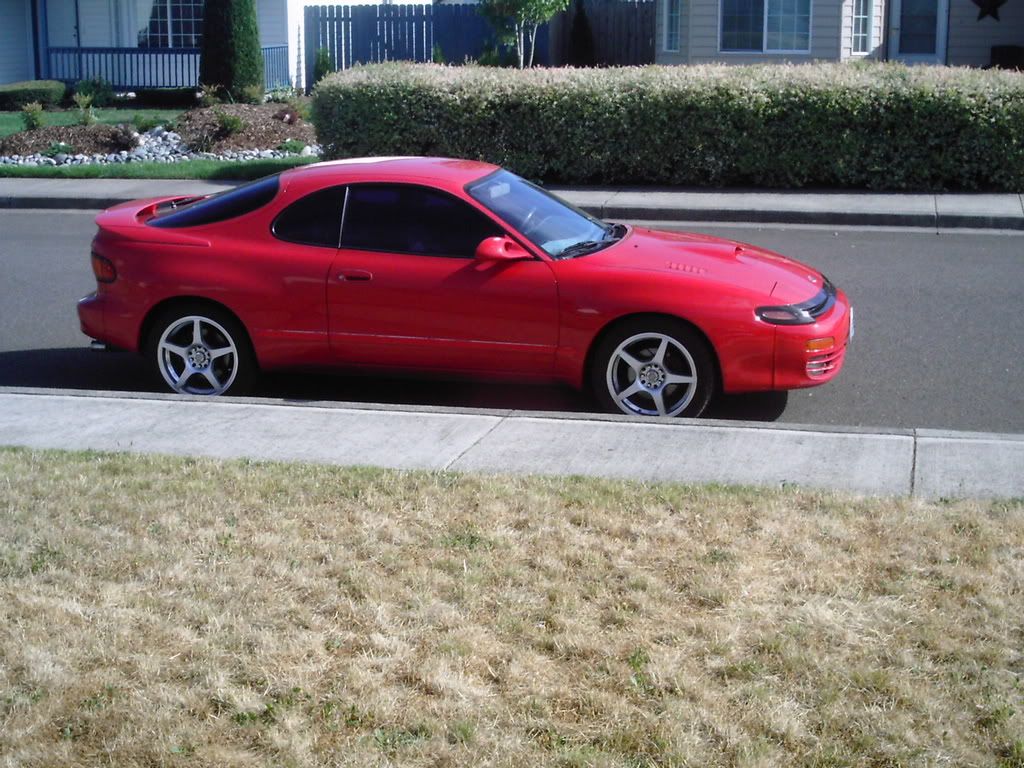
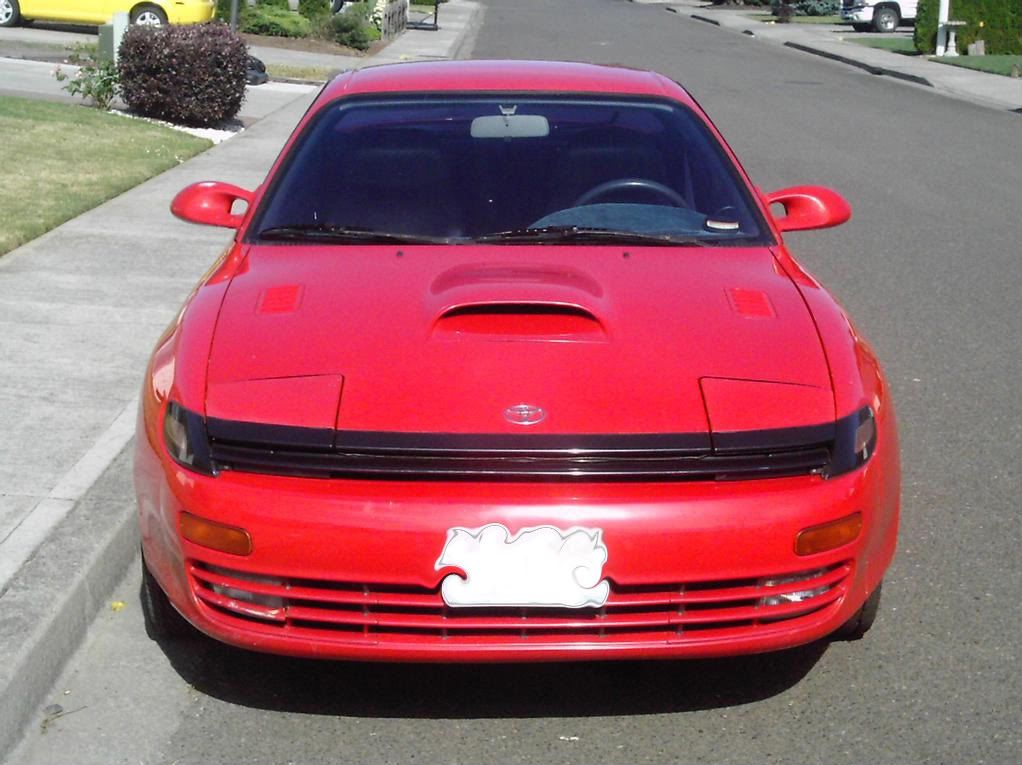
Here my 'trac is the day I bought her:
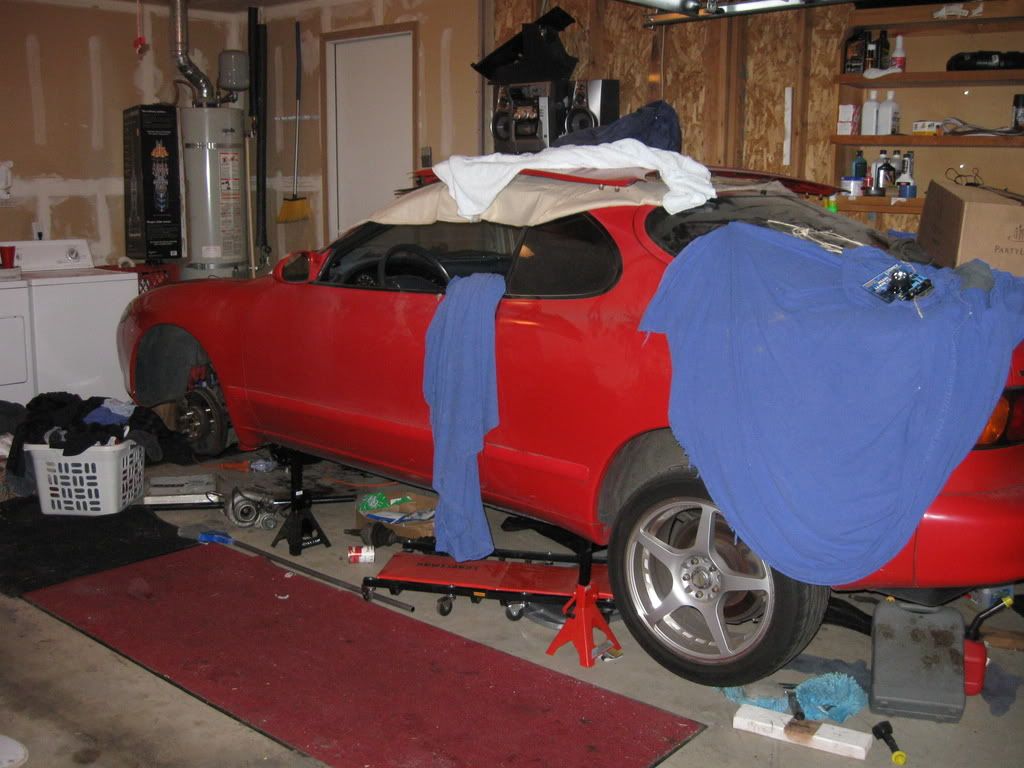
Here is where she has been sitting for longer than I had intended:

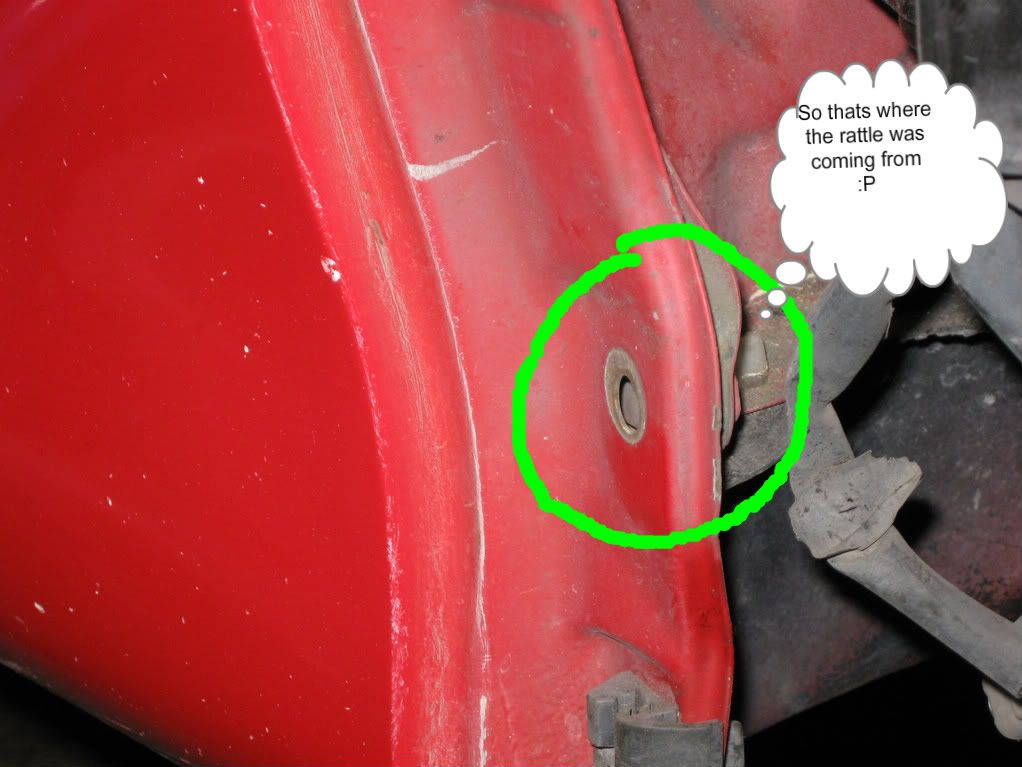
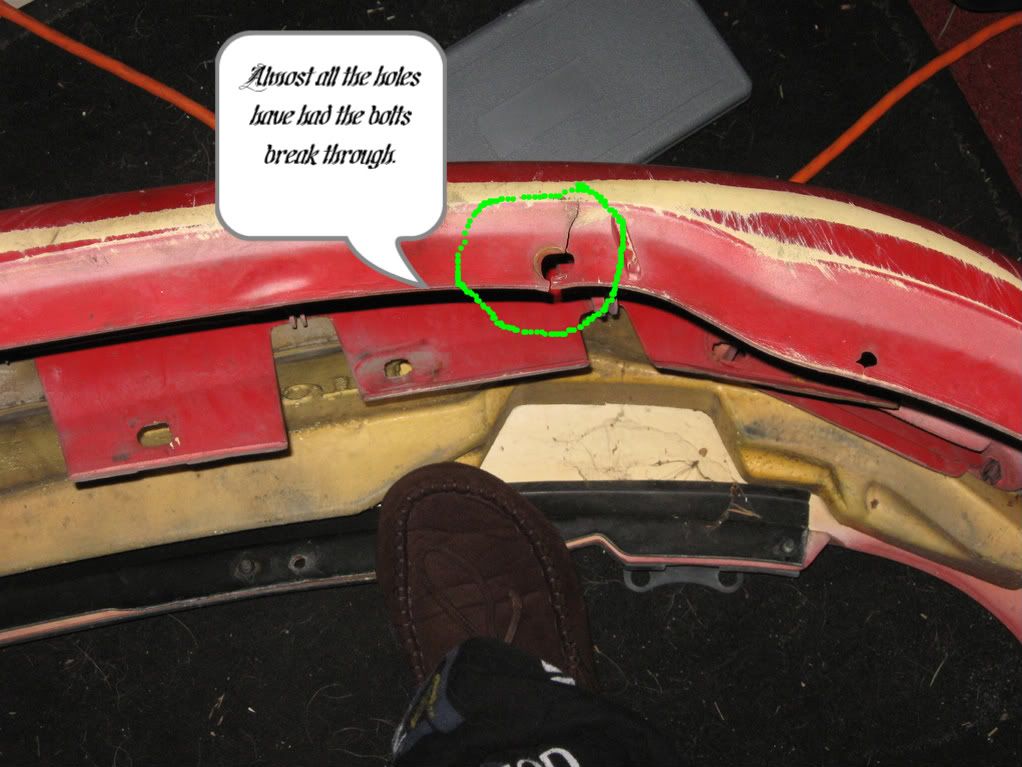
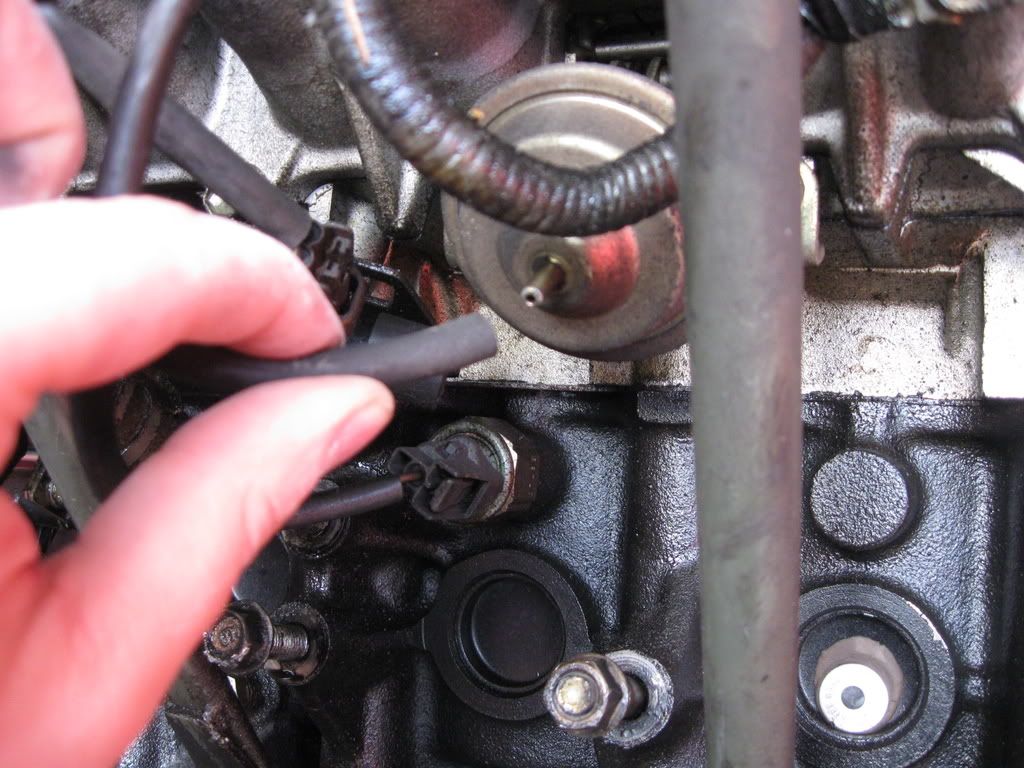
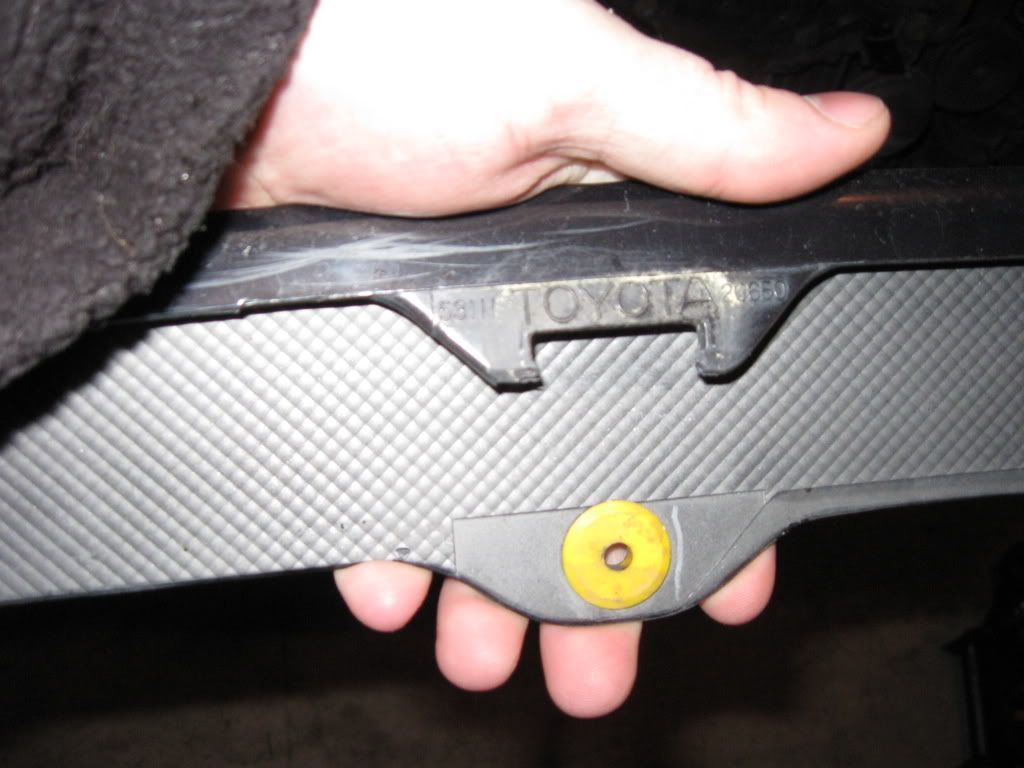
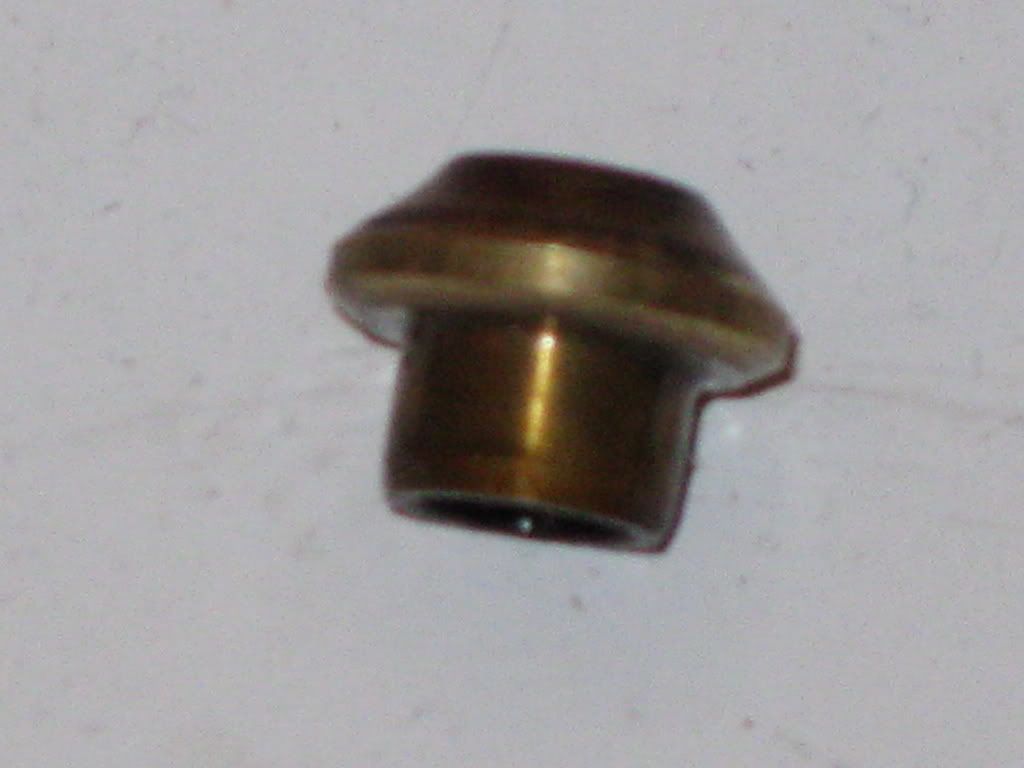
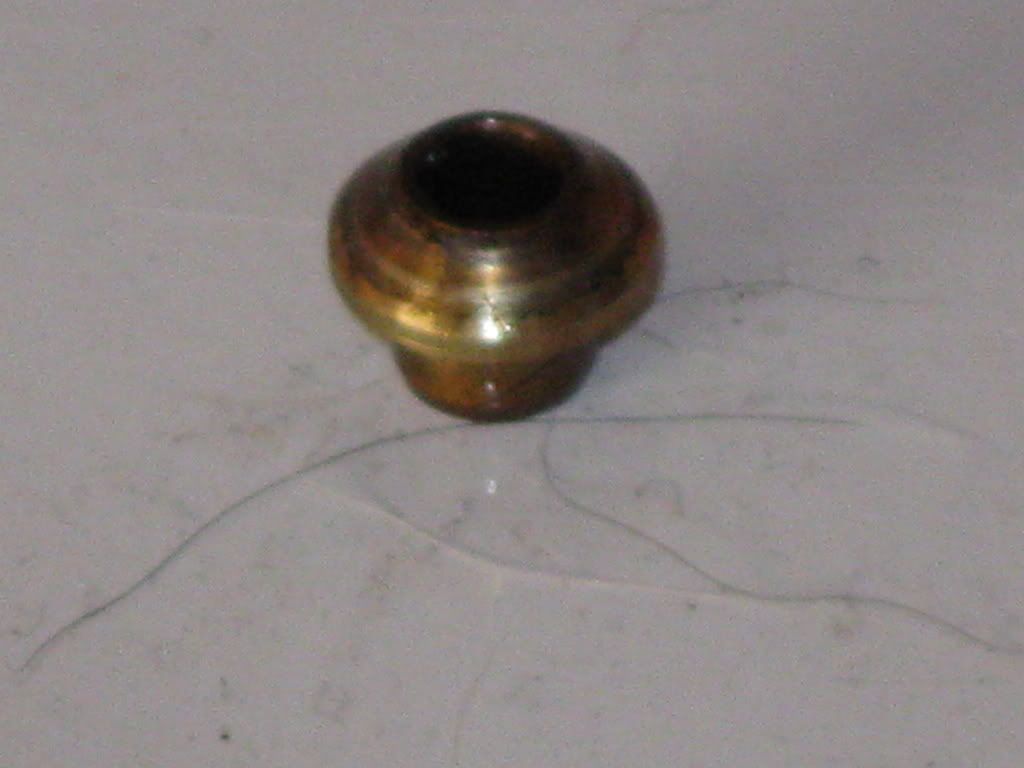
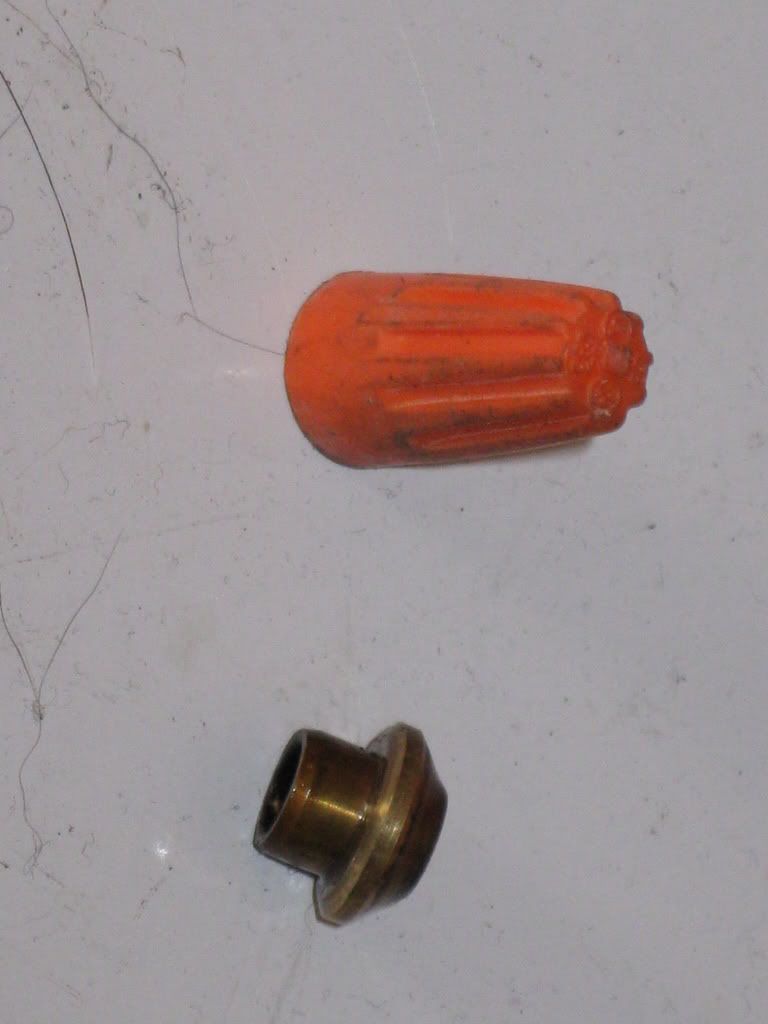
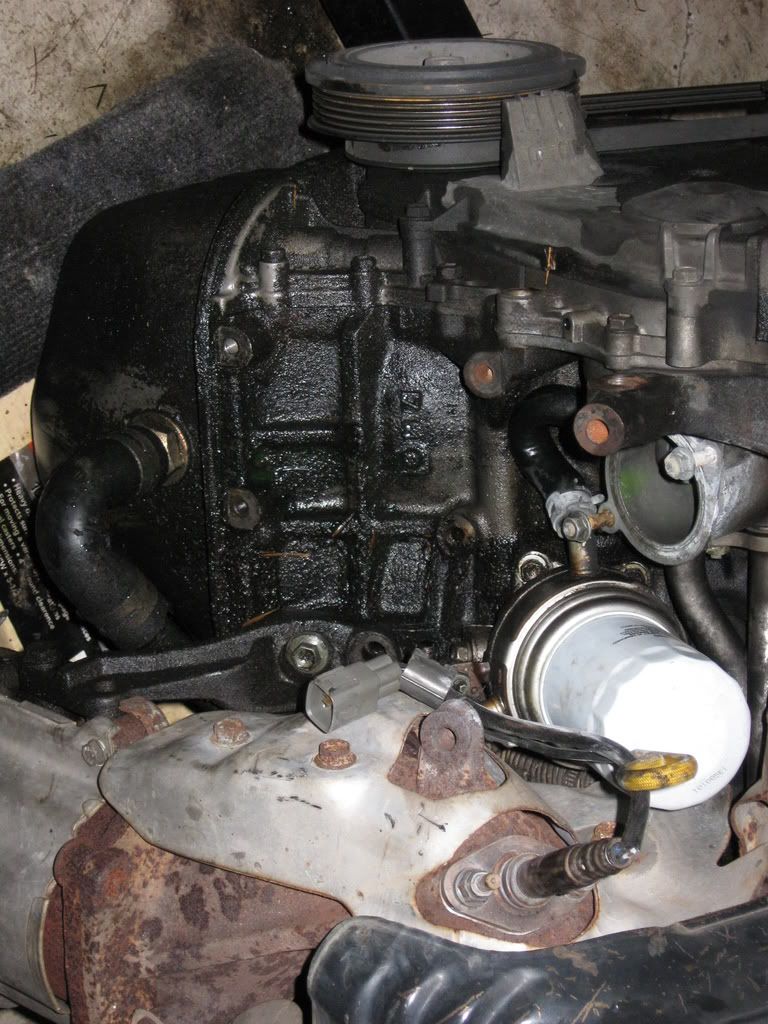
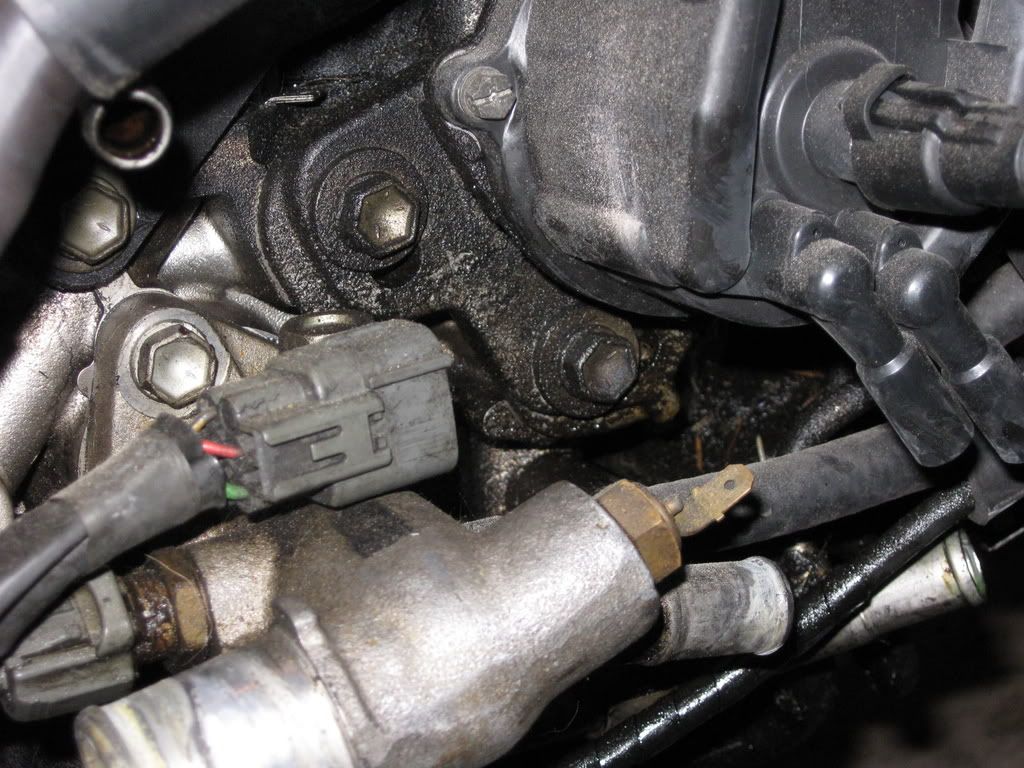
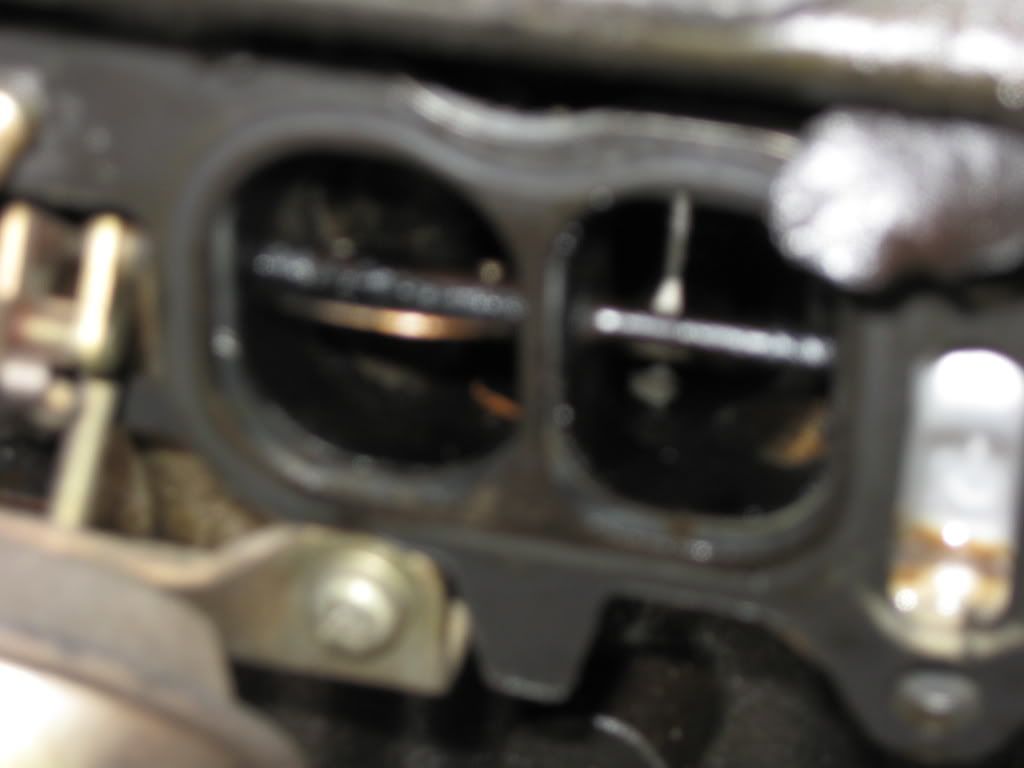
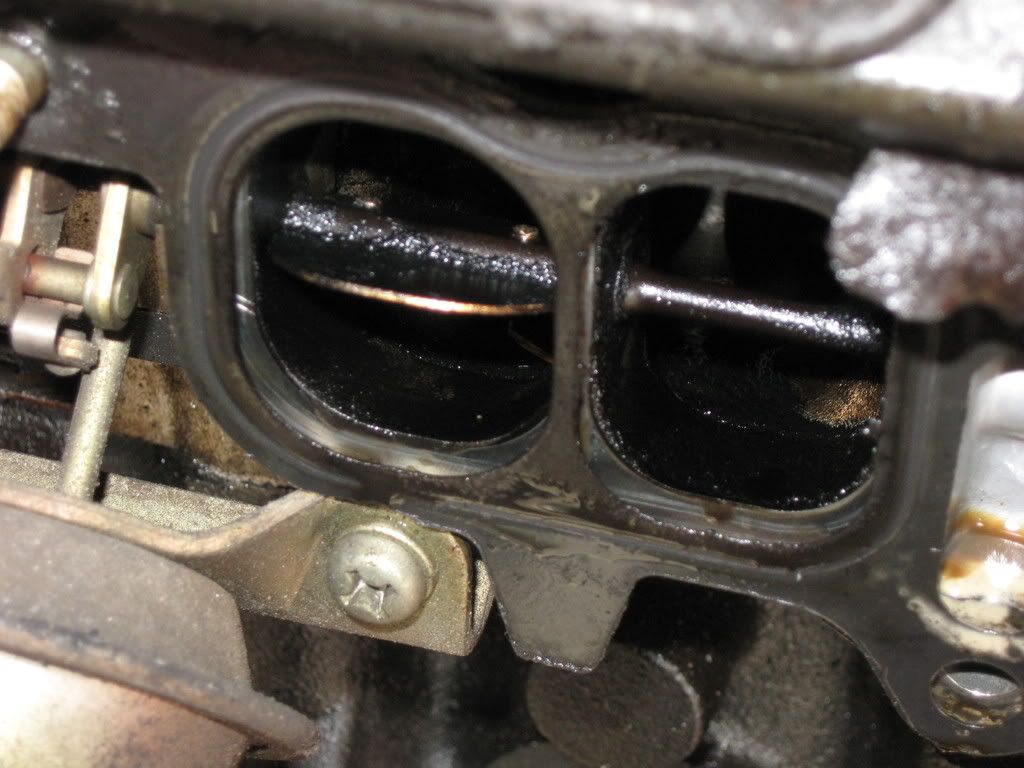
I have the BGBs and my little notebook with notes of items that will need to be addressed.... oil sending unit missing, but oil pressure light not on? (previous owner had aftermarket oil press guage hooked up); charcoal canister hose on bottom poorly siliconed with orange gasket; various routing diagrams so that way once it goes back together there should be minimal issues.
So that is the start of it, hopefully it makes some sense, in case you can't tell I couldn't stay focused too well.
-Terracar :smokes:
Completed:
-Replaced clutch
-Replaced timing belt & idlers
-Replaced HFH x 3
-Replaced Oil pump
-Replaced Water pump
-Replaced Valve Cover gaskets
-Replaced Distributor O-ring
-Replaced vacuum lines
-Replaced all rubber hoses
-Replaced Charcoal Canister
-replaced Rear & front main seals
-replaced oil pump seal
-replaced stock f/w with Jun Ultra light f/w
-VC hex bolt conversion
-replaced all the missing bolts/brackets
-rebuilt power steering pump
-replaced axle seals on trans
-Tune-up and refresh fluids
-replaced oil pan gasket
-replaced Turbo return hose
-braided clutch line
-Speed source mounts
-Extended slave cyl push rod
-shifter bushings
- Added Lotek 3 pod pillar
-Added boost/oil pressure gauges
-KO DP
- LED Knock detection mod
- Intake
Hello All,
I have been reading everyone's project threads and figured it was time to make my own. It has been cold and snowing so took a week off later in the month to tackle the items below... that and not have to worry about waking up at 3:30 am the next morning to go to work
Current plans:
Replace the following:
-Replace clutch
-Replace timing belt & idlers
-Replace HFH x 3
-Replace Oil pump
-Replace Water pump
-Replace Valve Cover gaskets
-Replace Distributor O-ring
-Replace vacuum lines
-Replace all rubber hoses
-Replace Charcoal Canister
-replace Rear & front main seals
-replace oil pump seal
-replace stock f/w with Jun Ultra light f/w
-VC hex bolt conversion
-replace all the missing bolts/brackets
-rebuild/renew power steering pump
-replace axle seals on trans
-Tune-up and refresh fluids
-replace oil pan gasket
-replace Turbo return hose
-braided clutch line
-Speed soruce mounts
-Extended slave cyl push rod
-shifter bushings
Future plans:
A/F guages
Motoria exhaust
New rims
re-tint the windows
Future Future plans:
V6 conversion
'01 1mz-fe
'04 Rav4 trans/xfer
add forced induction
OR
GT3071 .63 a/r
Hydra EMS (since KO is local)
Aeromotive FPR
Wolfkatz rail (preferably top feed)
Walboro or supra pump
264 or 268 cams - leaning more towards 264
cam gears
Intake Manifold
FMIC/exhaust goes without saying
Block/head will be freshly rebuilt
800cc injectors (top feed)
So I have been hording parts and picking up deals here and there for the 'trac.
So far the parts sitting in my garage/around the house:
Jun lightened flywheel freshly turned - this & the clutch were a steal
Clutchmasters FX300
T-belt & idlers
Front & rear main seals
Hoses from hell
MR2 BPV
AFM extender
As some of you know the girlfriend and I have been focusing on some credit card debt of hers so the 'trac has been on the back burner for a while. For my birthday she got me the dealership parts
with a homemade card that is priceless (sorry for the owner of the alltrac pictured - hope you don't mind she found it on the internet)front page
second page
Couldn't help but laugh. My parents got me another gift I have been needing for a while (ain't the best, but it will do just fine):
I also finally brought some of the other equipment/parts that had been sitting at the parents house:
You would be amazed how much you can fit in the trunk of my galant.....
5s block, 2 heads, engine stand, a couple heaters, car ramps, misc tools and the ever faithful skateboard.
Here my 'trac is the day I bought her:
Here is where she has been sitting for longer than I had intended:
I have the BGBs and my little notebook with notes of items that will need to be addressed.... oil sending unit missing, but oil pressure light not on? (previous owner had aftermarket oil press guage hooked up); charcoal canister hose on bottom poorly siliconed with orange gasket; various routing diagrams so that way once it goes back together there should be minimal issues.
So that is the start of it, hopefully it makes some sense, in case you can't tell I couldn't stay focused too well.
-Terracar :smokes: