gearhead313
New member
Hopefully this info will be useful to someone when they tackle a full custom FMIC project such as this one.
The intercooler I started with: 31x12x3 end to end with a 23.5" actual core width. 3" inlet/outlets.
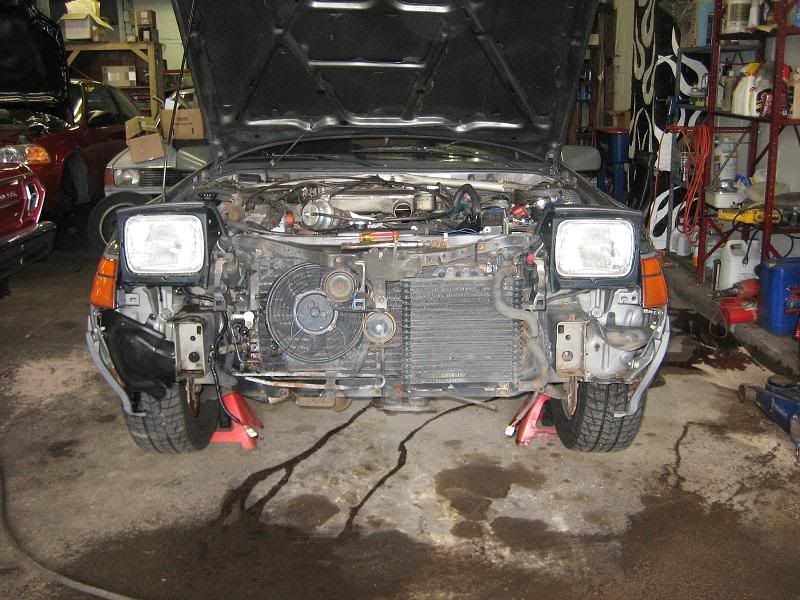
This is what we start with:
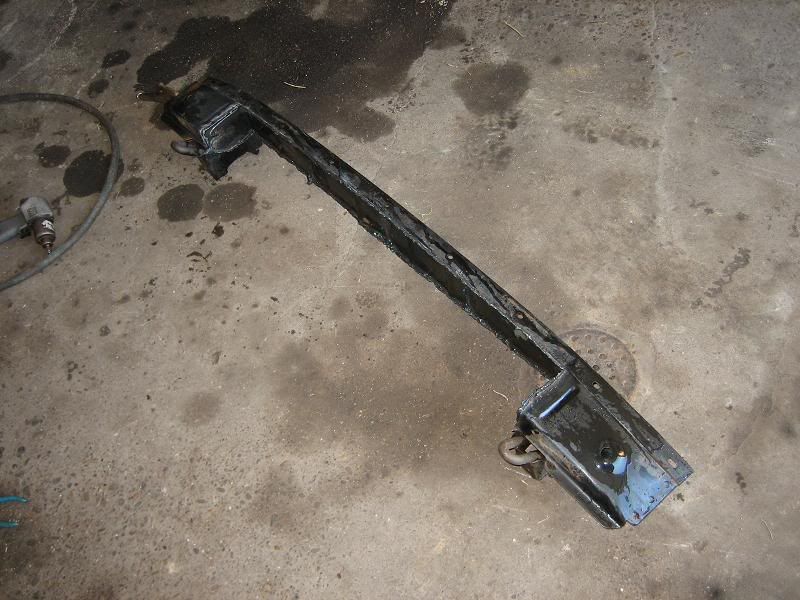
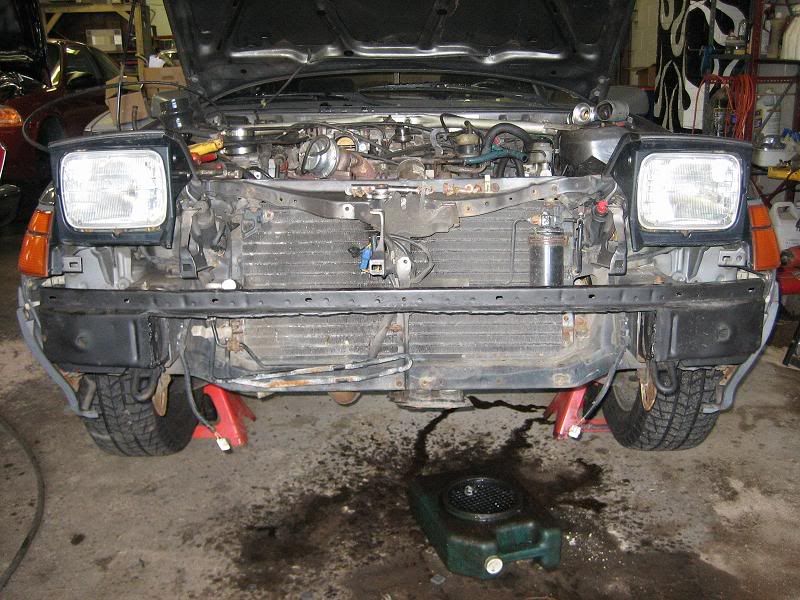
Bumper comes off. Clips on the side and 2 main support bolts (17mm) from underneath through the frame rails. I snapped one and had to torch the top welded nut off and pound it out that way. It REALLY sucked:
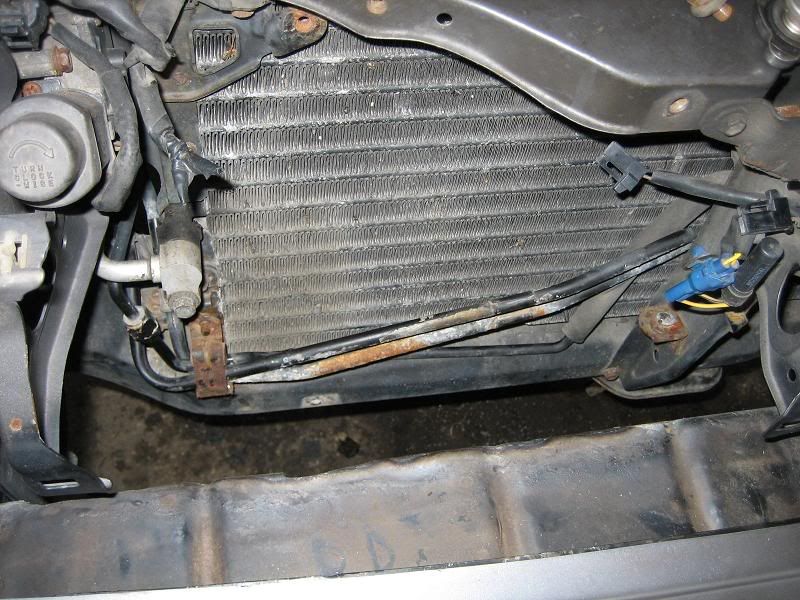
Close up of what we need to start getting out of the way:
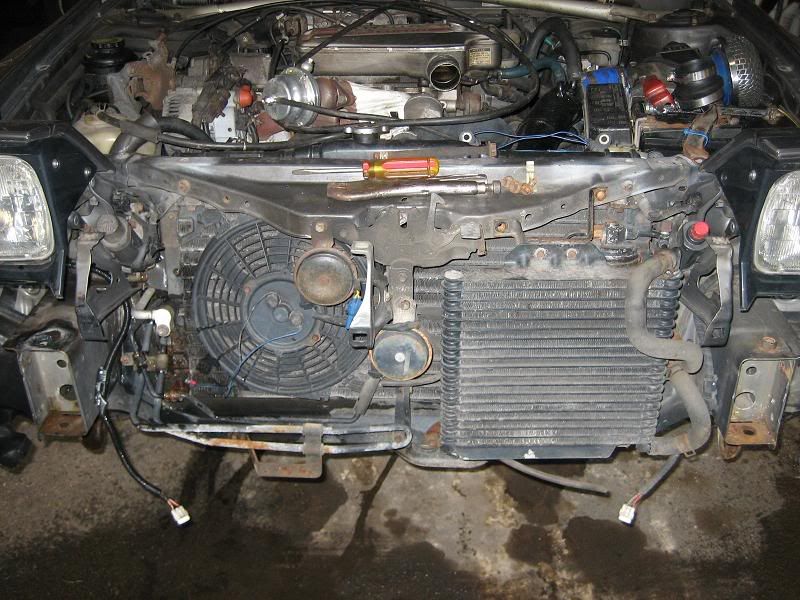
Snip the fan off with side cutters and the I/C radiator comes off with 4 12mm. Horns also removed:
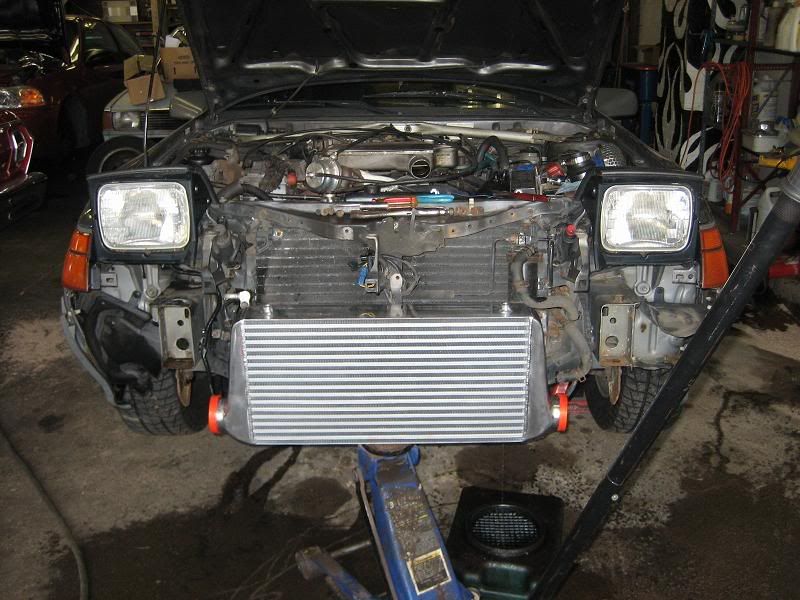
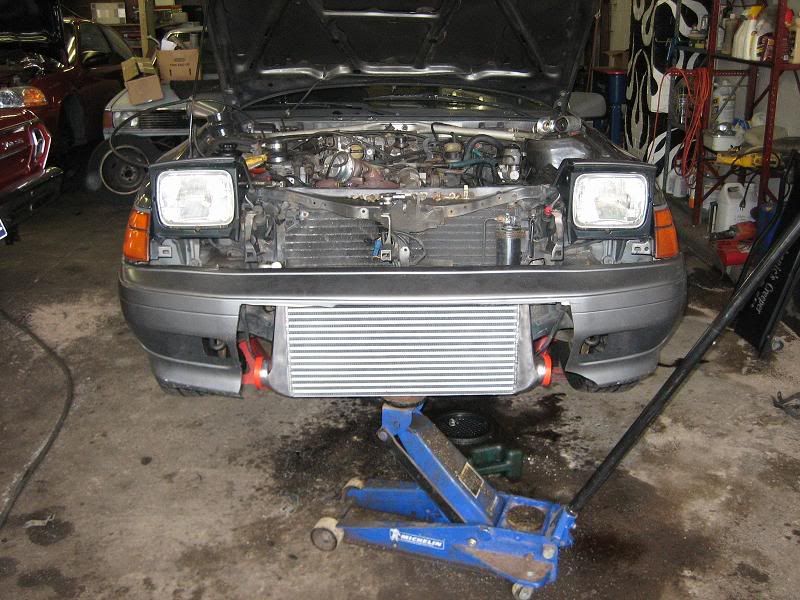
Lets do a test fit.... YES!!!:
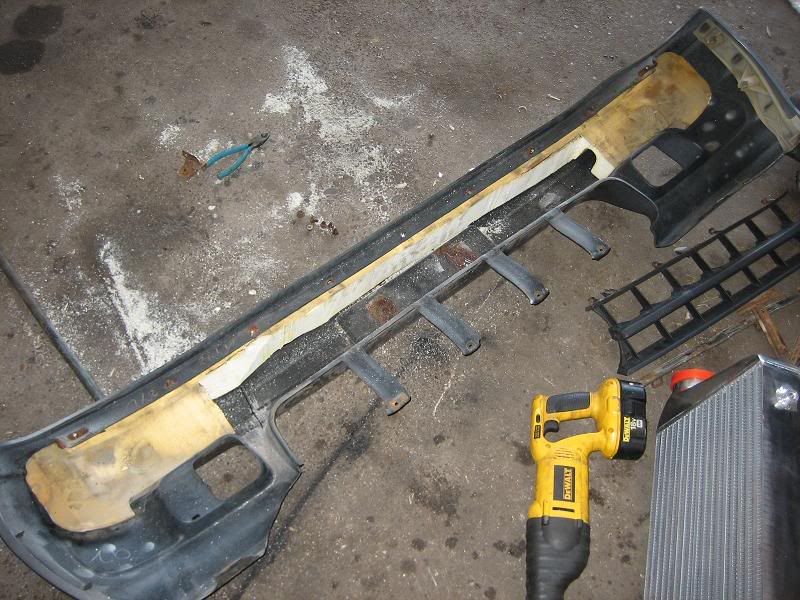
The bumper rebar comes off of the bumper cover. I broke 80% of all the bolts that I tried to take off. I'll probably have to drill out the broken studs and put nuts and bolts in it. 10mm accross the top and on hte underside of the center opening and side openings.
Once off, I decided to give myself as much room as possible (also basing that on the top of the cooler being flush with the top of the frame rails on my first mockup). I used a torch to hack the meat out of it to what you see here:
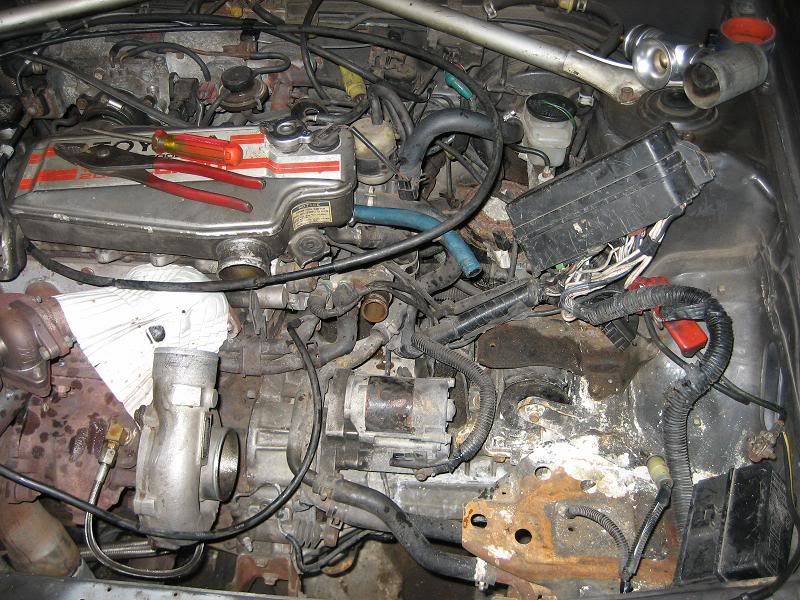
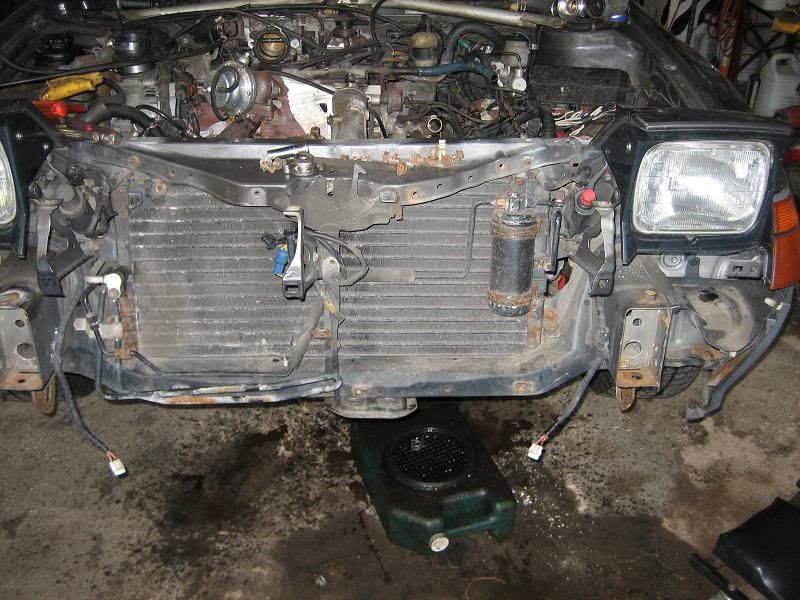
Now, topside I removed the battery, pushed hte harness out of the way and unbolted the top mount. This is making room to get to all the stock i/c lines and pump:
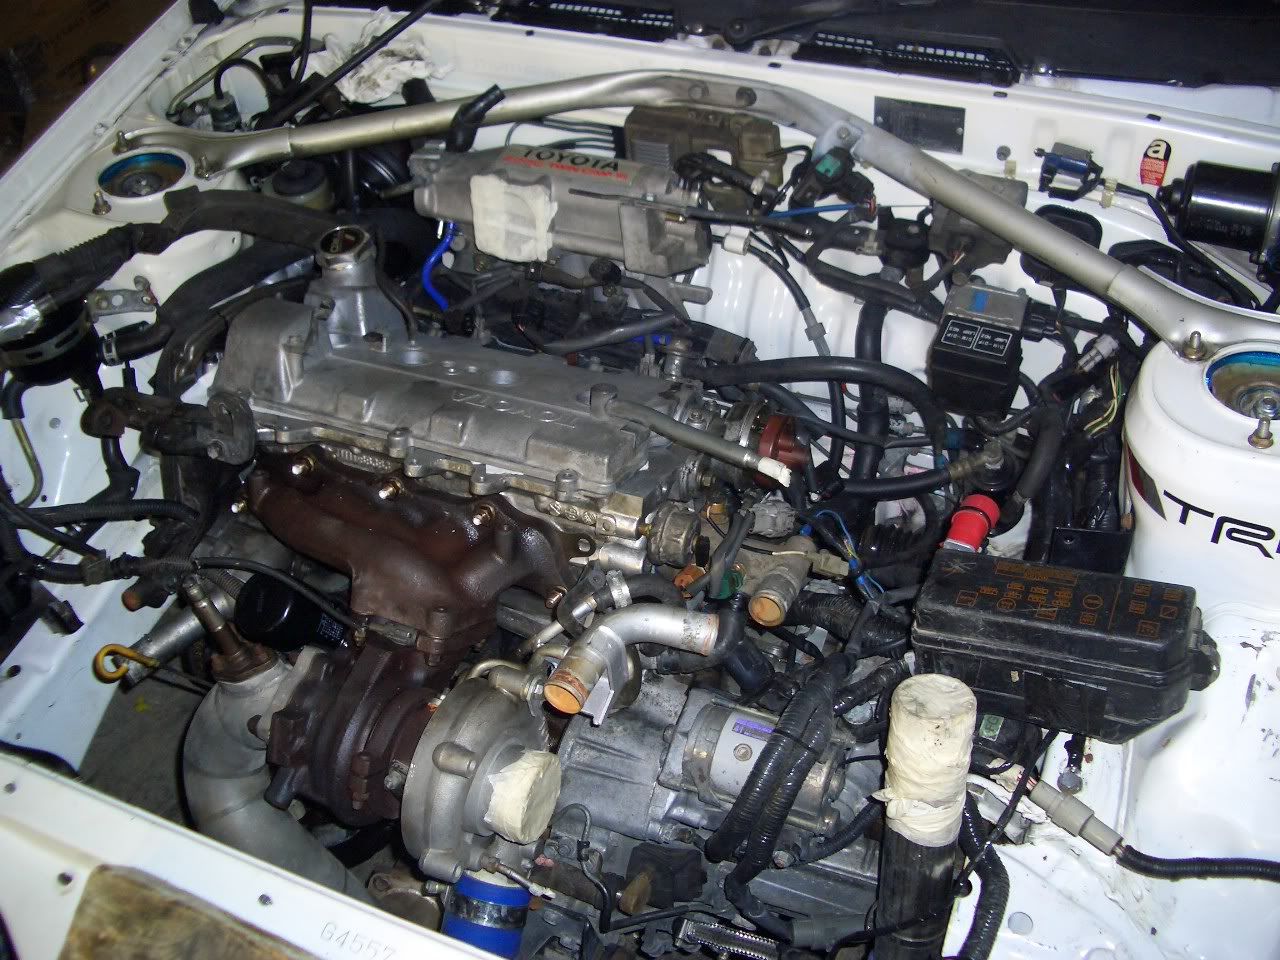
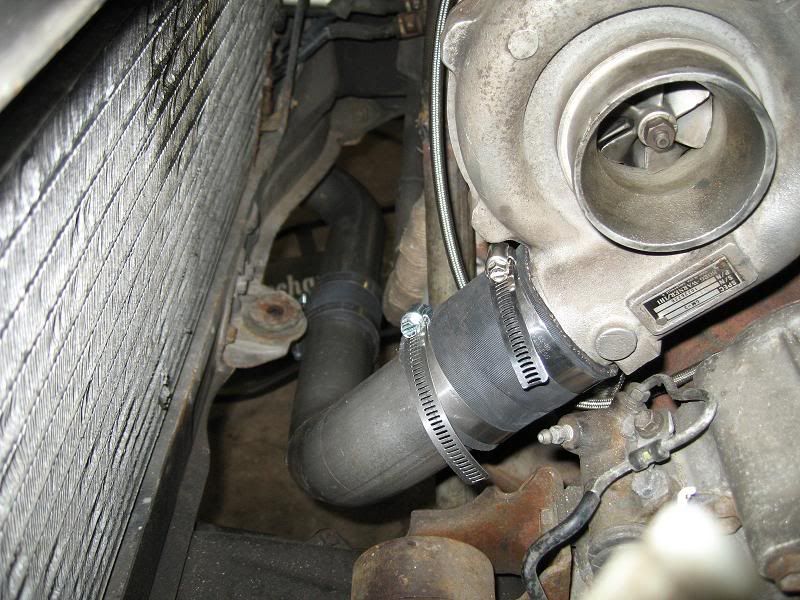
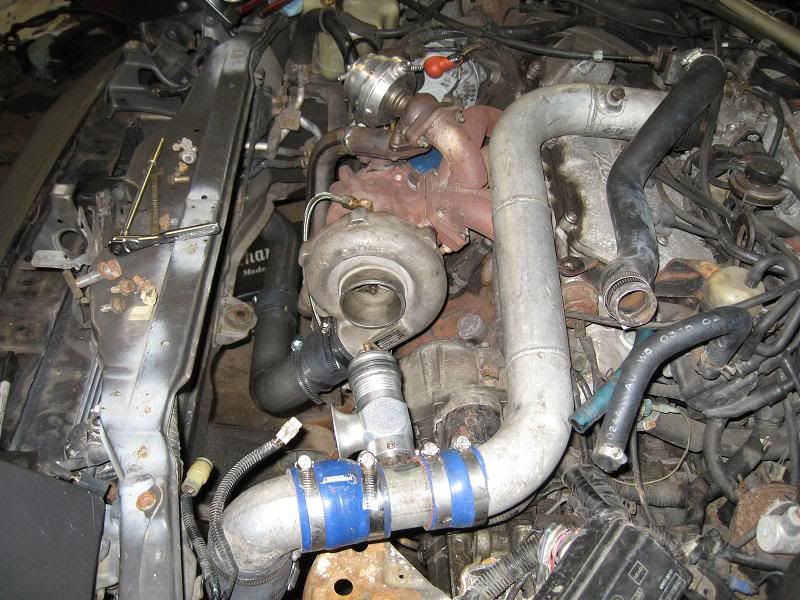
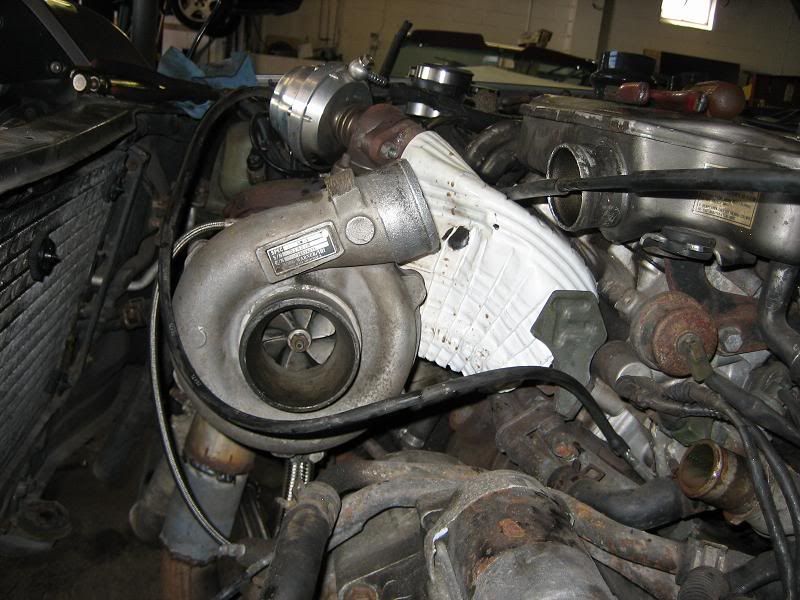
mmmm IHI:
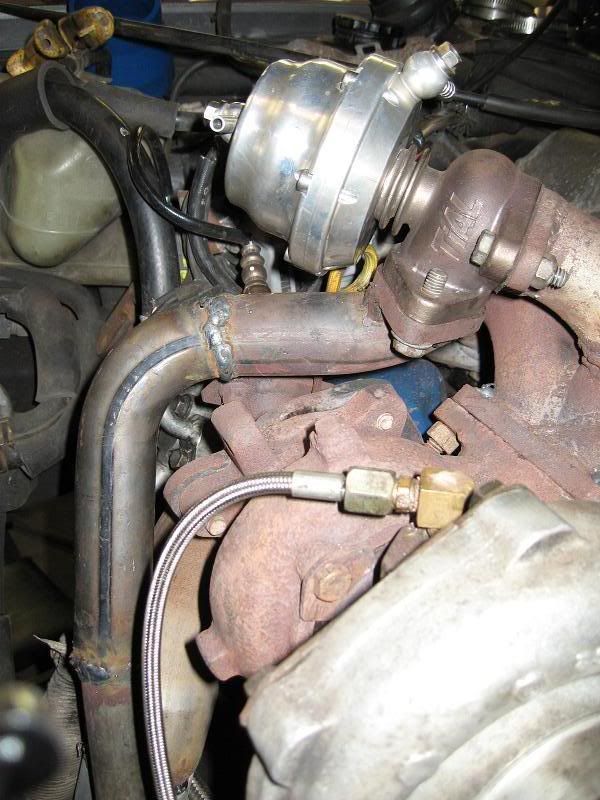
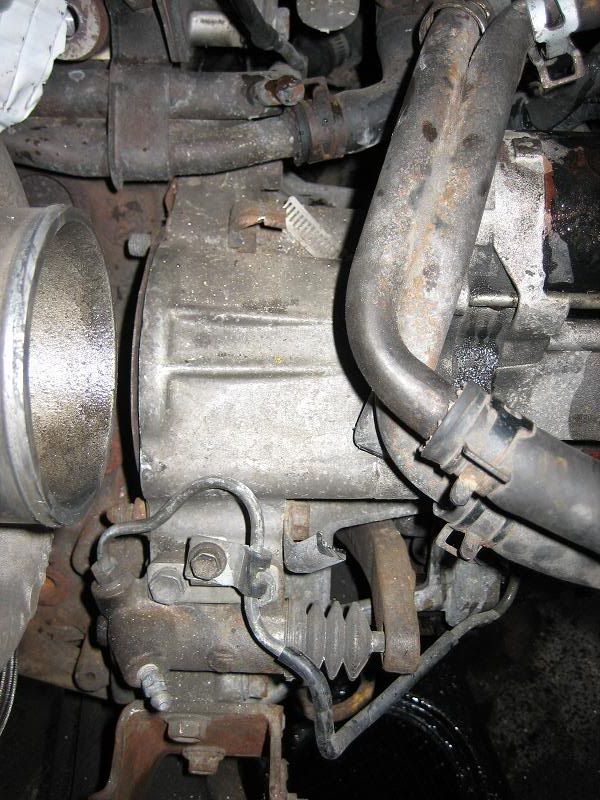
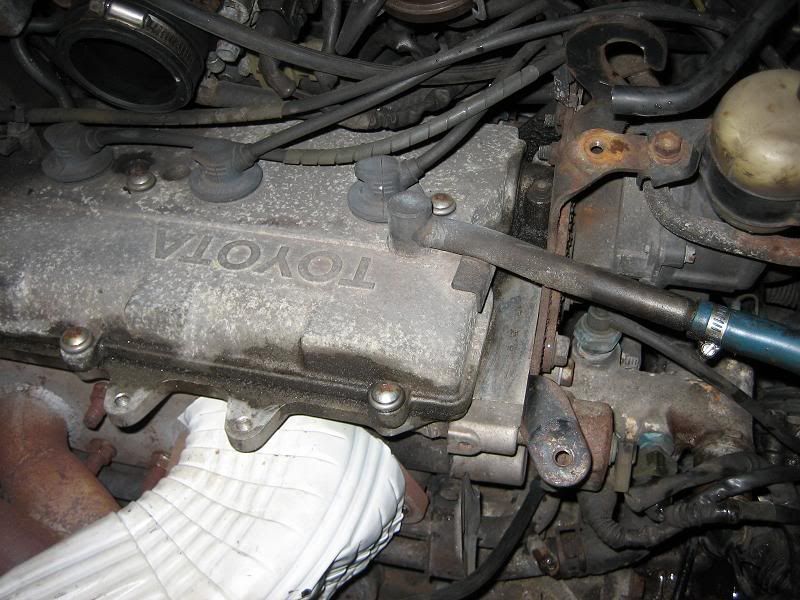
There is that raskulley water pump!:
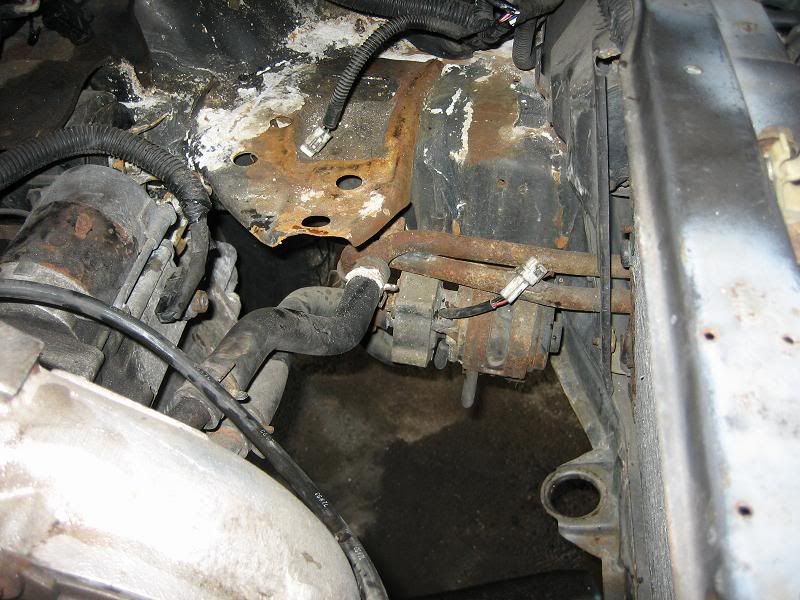
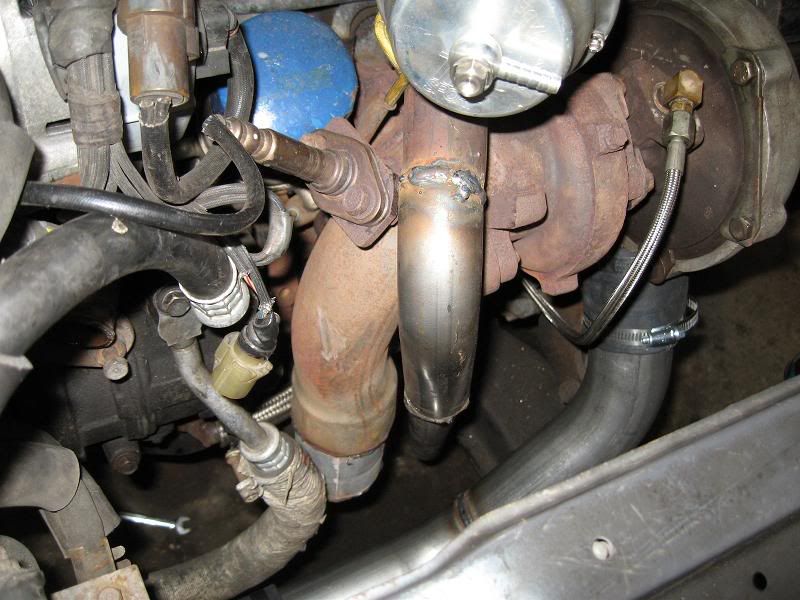
Here is a top view of where the lines bolt to the block/trans through the starter. They looked like they would SUCK to remove, so i got the sawzall in there and hacked the tabs off:
No top mount... getting cleaner!:

I/C Pump from underneath, you can see the 12mm bolts you need to tackle:
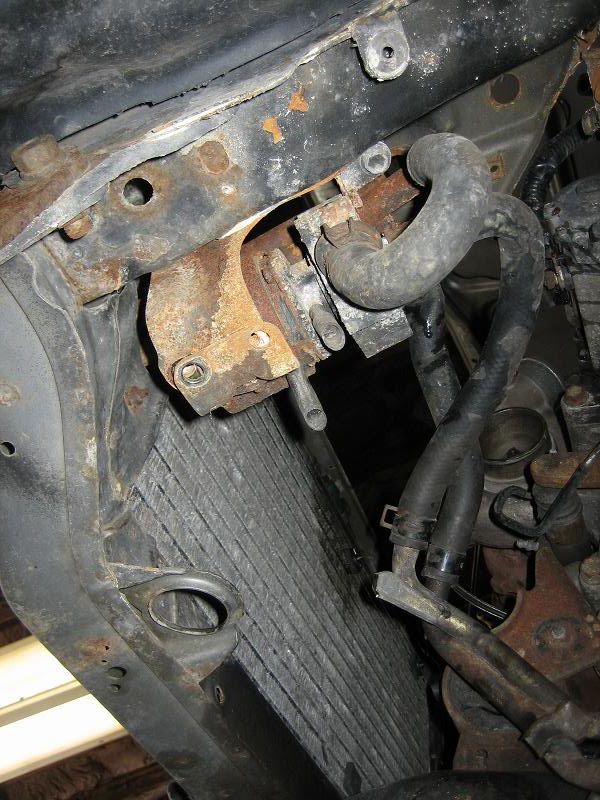
Bolts removed, then the bracket on the side is held on with 3 10mm:
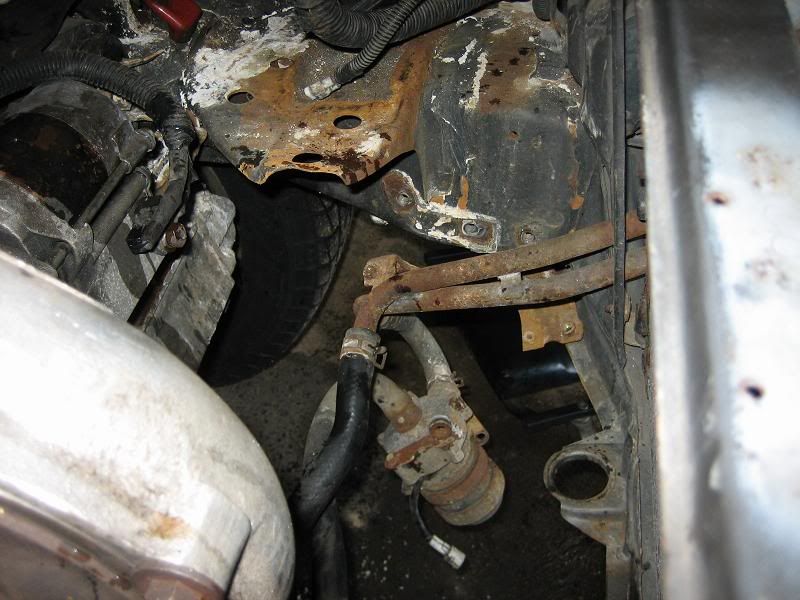
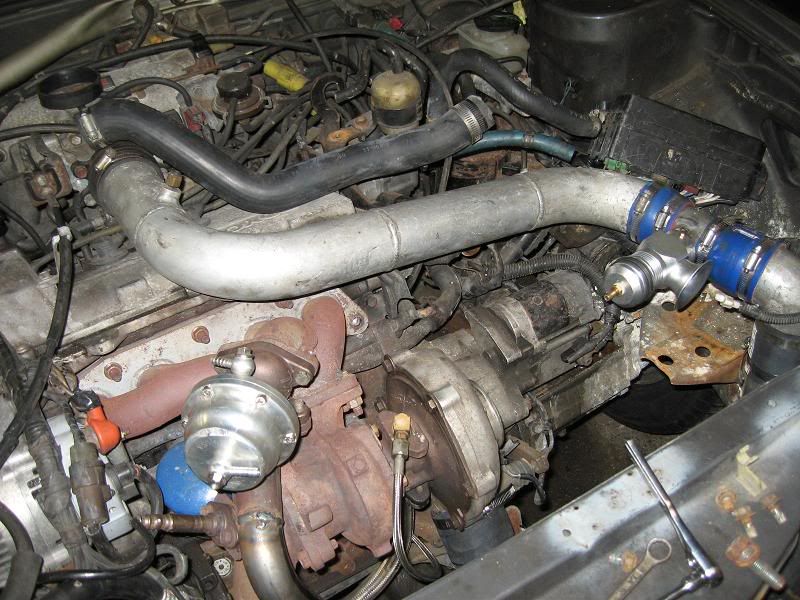
No more I/C water lines:
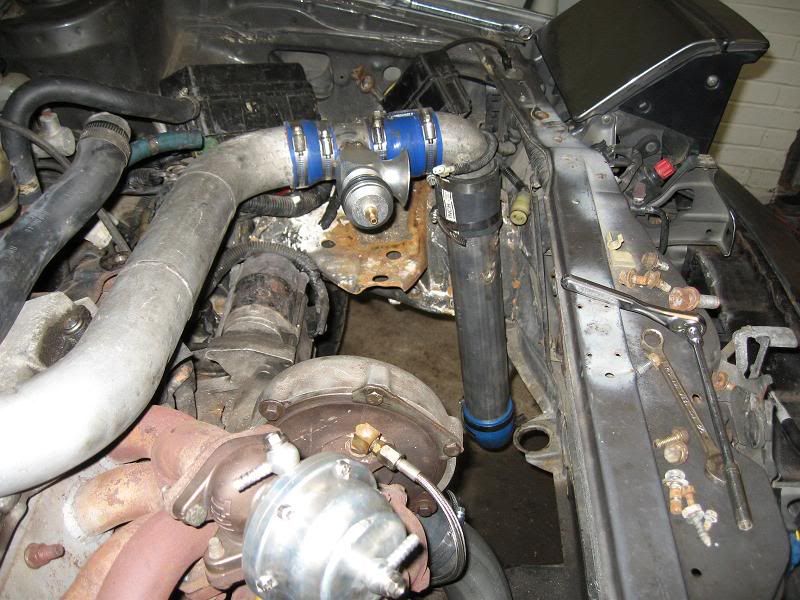
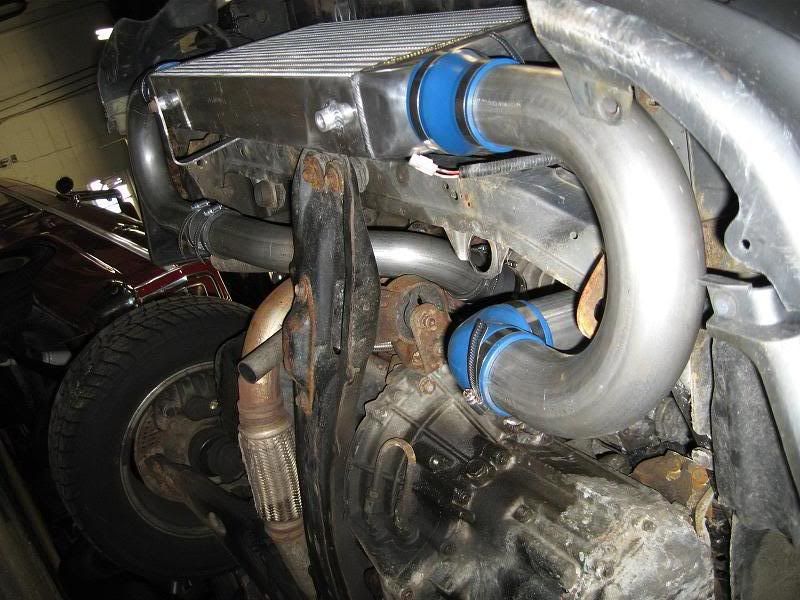
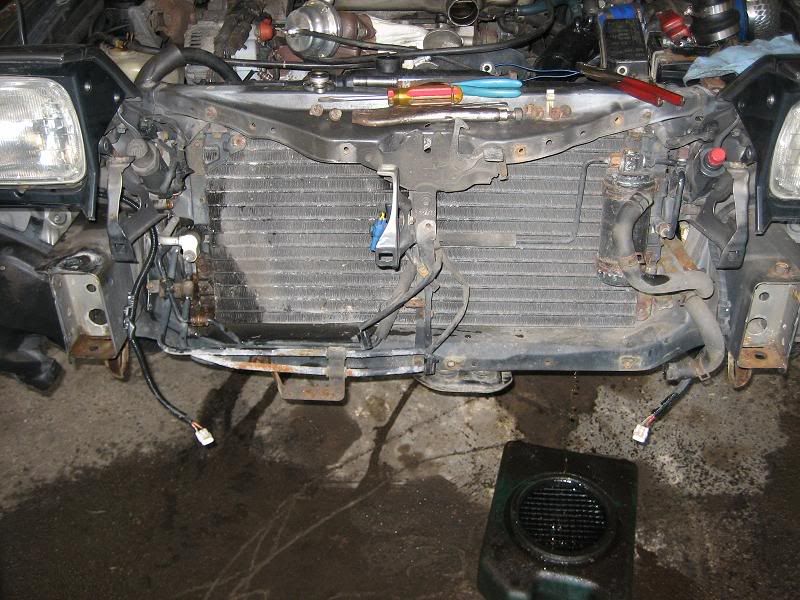
View from the side:

where'd my egr port go???:
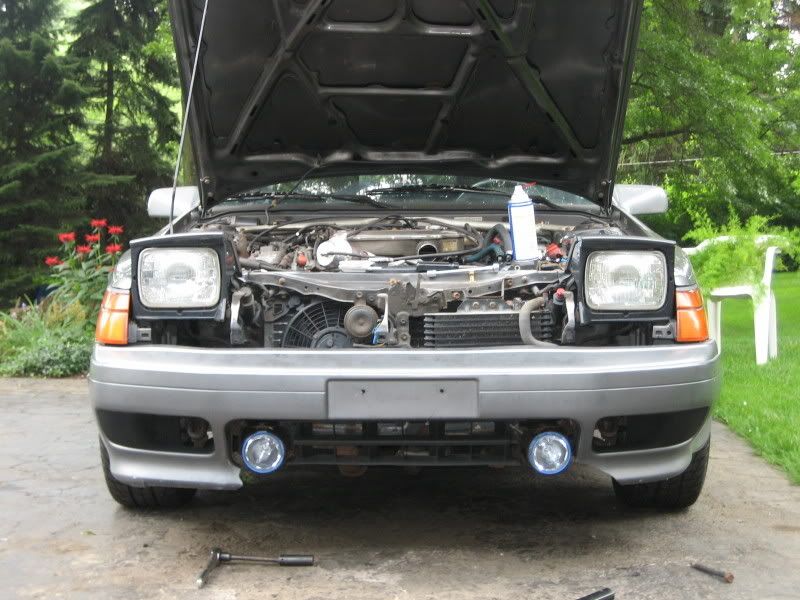
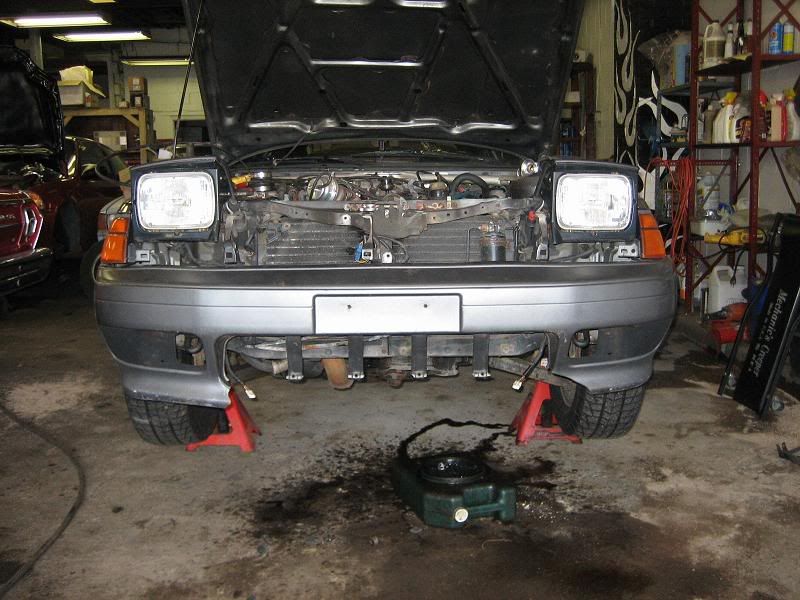
Bumper bar installed... yikes:
Dry fit the cover and mark where to cut:
Basicly you cut the whole thing apart :tear: :
Unbolt the P/S cooler line and shove it behind the center support:
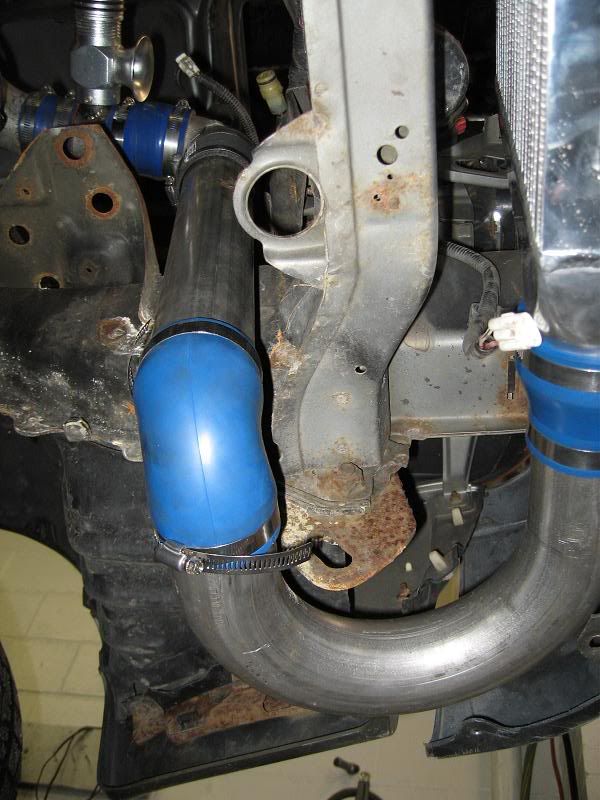
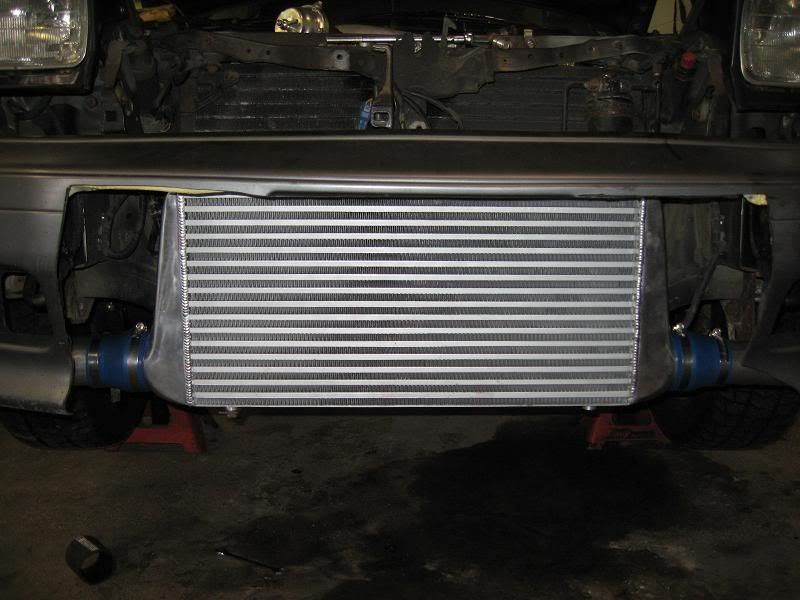
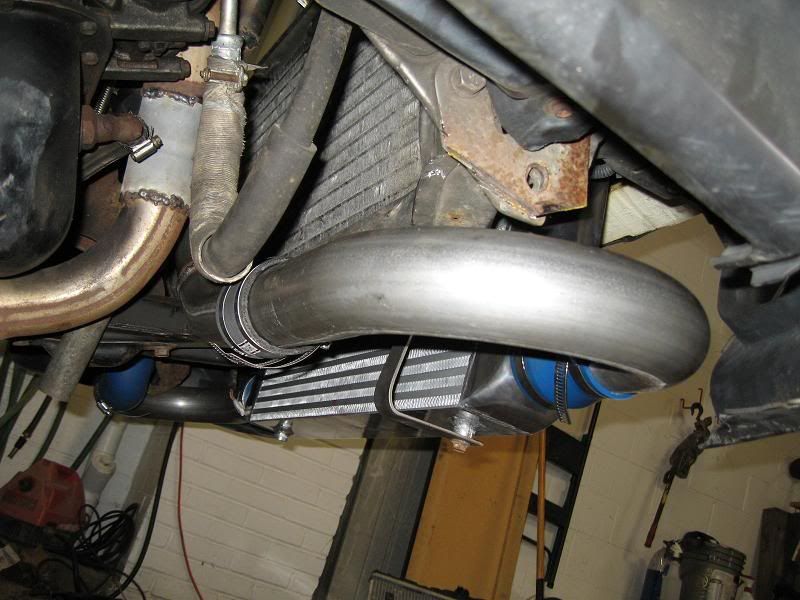
Placing the FMIC:
Dry fit with the newly hacked bumper:
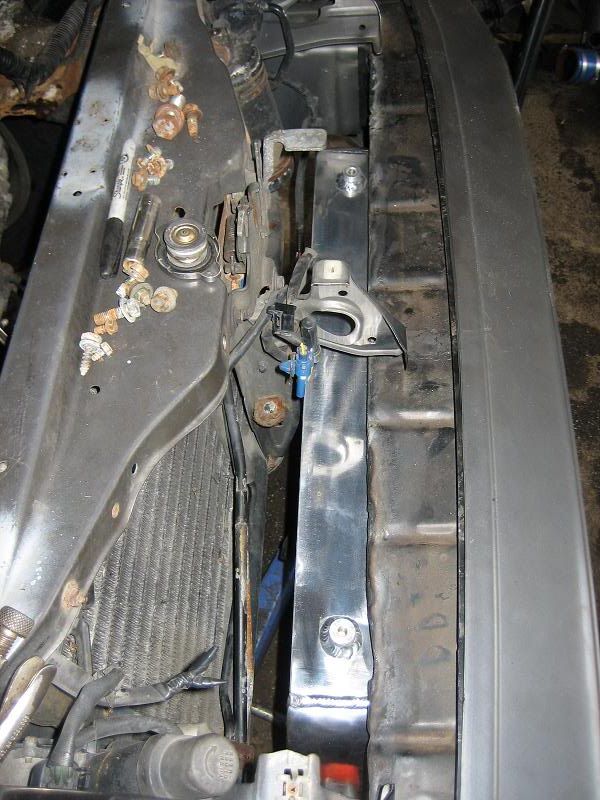
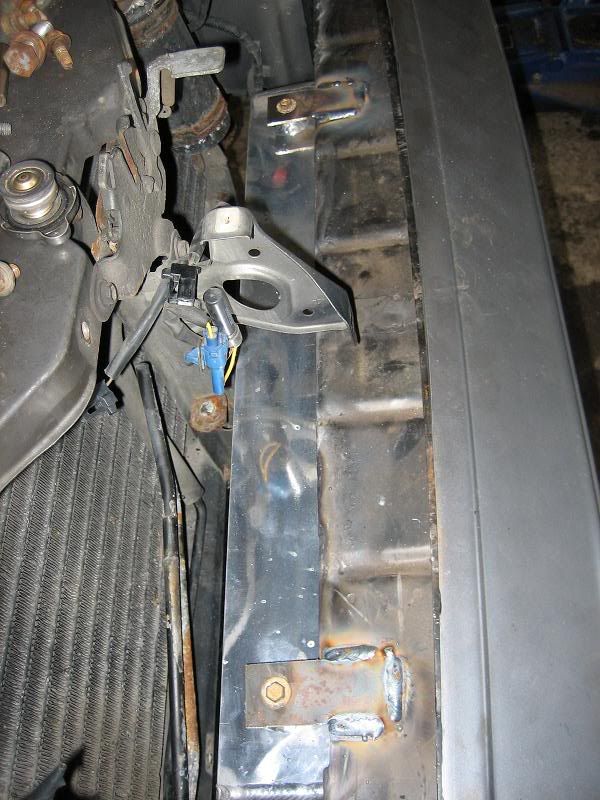
Top mounting tabs for the cooler:
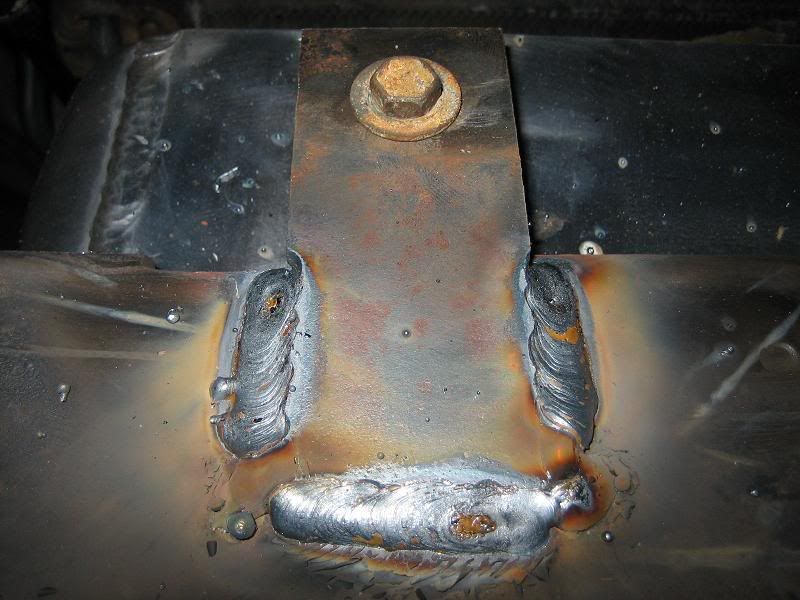
My uber goober welds:
Thats all the progress so far. I've been busy with actual "work", so hopefully soon I'll get the piping figured out and get some stuff ordered up! MORE FUN TO COME!!
The intercooler I started with: 31x12x3 end to end with a 23.5" actual core width. 3" inlet/outlets.
This is what we start with:
Bumper comes off. Clips on the side and 2 main support bolts (17mm) from underneath through the frame rails. I snapped one and had to torch the top welded nut off and pound it out that way. It REALLY sucked:
Close up of what we need to start getting out of the way:
Snip the fan off with side cutters and the I/C radiator comes off with 4 12mm. Horns also removed:
Lets do a test fit.... YES!!!:
The bumper rebar comes off of the bumper cover. I broke 80% of all the bolts that I tried to take off. I'll probably have to drill out the broken studs and put nuts and bolts in it. 10mm accross the top and on hte underside of the center opening and side openings.
Once off, I decided to give myself as much room as possible (also basing that on the top of the cooler being flush with the top of the frame rails on my first mockup). I used a torch to hack the meat out of it to what you see here:
Now, topside I removed the battery, pushed hte harness out of the way and unbolted the top mount. This is making room to get to all the stock i/c lines and pump:
mmmm IHI:
There is that raskulley water pump!:
Here is a top view of where the lines bolt to the block/trans through the starter. They looked like they would SUCK to remove, so i got the sawzall in there and hacked the tabs off:
No top mount... getting cleaner!:
I/C Pump from underneath, you can see the 12mm bolts you need to tackle:
Bolts removed, then the bracket on the side is held on with 3 10mm:
No more I/C water lines:
View from the side:
where'd my egr port go???:
Bumper bar installed... yikes:
Dry fit the cover and mark where to cut:
Basicly you cut the whole thing apart :tear: :
Unbolt the P/S cooler line and shove it behind the center support:
Placing the FMIC:
Dry fit with the newly hacked bumper:
Top mounting tabs for the cooler:
My uber goober welds:
Thats all the progress so far. I've been busy with actual "work", so hopefully soon I'll get the piping figured out and get some stuff ordered up! MORE FUN TO COME!!
 .
.