Landon
New member
hey guys, so basically started to get jealous i don't have a project thread so i'm gonna get one started. we'll see how it goes. i'll update to now and keep it that way.
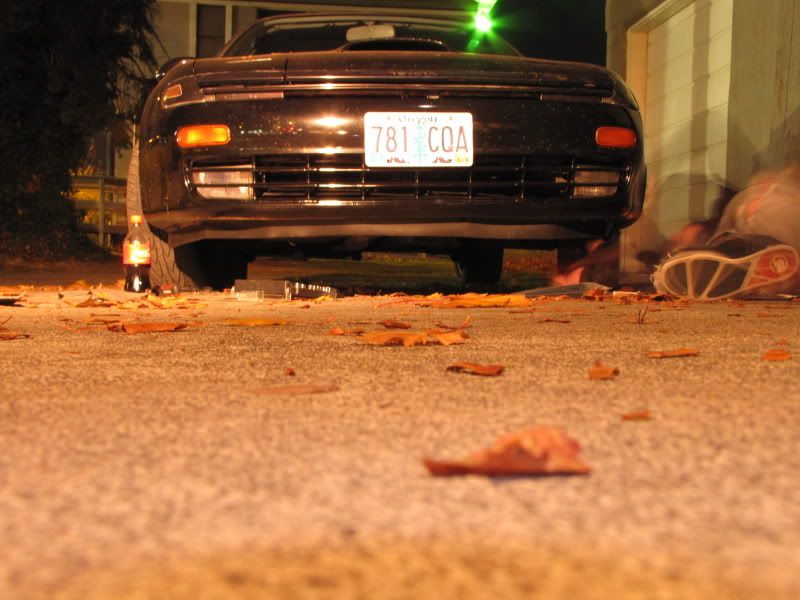
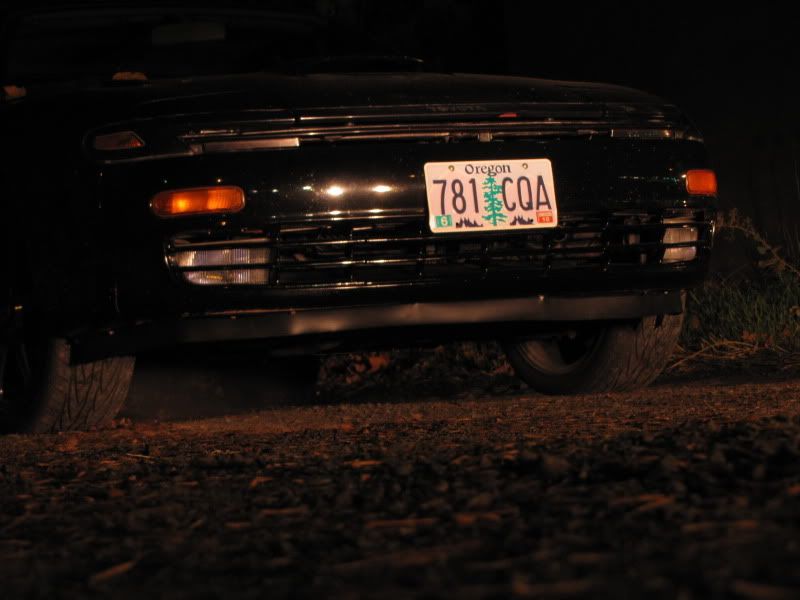
Bought my car off a old man that owned a motel here in eastern oregon. the last place anyone would expect to find this rare car. I had no idea what an alltrac was at the time, just thought it a good looking car. got her for $3500 last summer and have gradually begun to realize since what an amazing car i stumbled upon. I'm very glad i did, even though they can give you hell sometimes.
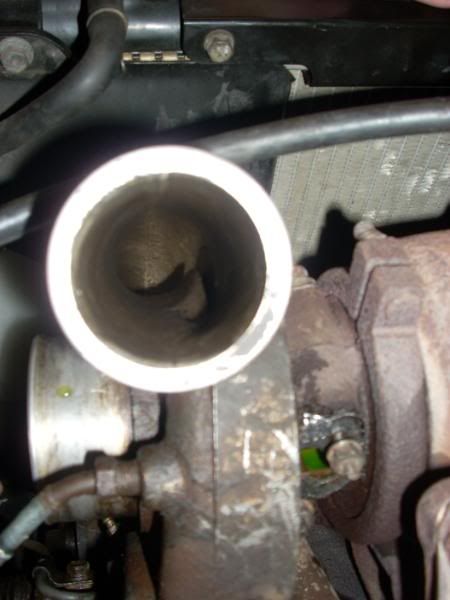
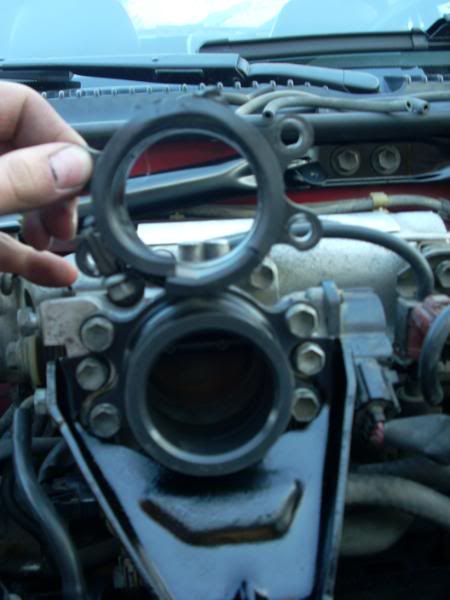
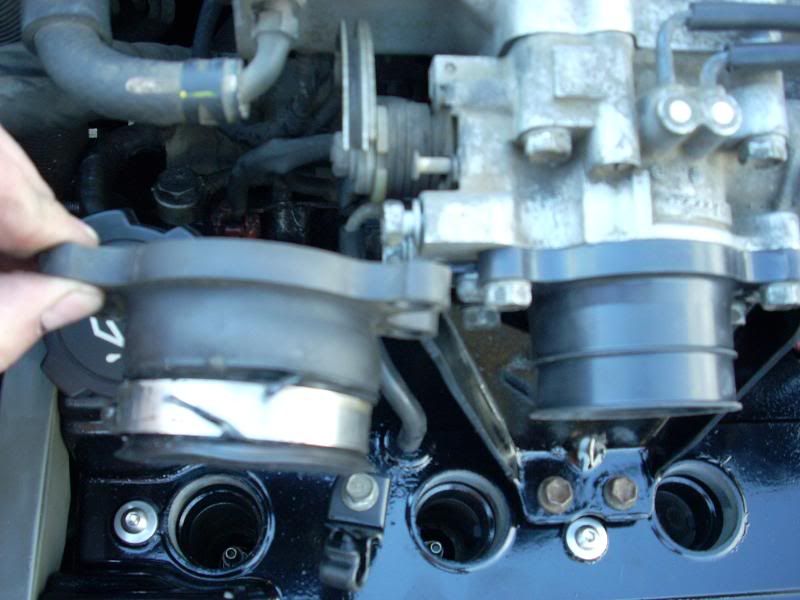
The day after i bought it, she started smoking. Turned out to be the pipe the branches to the turbo, and comes from the top radiator hose. I soon realized how hard parts are to find and how difficult these are to work on.
First drive after this was fixed, water pump went. i wasn't confident yet so paid 700+ to get this replaced, timing belt, etc.
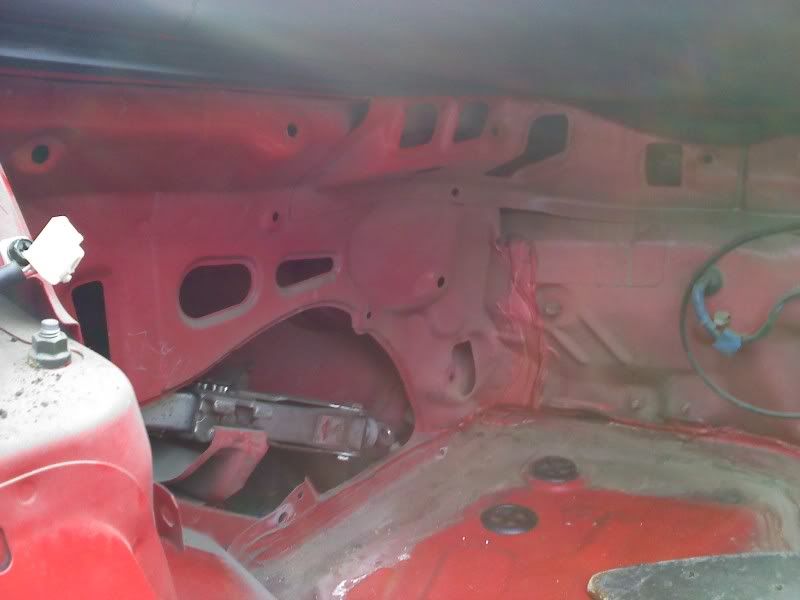
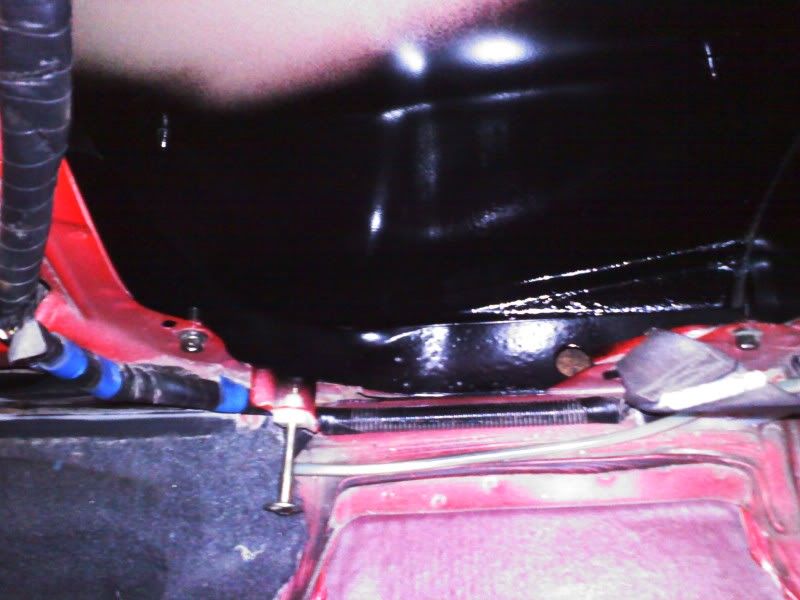
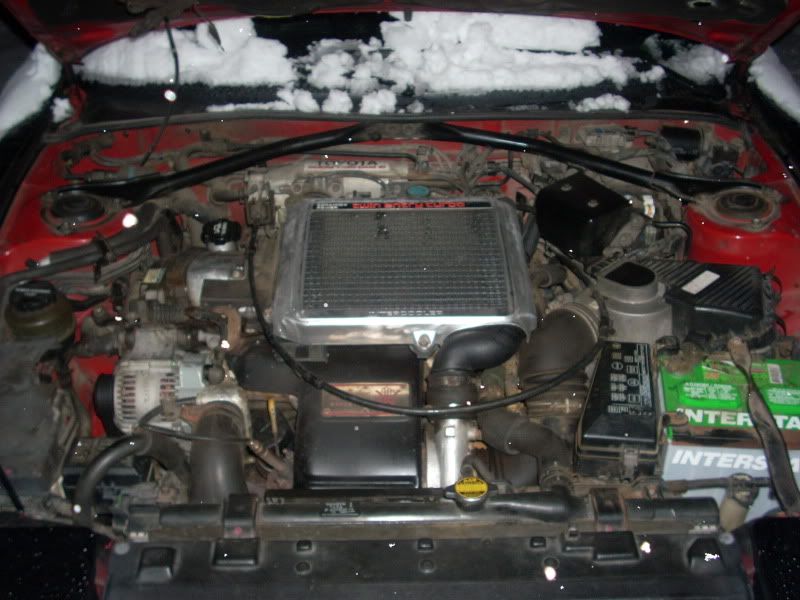
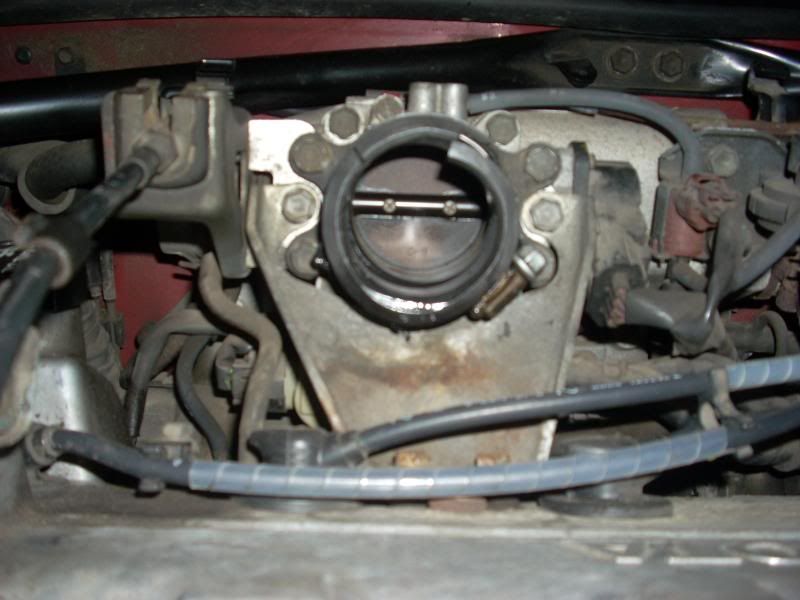
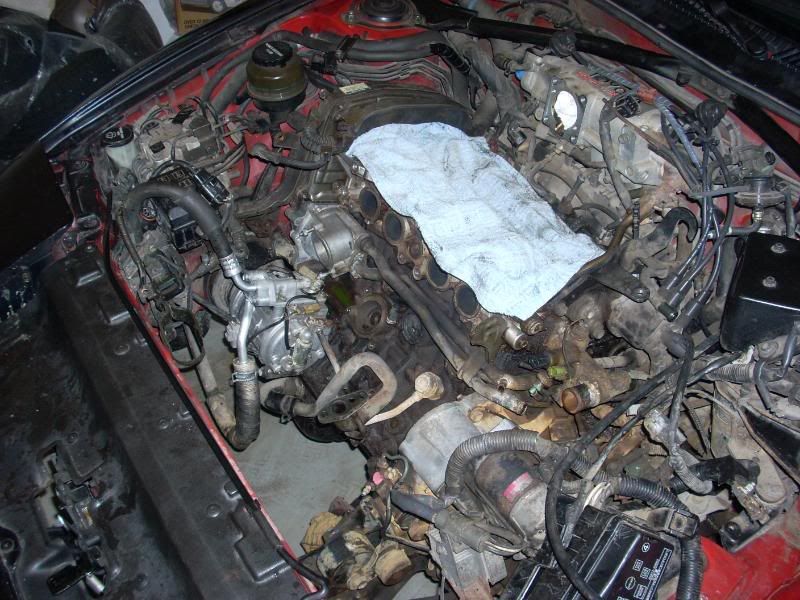
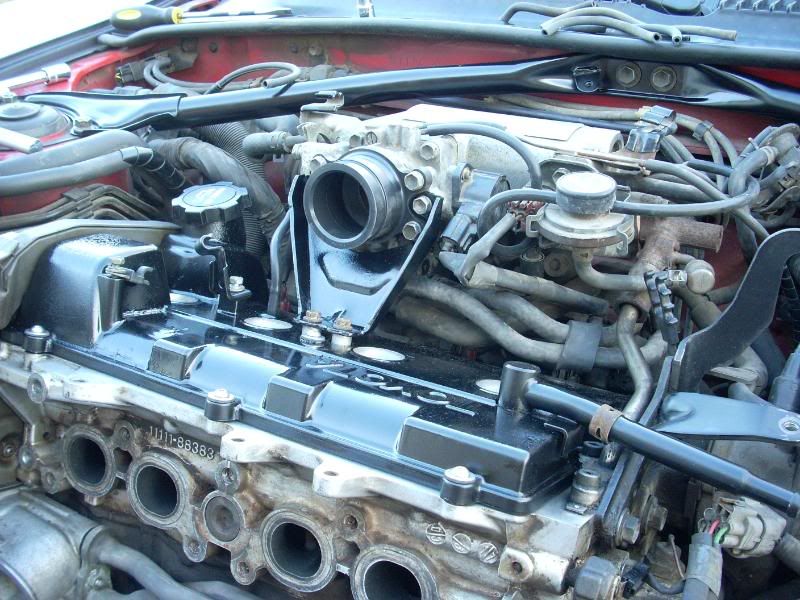
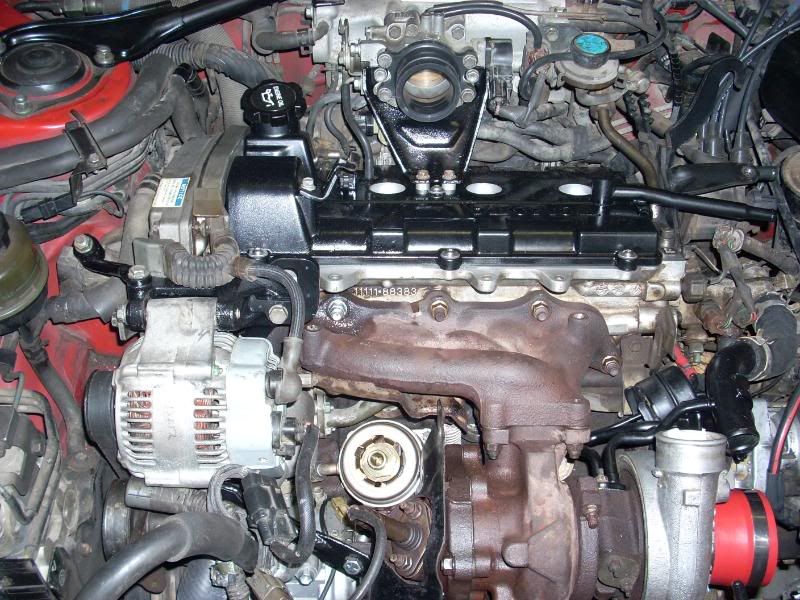
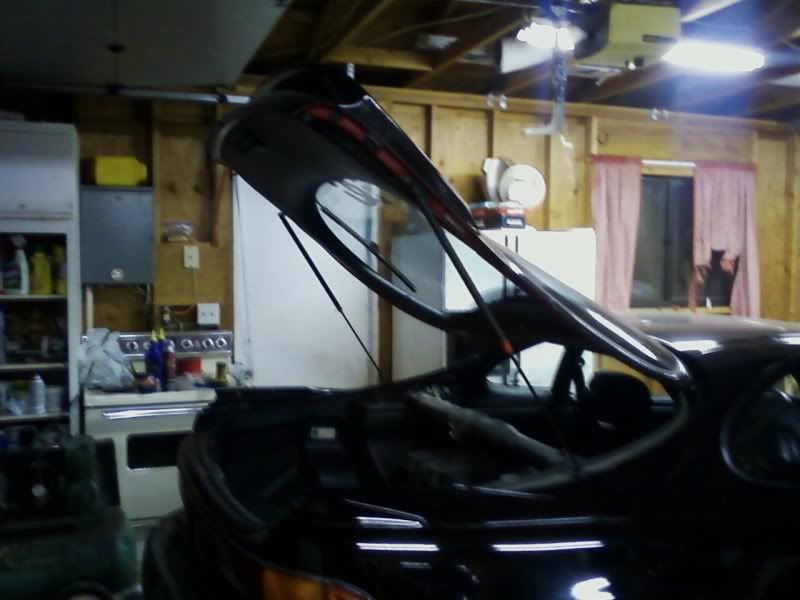
Stock engine bay after new water pump. Middle of winter as you can tell.
Ran great for the first quarter of school. Till she started running really rough. soon found out spark plugs wires were the issue
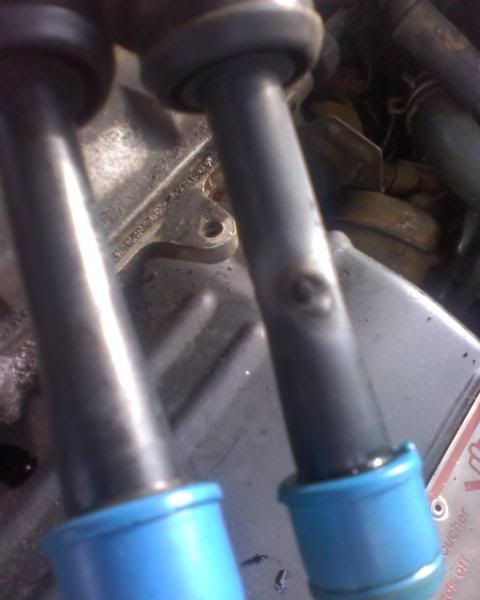
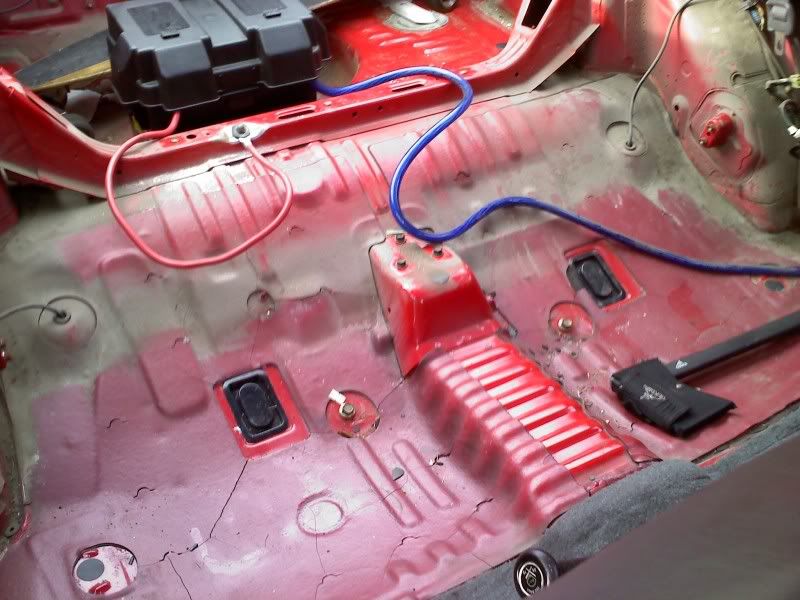
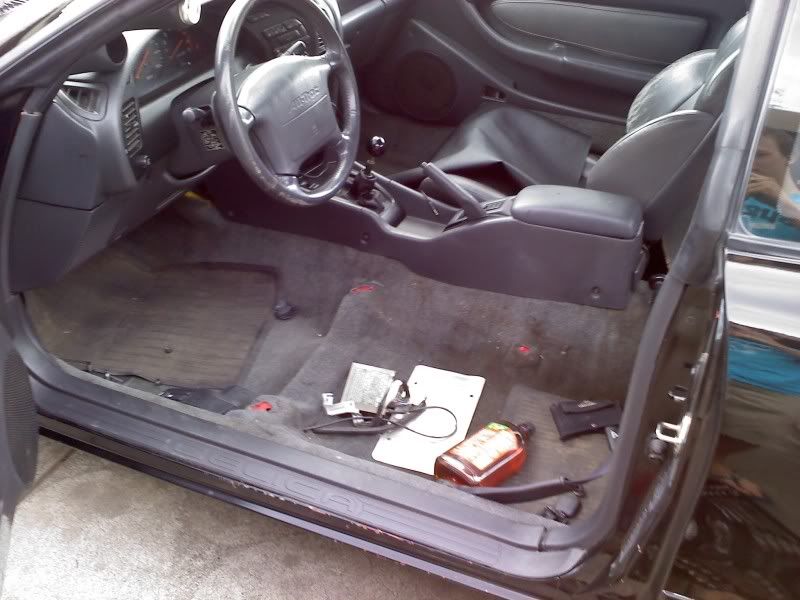
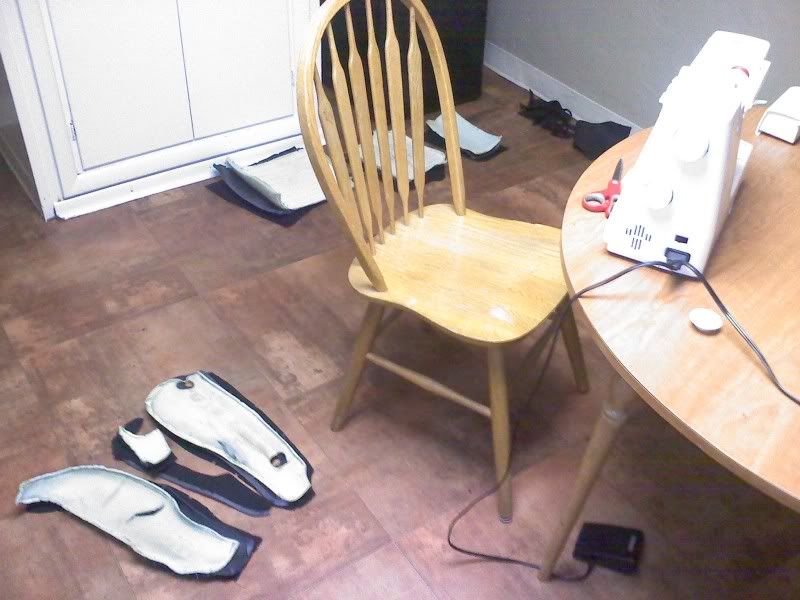
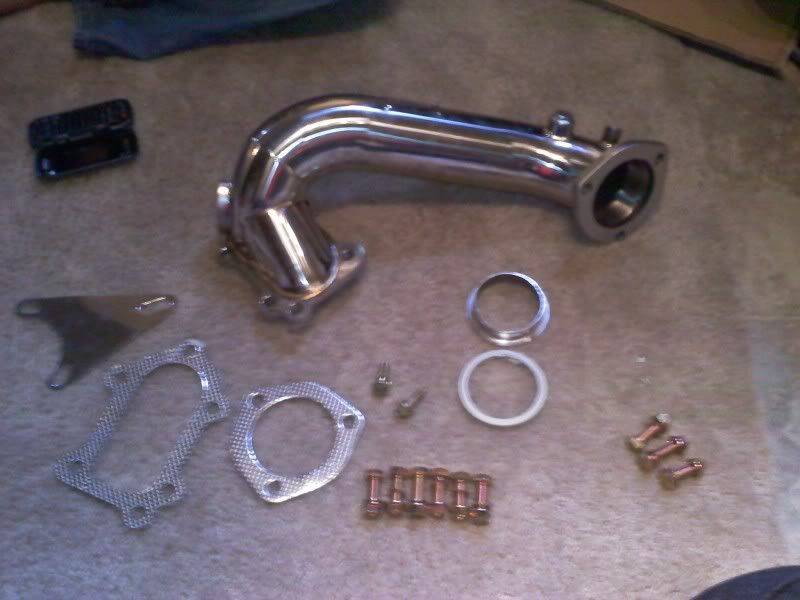
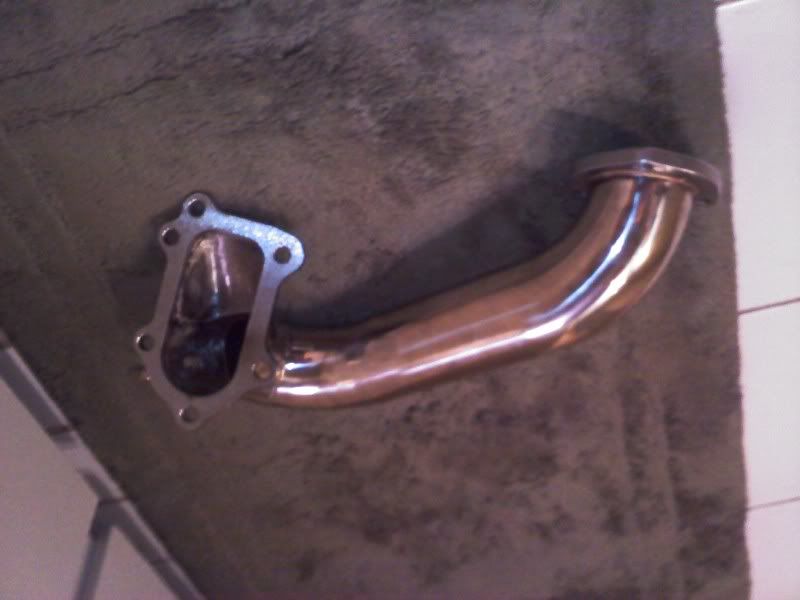
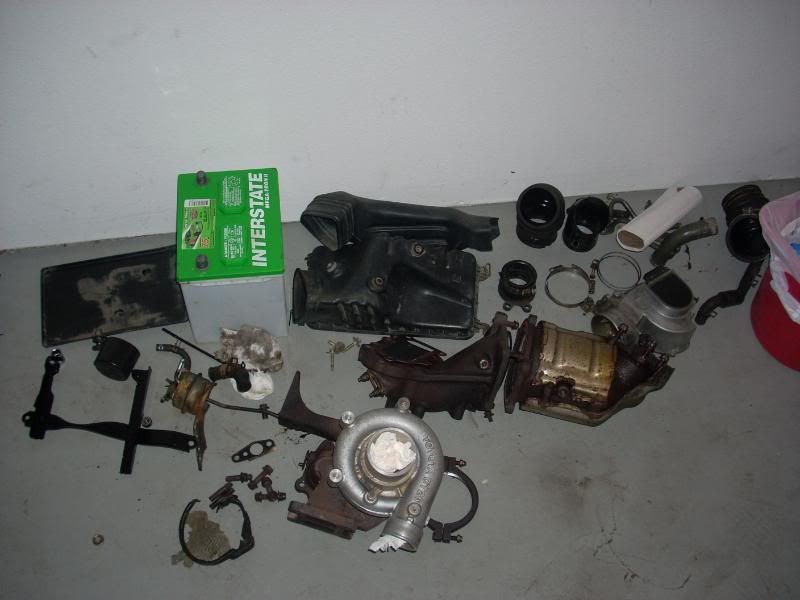
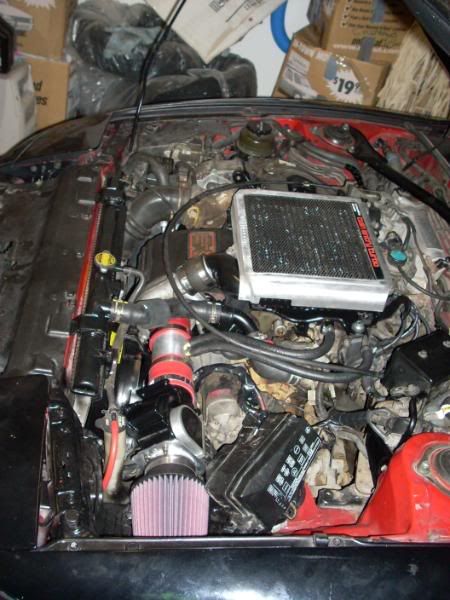
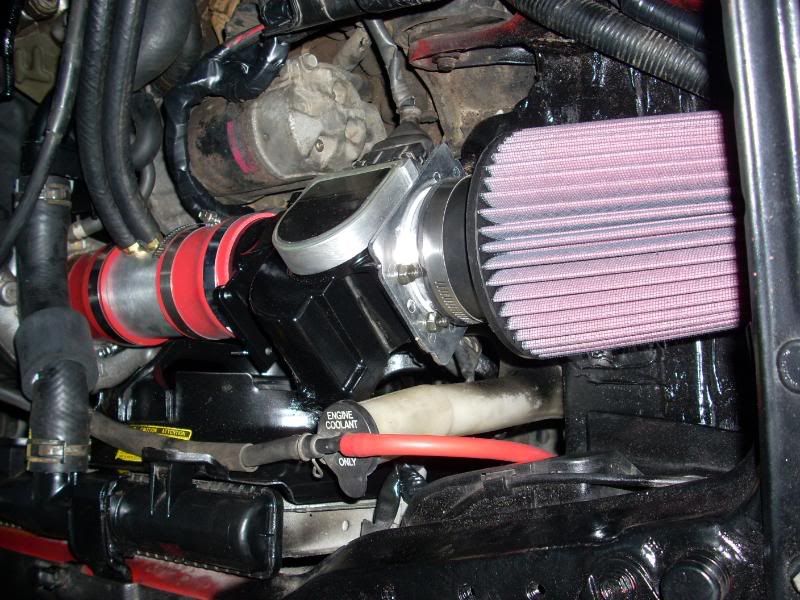
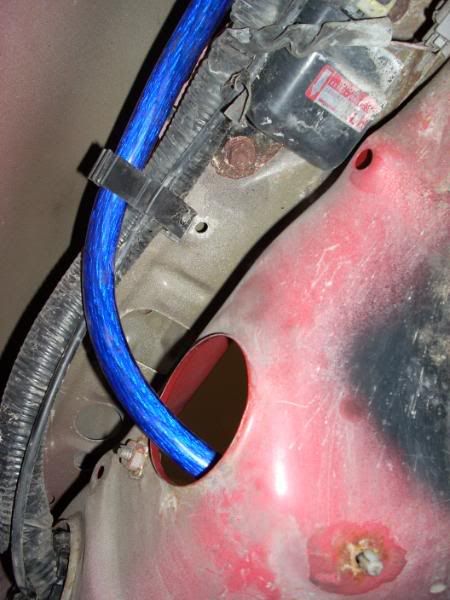
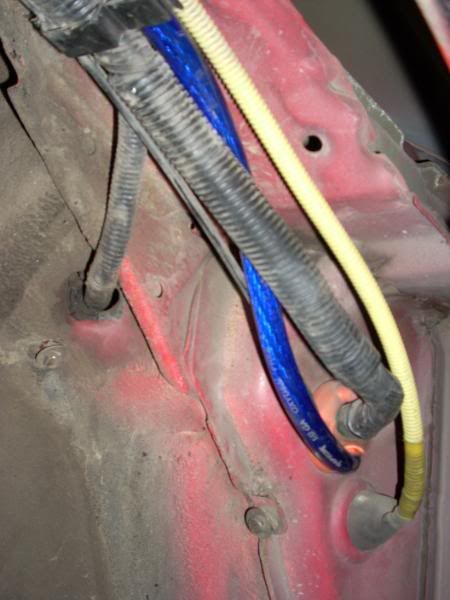
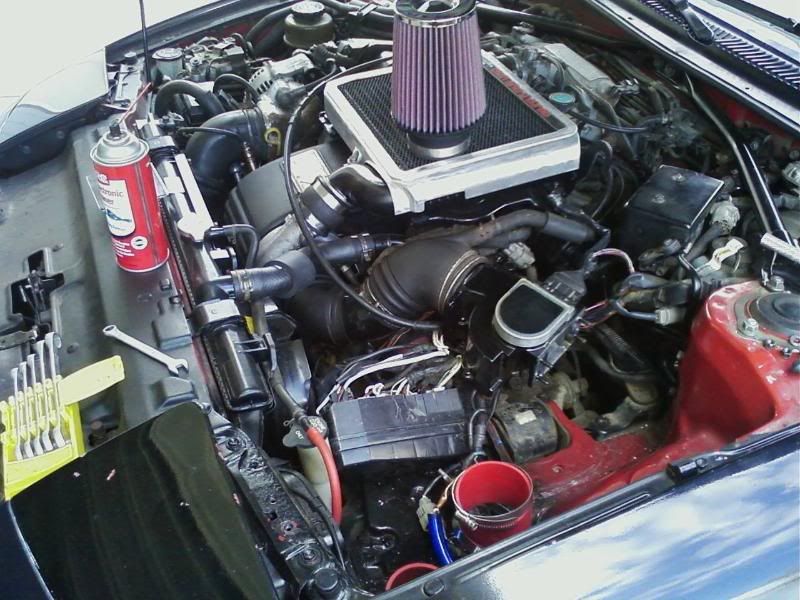
Then HFH blew and she sat in the garage for pretty much all winter quarter. I began the repairs myself once i started missing the car to much. This is when i began to understand our cars a little more and have much more respect for them now. Heres some pics of what i did. Straight intake, batt relocate, new hoses around, yup. ended up going through hell to find out i broke connections on the AFM. Took about a month to figure that out- after two or three shops thought about it too- i found the problem thanks to one of your help.
pics now-enough words. Let me know yours thoughts.

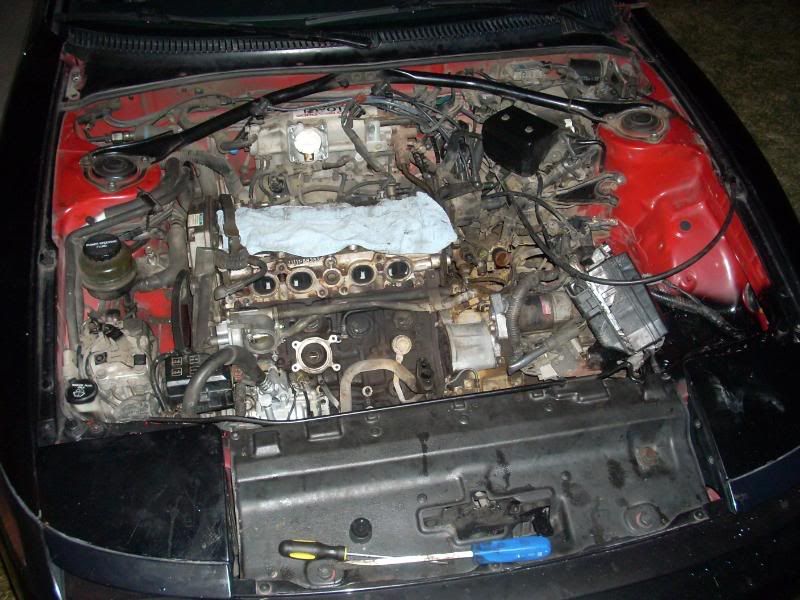
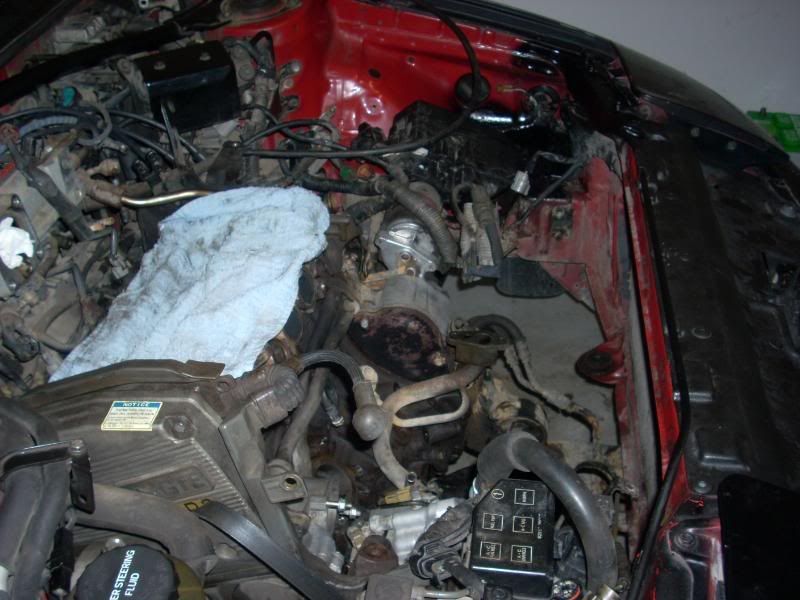
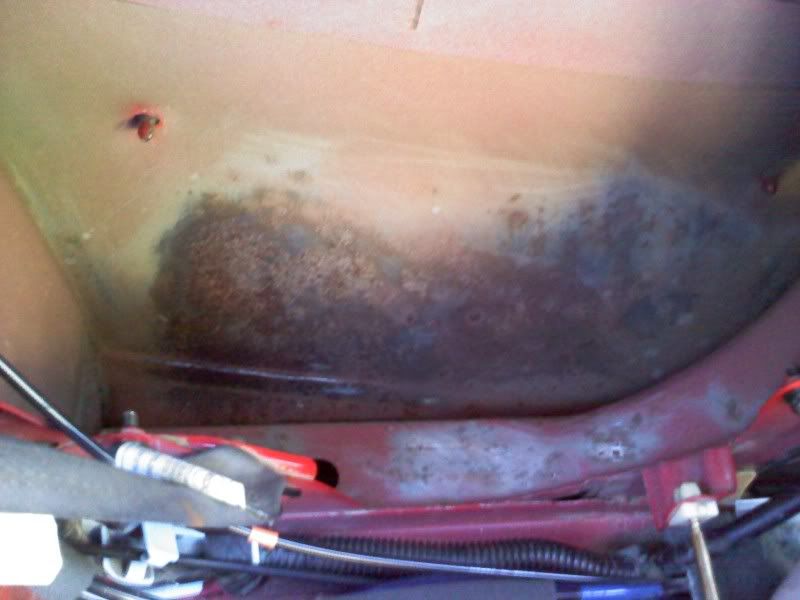
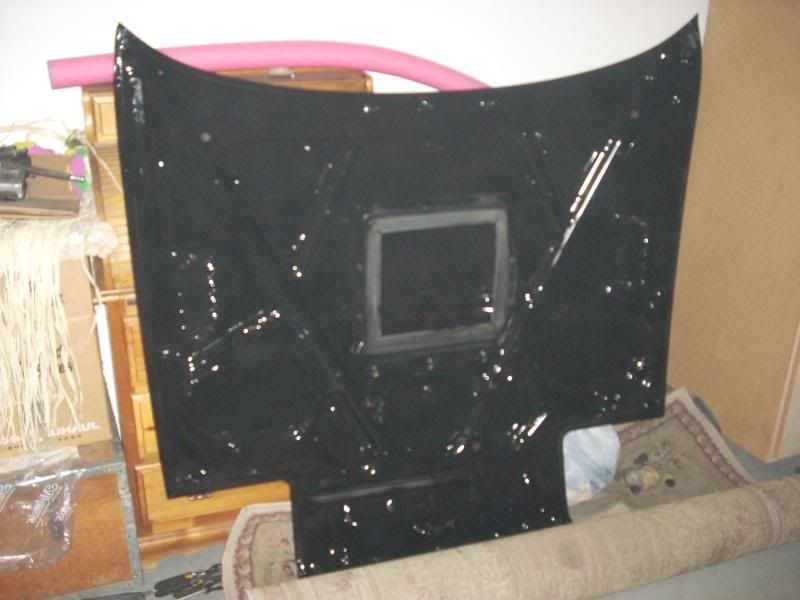
Painted under the hood black cause it was gross:
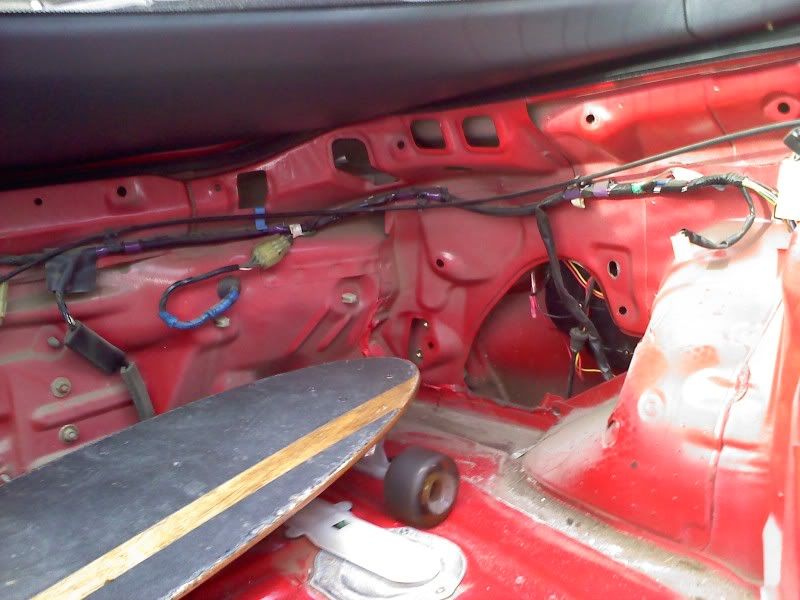
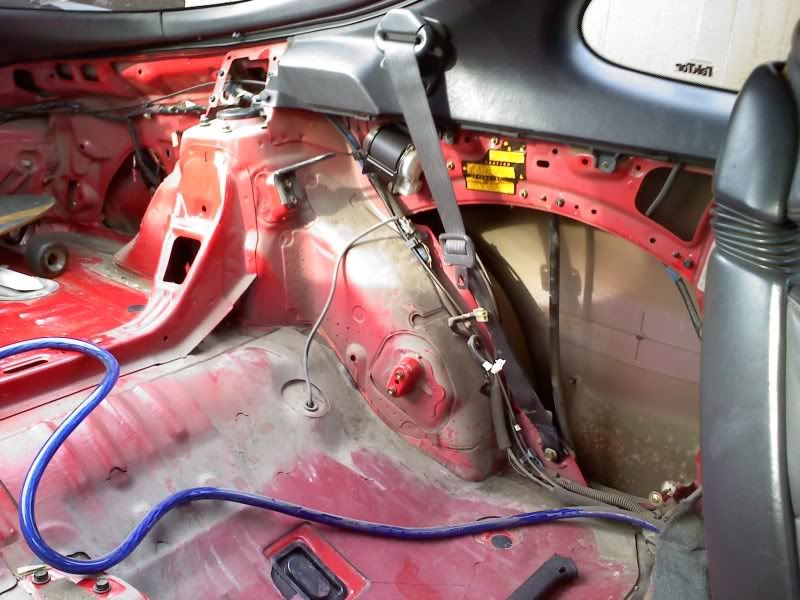
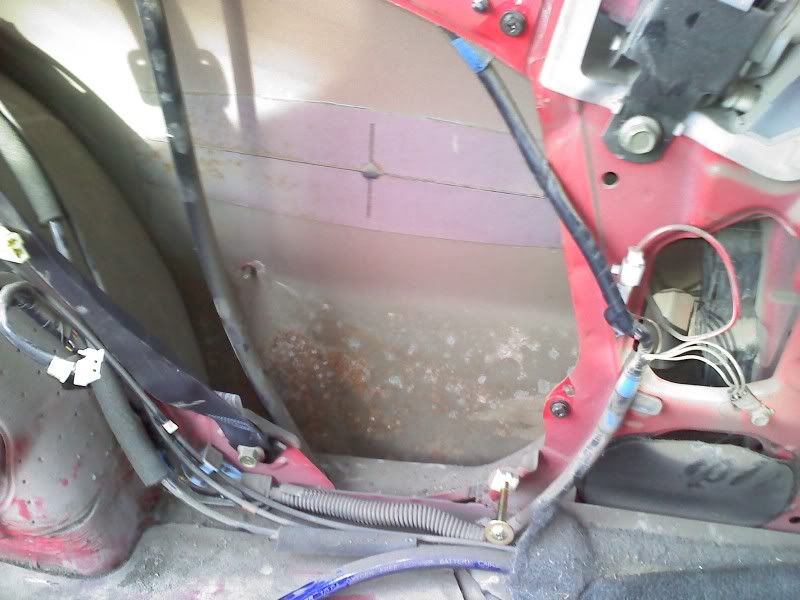
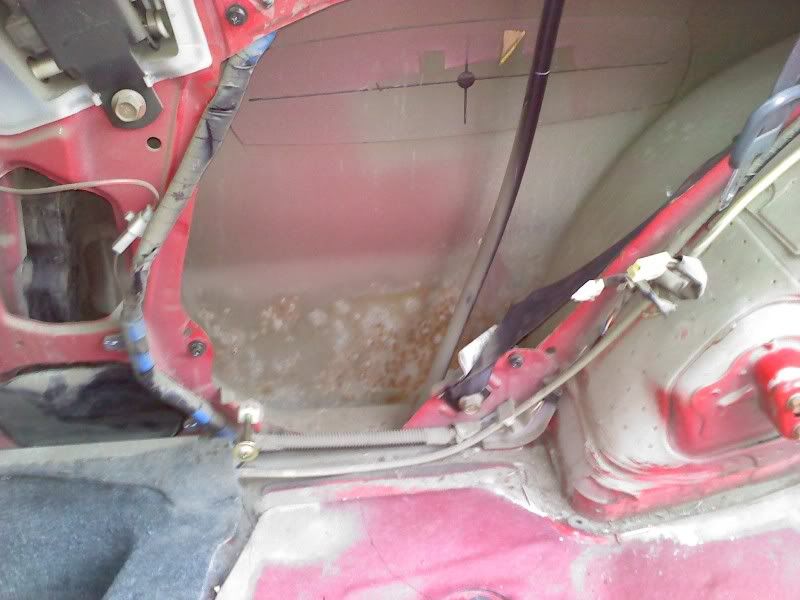
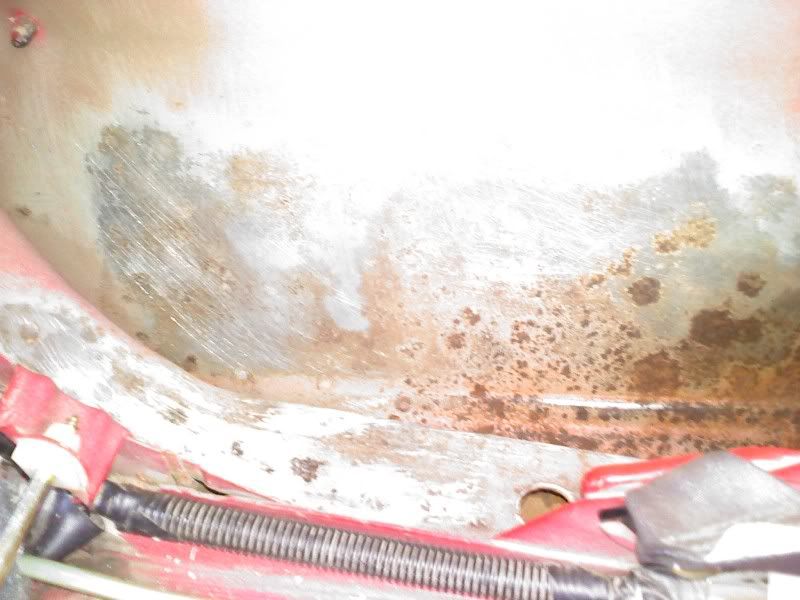
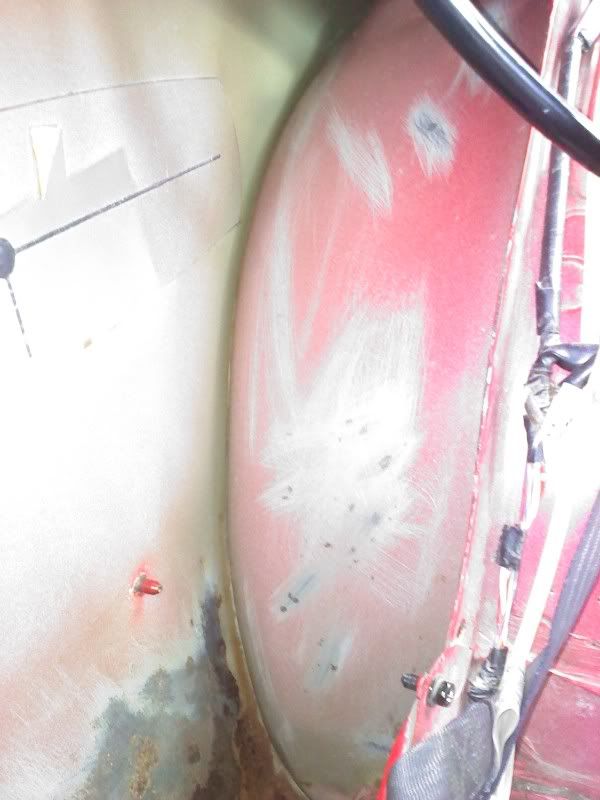
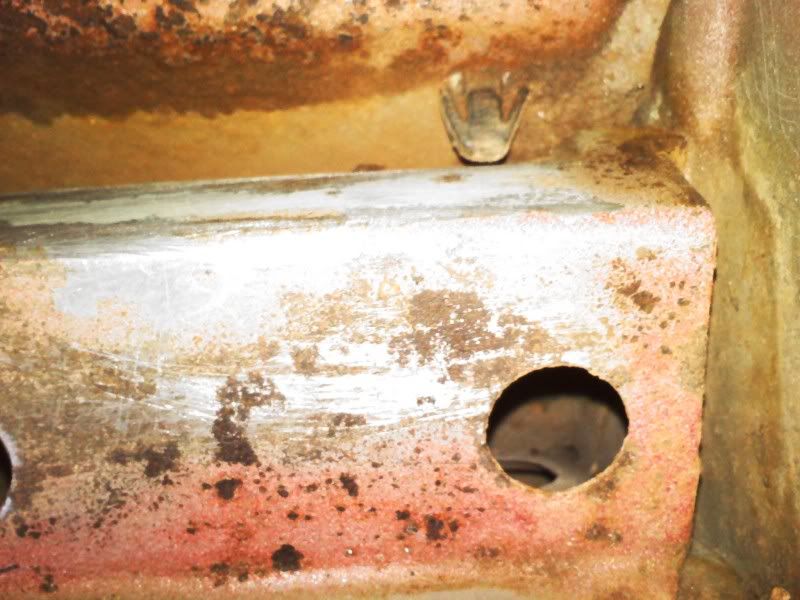
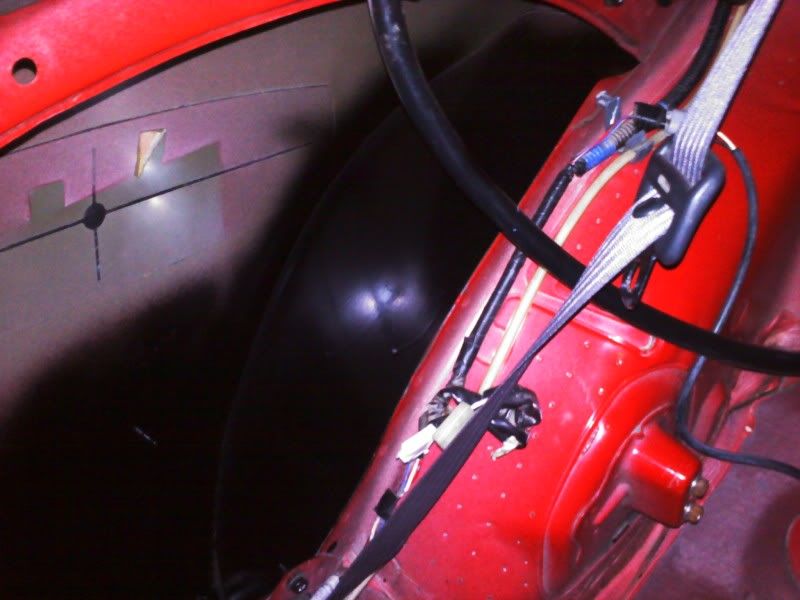
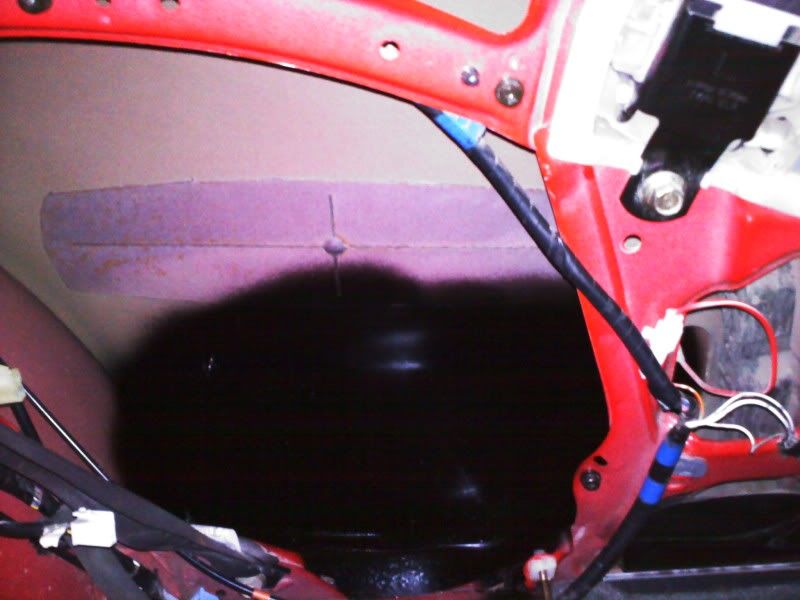
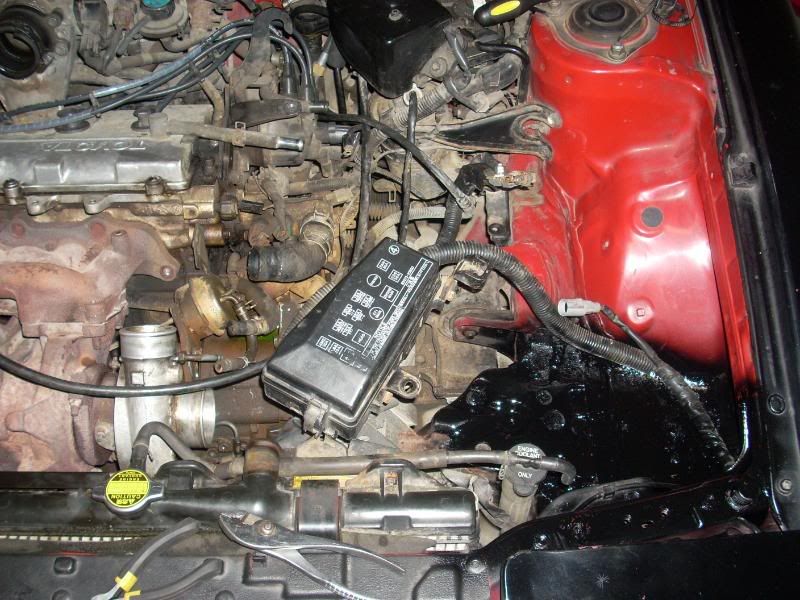
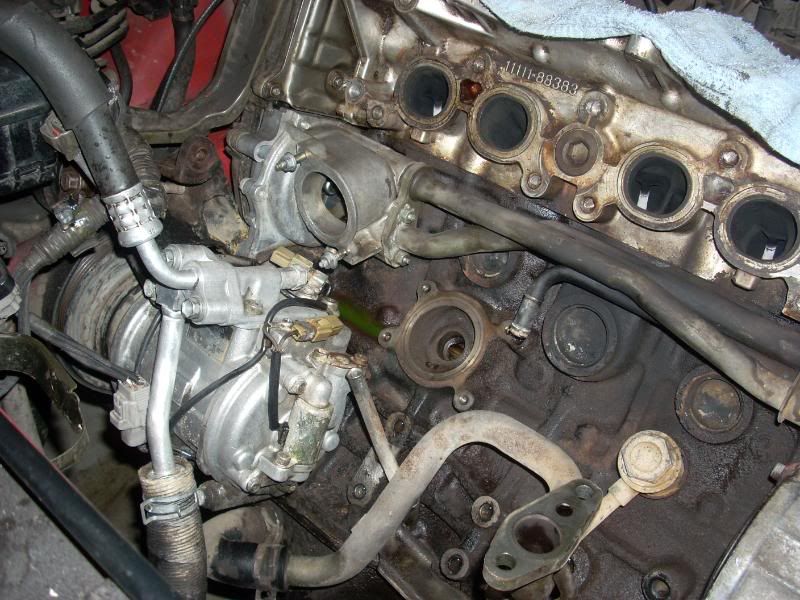
And investigation of why it doesn't want to start:
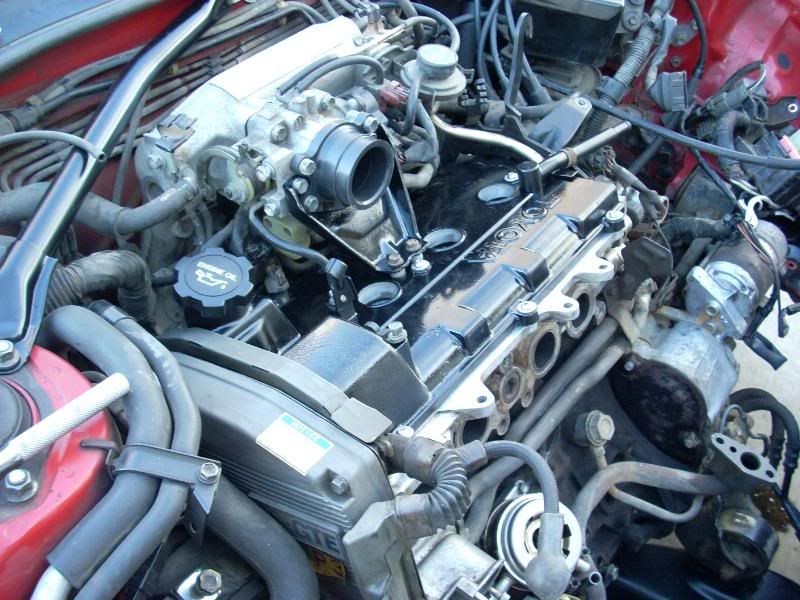
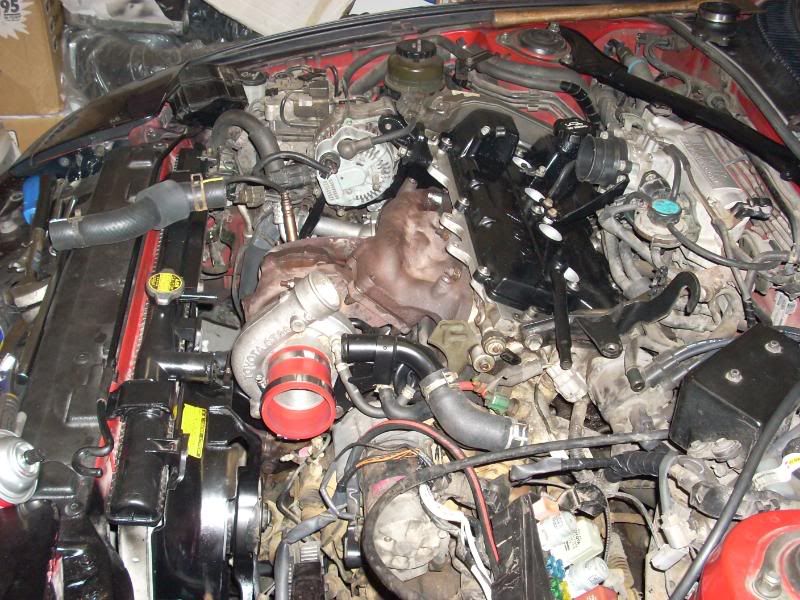
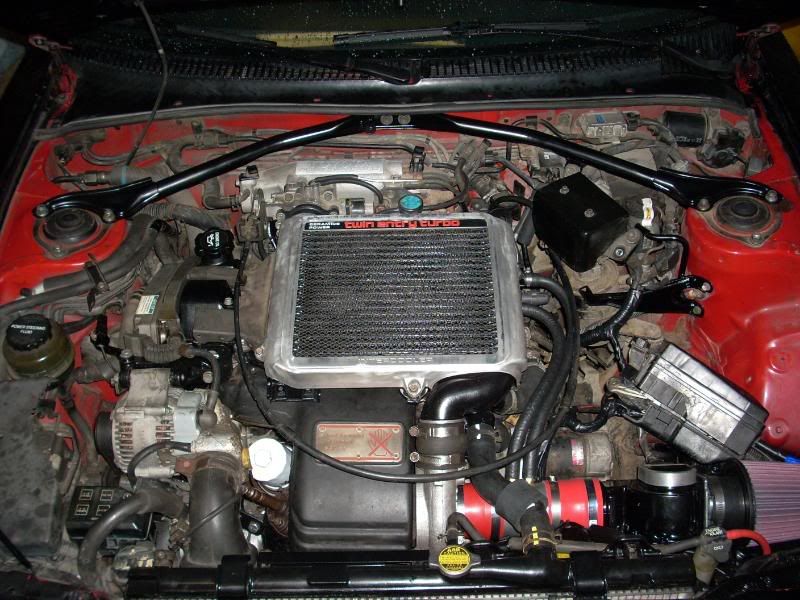
Now she is running great.
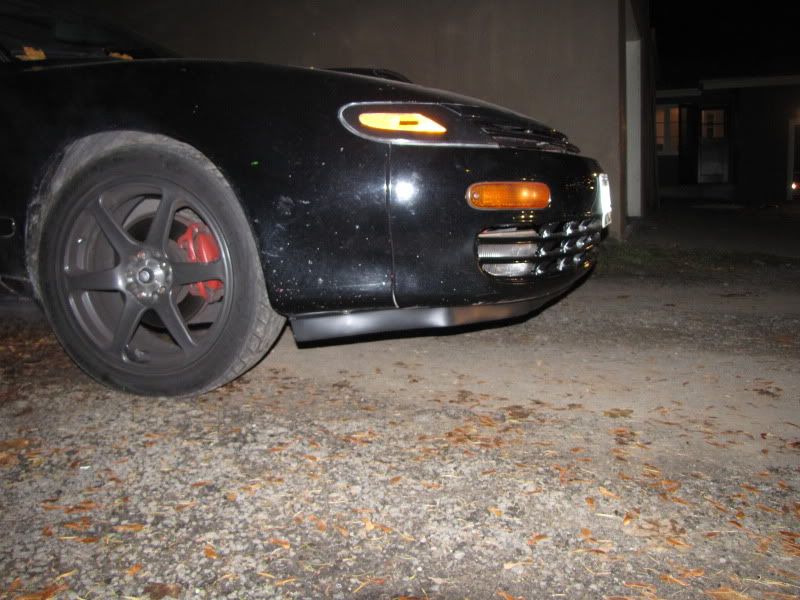
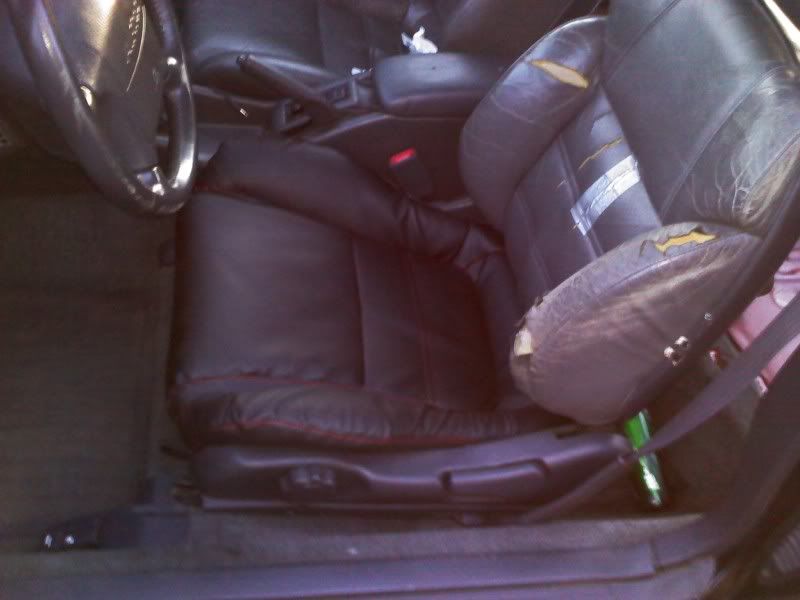
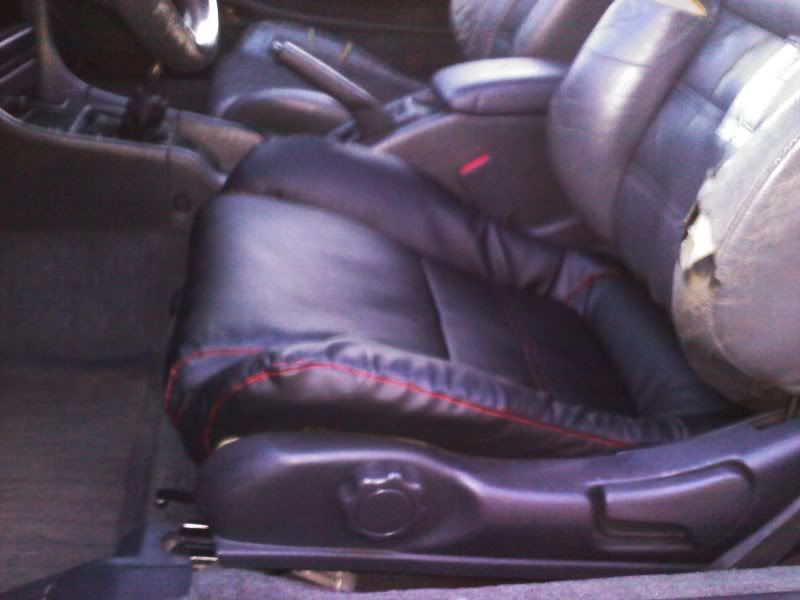
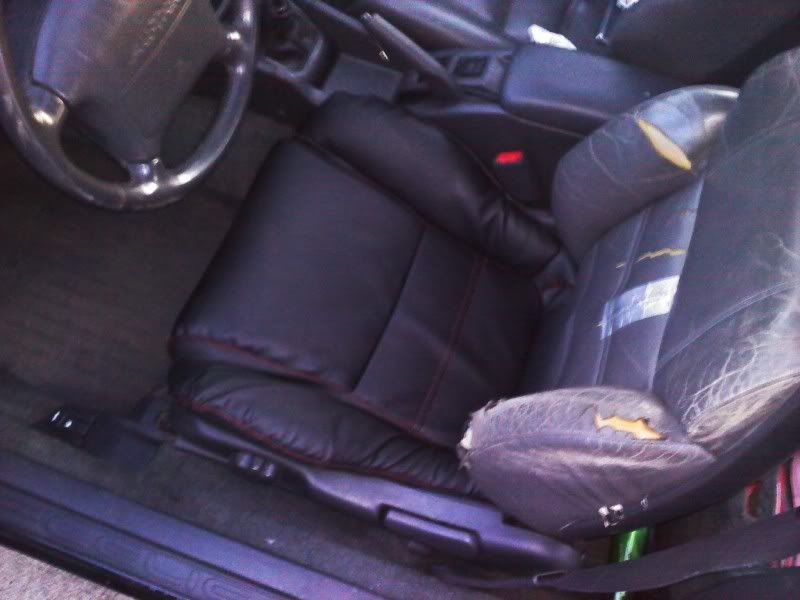
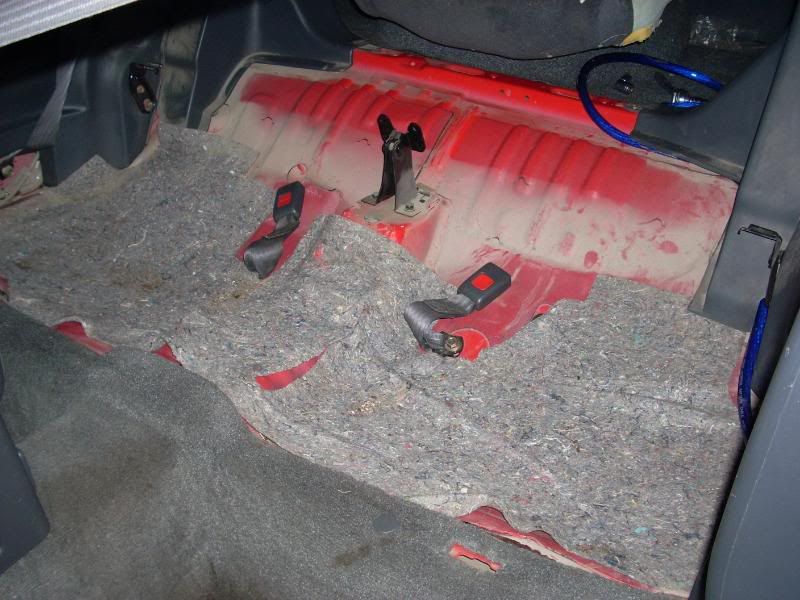
MBC and Boost gauge installed and i love it. pictures soon and new rear suspension bushings on there way. very excited because i'm tired of the rear end floating all over the road.
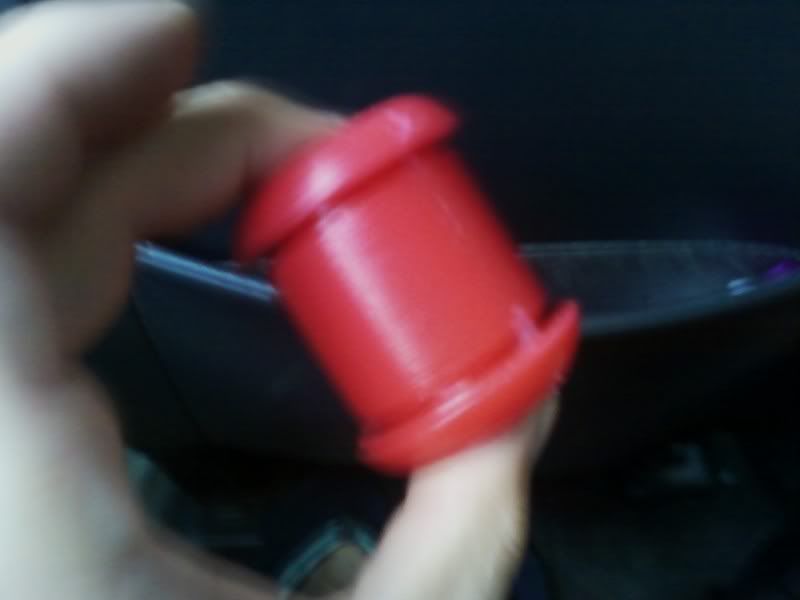
Auto Meter Boost gauge and three gauge pod
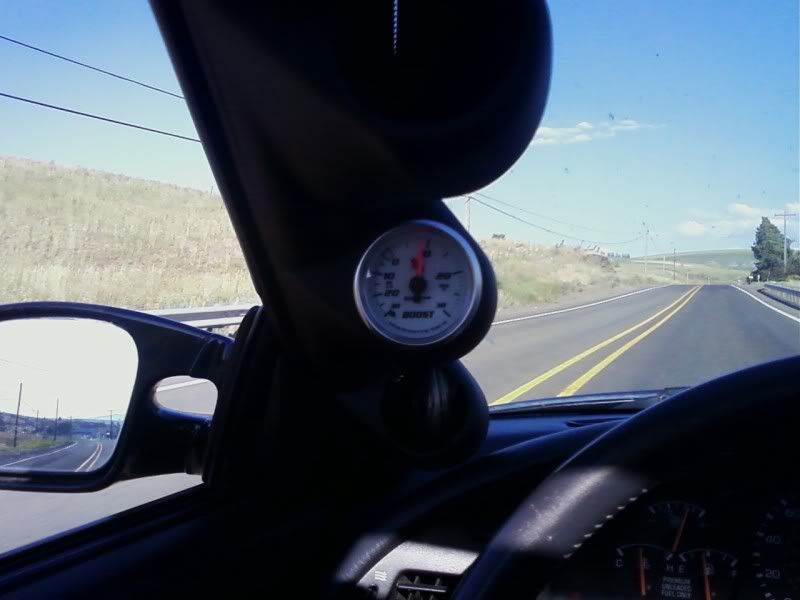
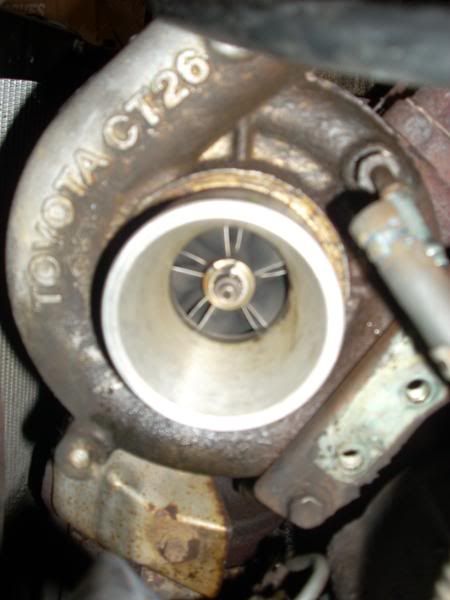
Boosting 7-9psi stock
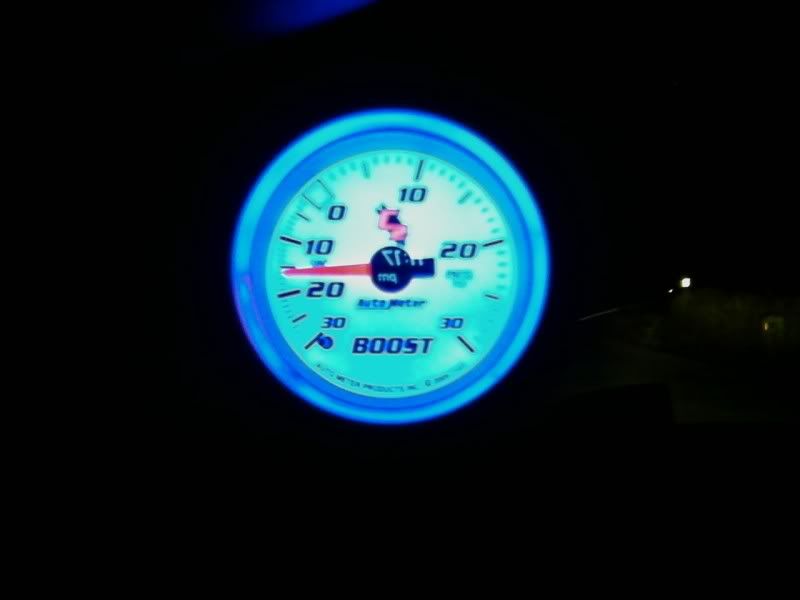
at night!
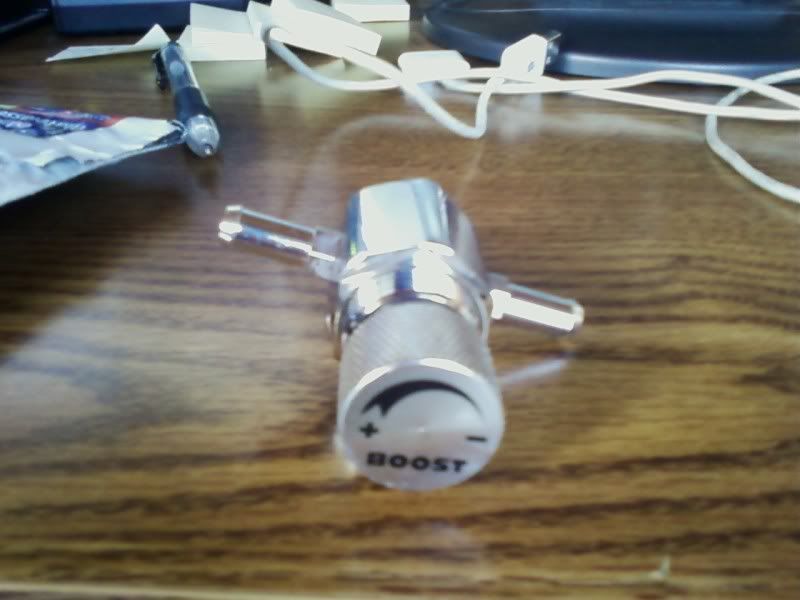
MBC from a helpful fella on here. boost at 11-14 psi now
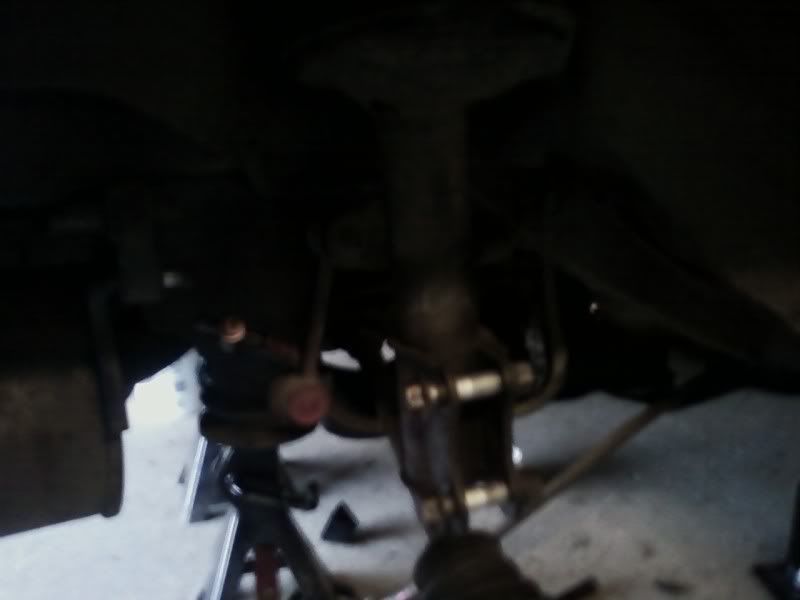
Now for bushings update. uh sorry for kinda crap picutres, dark + camera phone doesnt work perfect.
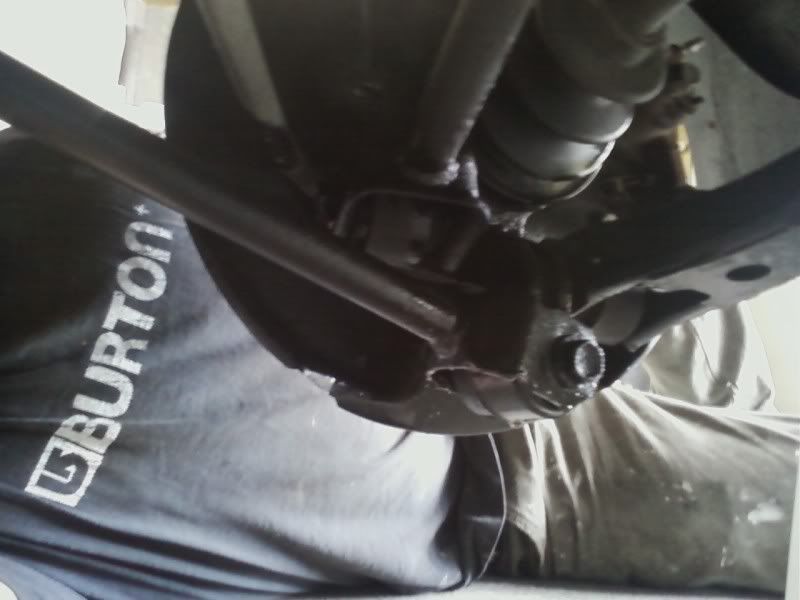
wheels off, looking ugly
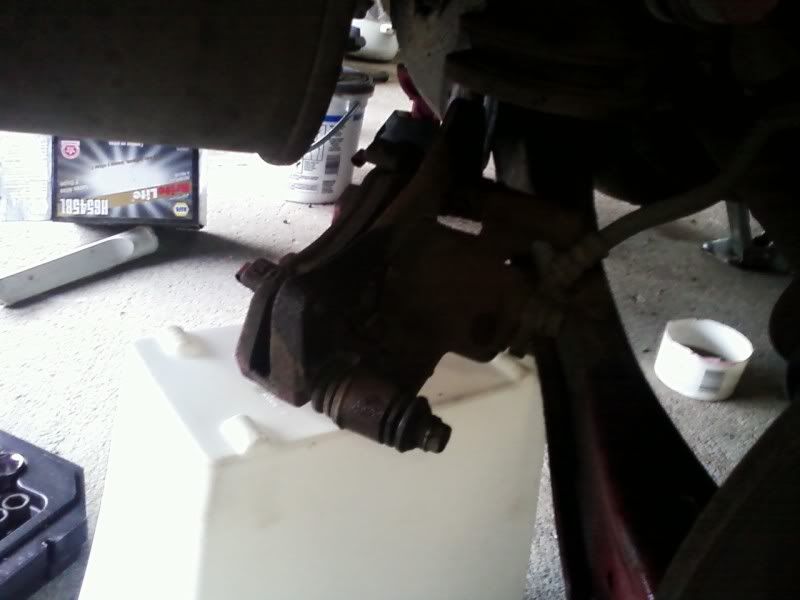
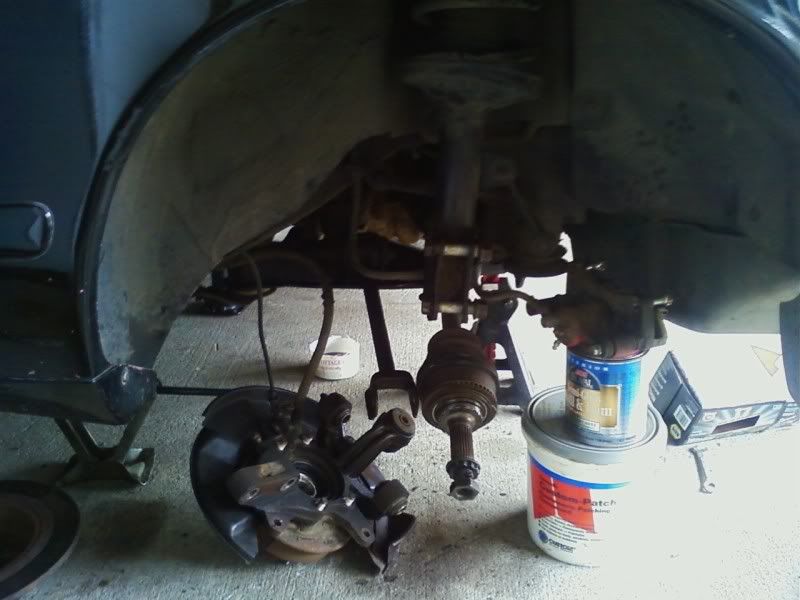
take the caliper off
ebrake behind this, i replaced the pads because they were shot and it wasn't holding well.
next remove axle bolt, all other bolts holding on the arms
then remove the shock
and its off!
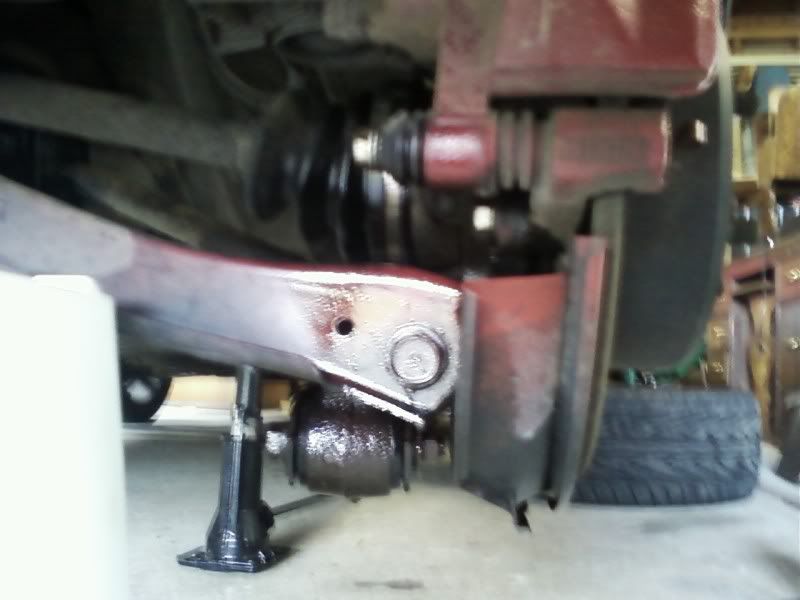
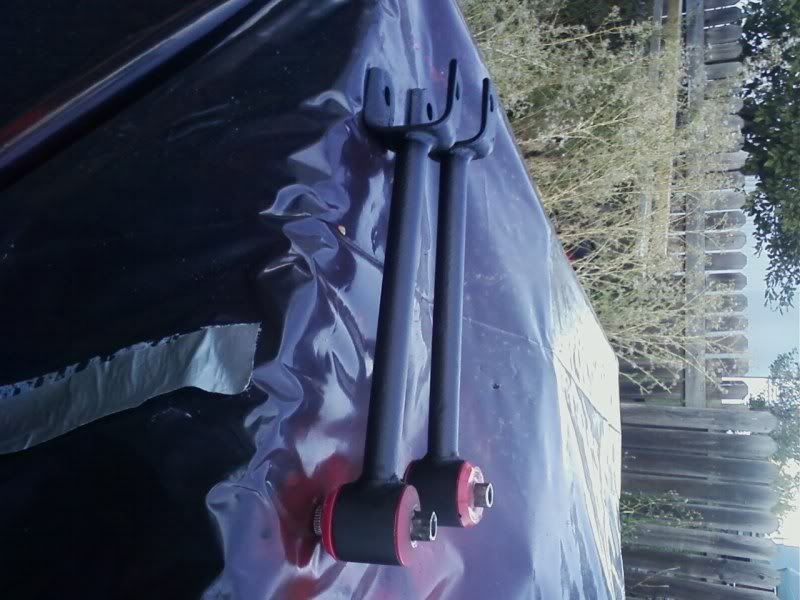
then remove the arms from the frame
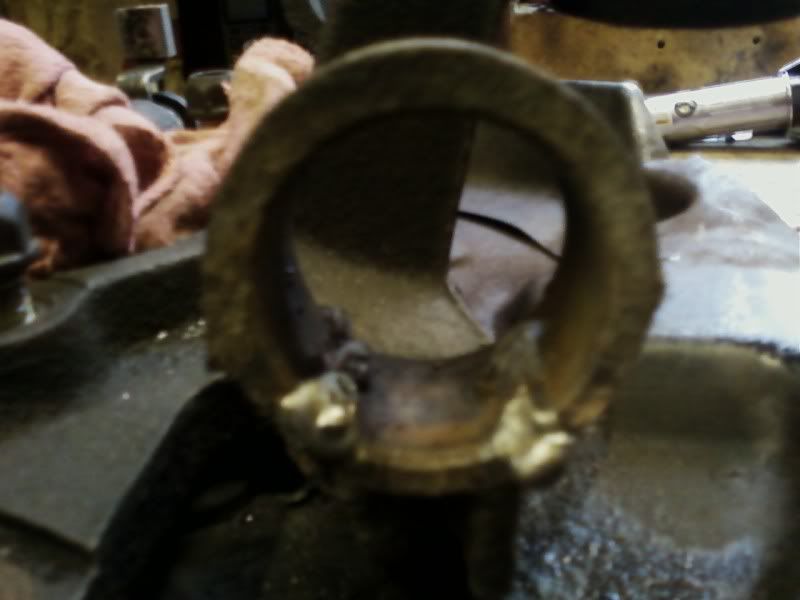
this is where i ran into some pain in the ass things. thankfully only broke one bolt. (thanks to the most amazing penetrating oil: Sea Foam-Deep Kreep, use it for everything) easily found another one. note: camrys and corollas have the same bolts of similar years. helpful to me. this one guy tried to charge me 10 bucks for the bolt. i was like hell no, so i got it for free from another wrecking yard. Main problem i ran into is getting the camber adjustment arm off. it has an inner sleeve inside the old bushing that is pressed in. so i had to bend out the sides of the mount on the subframe. then same process to get it back in. this caused some difficulties with alignment latter and could possibly be remedied by something else. there are a total of twelve bushings for the rear suspension set. six on each side- one on each arm, three on each wheel hub.
a press is a must to get the old bushings out.
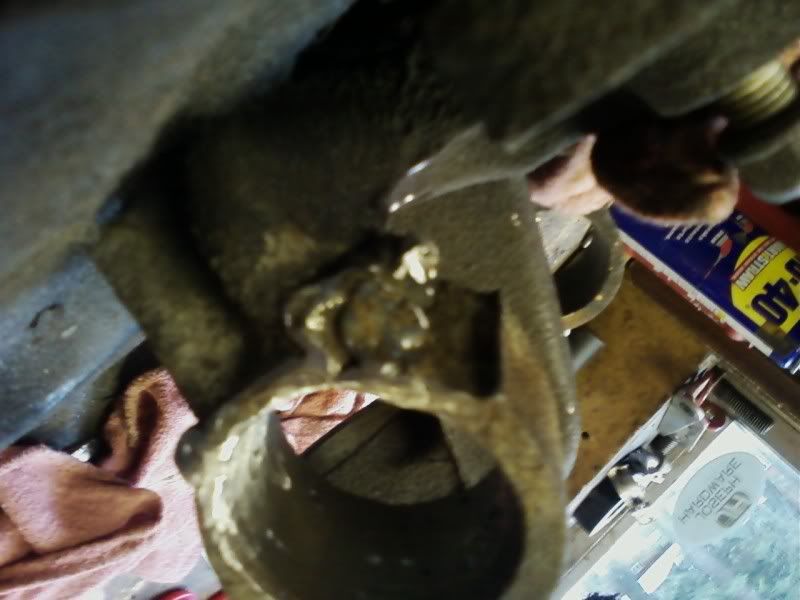
ATTN: be super careful when pressing the bushings out of the hub, i ended up braking one of the metal mounts in the hub and had to weld, so just make sure to support the pressure.
broken mount
welded(not the best weld i've seen)

cleaned up
and welded both sides, hopefully will hold good. ps: you guys think this was okay to do?
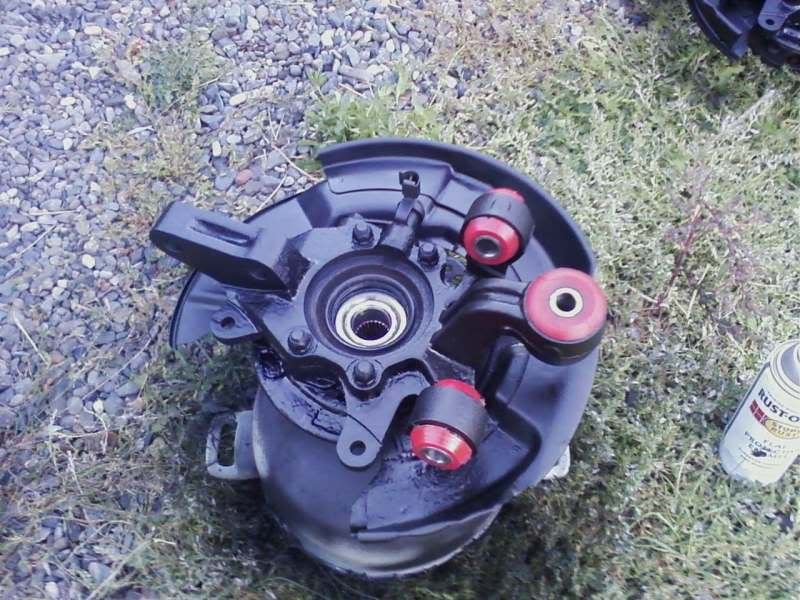
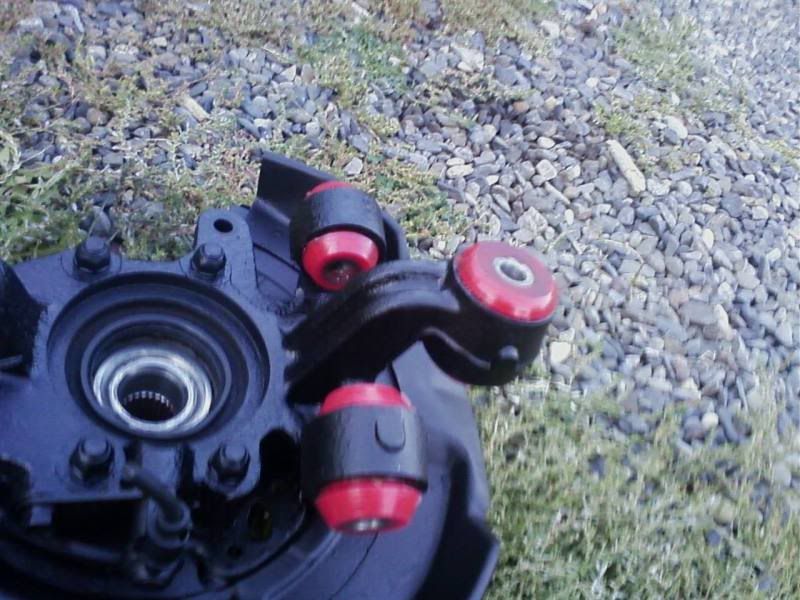
now in with the new
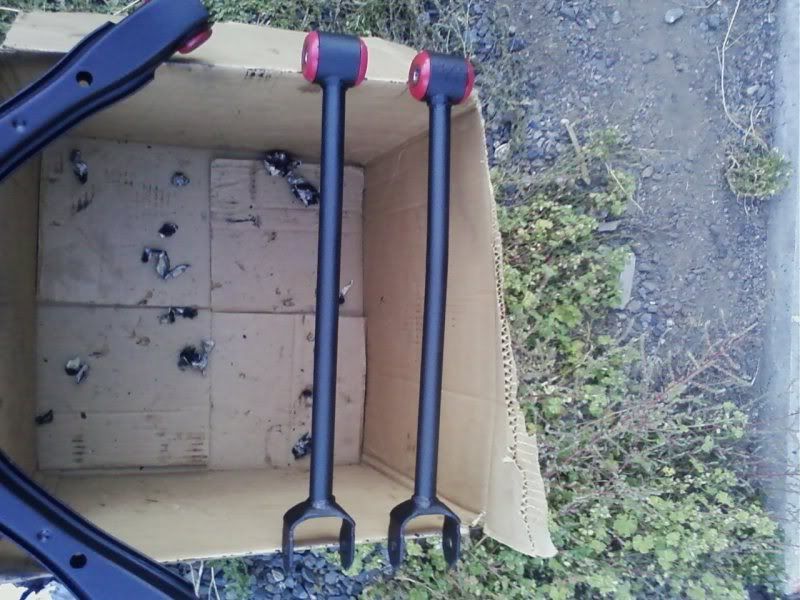
i cleaned up and painted all the arms, ect

notice the inner sleeve. i had to cut these out of the old bushings because they were frozen inside. this worked well, but the whole thing just increased the difficulty of this whole project quite a bit
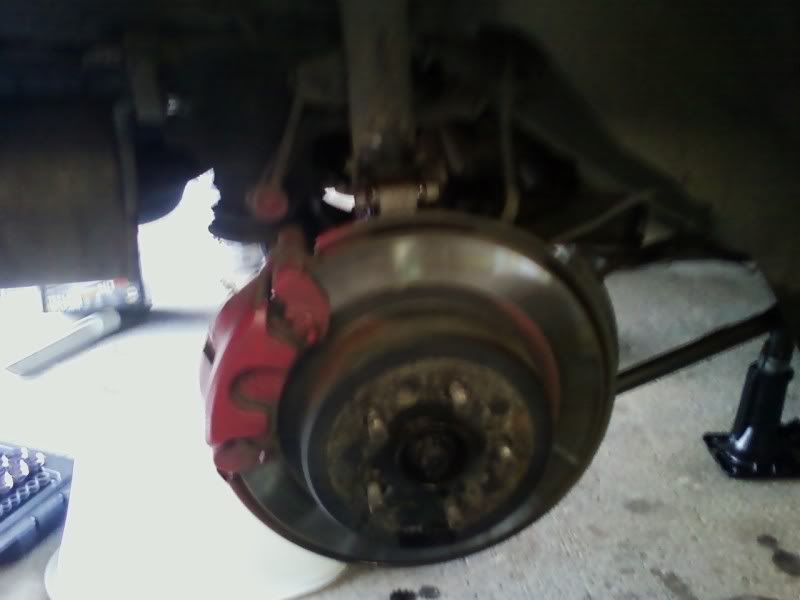
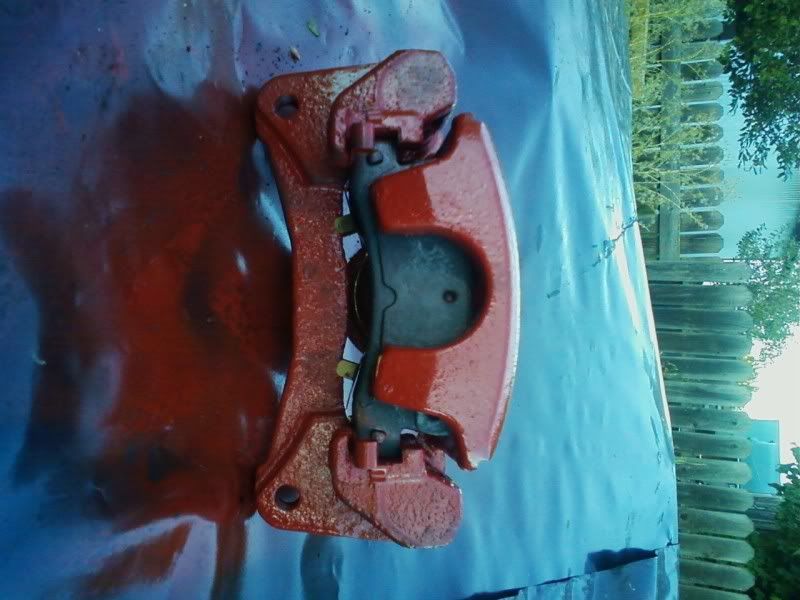
and then i painted my calipers and rotors to keep away the cancer
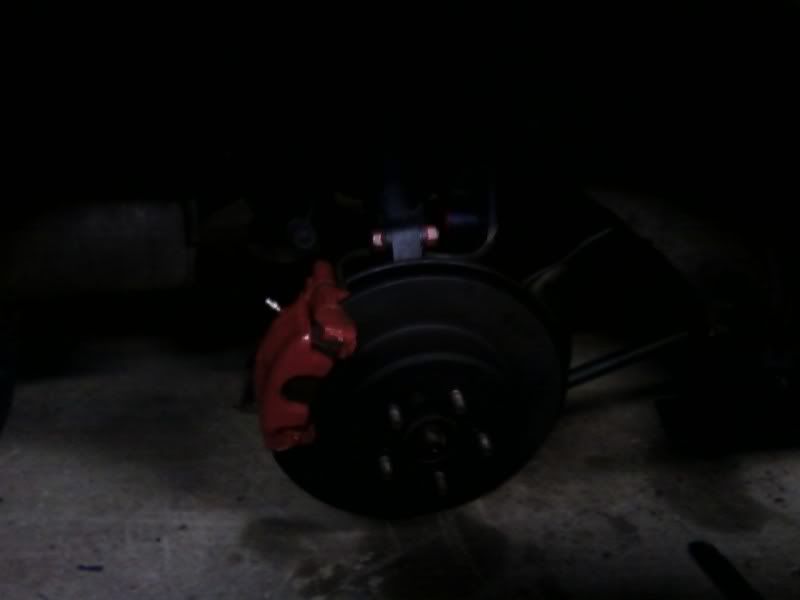
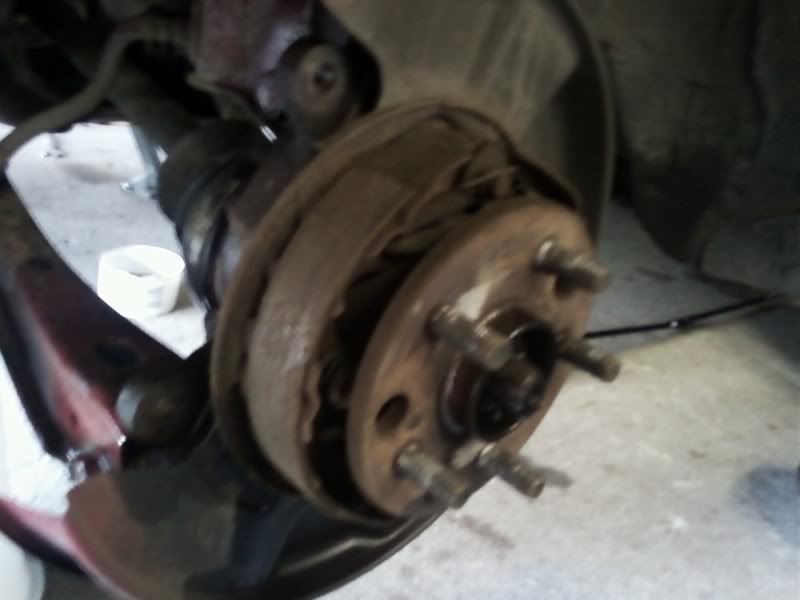
hub and brakes all back assembled.
And royal purple lube going in the rear axle soon
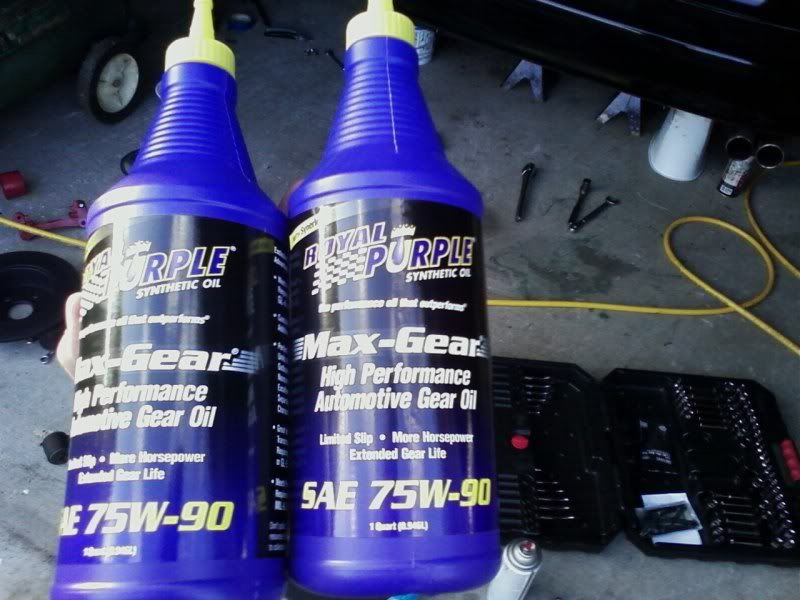
two bottles at 75-90
also replaced the rear lift gate shocks. one was shot and so they hold pretty good now, but still not perfect when its cold since they were used. happy for now.
Hint: really really useful tools-impact gun, deepkreep, air saw, press, plenty of tools lol, welder if you break anything, and a few other things.
That pretty much sums it up.
It is a night and day difference now, the rear end is so much more solid and amazing. a had to have it aligned twice because everything settled and all the bolts needed to be retightened. make sure you retighten everything about a week later. now it just handles really well and i'm very pleased. sorry not perfect but hope it makes sense and helps. comment away on what was good, bad, and interesting
Bought my car off a old man that owned a motel here in eastern oregon. the last place anyone would expect to find this rare car. I had no idea what an alltrac was at the time, just thought it a good looking car. got her for $3500 last summer and have gradually begun to realize since what an amazing car i stumbled upon. I'm very glad i did, even though they can give you hell sometimes.
The day after i bought it, she started smoking. Turned out to be the pipe the branches to the turbo, and comes from the top radiator hose. I soon realized how hard parts are to find and how difficult these are to work on.
First drive after this was fixed, water pump went. i wasn't confident yet so paid 700+ to get this replaced, timing belt, etc.
Stock engine bay after new water pump. Middle of winter as you can tell.
Ran great for the first quarter of school. Till she started running really rough. soon found out spark plugs wires were the issue
Then HFH blew and she sat in the garage for pretty much all winter quarter. I began the repairs myself once i started missing the car to much. This is when i began to understand our cars a little more and have much more respect for them now. Heres some pics of what i did. Straight intake, batt relocate, new hoses around, yup. ended up going through hell to find out i broke connections on the AFM. Took about a month to figure that out- after two or three shops thought about it too- i found the problem thanks to one of your help.
pics now-enough words. Let me know yours thoughts.
Painted under the hood black cause it was gross:
And investigation of why it doesn't want to start:
Now she is running great.
MBC and Boost gauge installed and i love it. pictures soon and new rear suspension bushings on there way. very excited because i'm tired of the rear end floating all over the road.
Auto Meter Boost gauge and three gauge pod
Boosting 7-9psi stock
at night!
MBC from a helpful fella on here. boost at 11-14 psi now
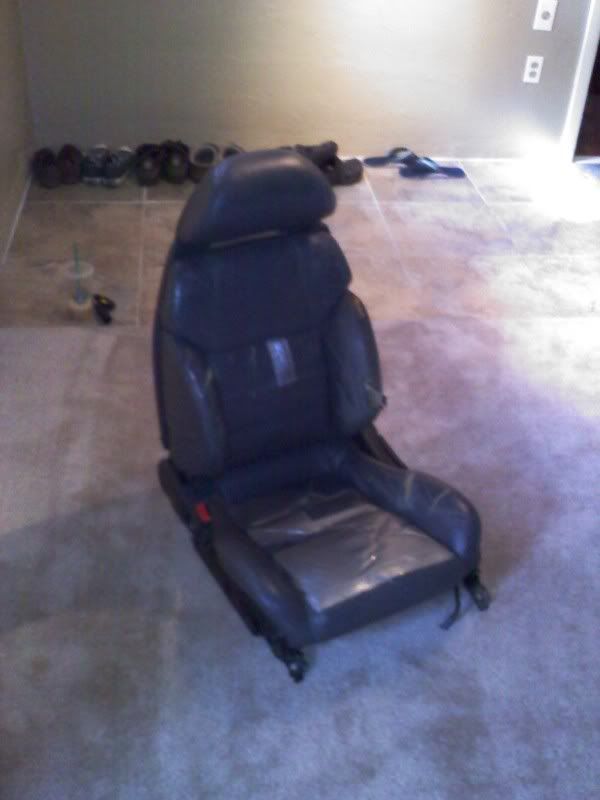
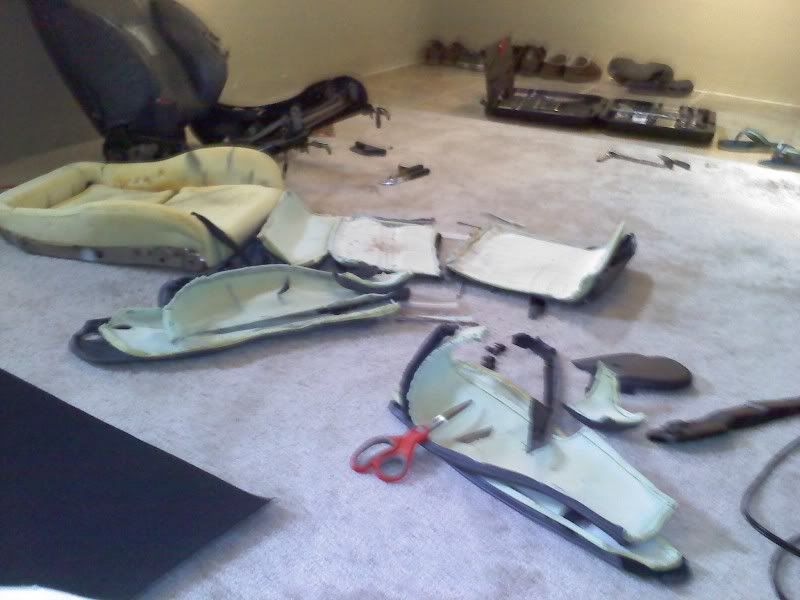
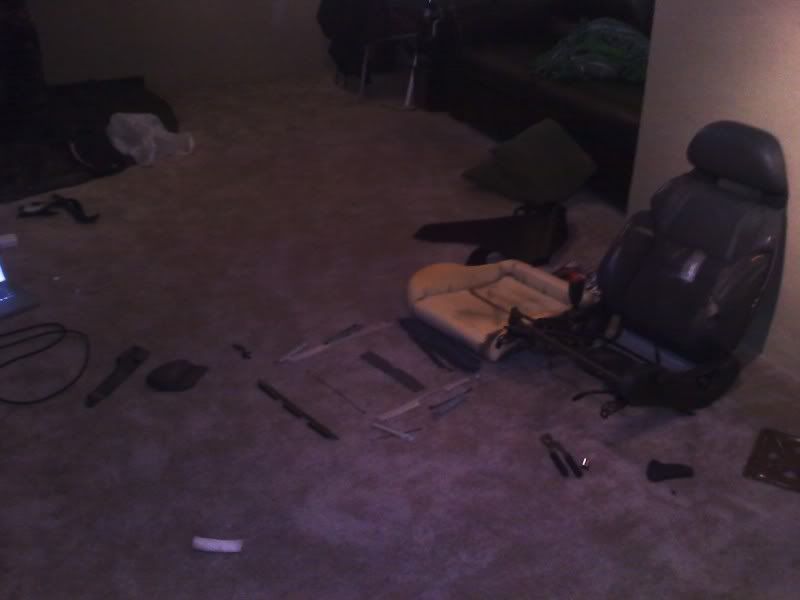
Now for bushings update. uh sorry for kinda crap picutres, dark + camera phone doesnt work perfect.
wheels off, looking ugly
take the caliper off
ebrake behind this, i replaced the pads because they were shot and it wasn't holding well.
next remove axle bolt, all other bolts holding on the arms
then remove the shock
and its off!
then remove the arms from the frame
this is where i ran into some pain in the ass things. thankfully only broke one bolt. (thanks to the most amazing penetrating oil: Sea Foam-Deep Kreep, use it for everything) easily found another one. note: camrys and corollas have the same bolts of similar years. helpful to me. this one guy tried to charge me 10 bucks for the bolt. i was like hell no, so i got it for free from another wrecking yard. Main problem i ran into is getting the camber adjustment arm off. it has an inner sleeve inside the old bushing that is pressed in. so i had to bend out the sides of the mount on the subframe. then same process to get it back in. this caused some difficulties with alignment latter and could possibly be remedied by something else. there are a total of twelve bushings for the rear suspension set. six on each side- one on each arm, three on each wheel hub.
a press is a must to get the old bushings out.
ATTN: be super careful when pressing the bushings out of the hub, i ended up braking one of the metal mounts in the hub and had to weld, so just make sure to support the pressure.
broken mount
welded(not the best weld i've seen)
cleaned up
and welded both sides, hopefully will hold good. ps: you guys think this was okay to do?
now in with the new
i cleaned up and painted all the arms, ect
notice the inner sleeve. i had to cut these out of the old bushings because they were frozen inside. this worked well, but the whole thing just increased the difficulty of this whole project quite a bit
and then i painted my calipers and rotors to keep away the cancer
hub and brakes all back assembled.
And royal purple lube going in the rear axle soon
two bottles at 75-90
also replaced the rear lift gate shocks. one was shot and so they hold pretty good now, but still not perfect when its cold since they were used. happy for now.
Hint: really really useful tools-impact gun, deepkreep, air saw, press, plenty of tools lol, welder if you break anything, and a few other things.
That pretty much sums it up.
It is a night and day difference now, the rear end is so much more solid and amazing. a had to have it aligned twice because everything settled and all the bolts needed to be retightened. make sure you retighten everything about a week later. now it just handles really well and i'm very pleased. sorry not perfect but hope it makes sense and helps. comment away on what was good, bad, and interesting
")