Satan's Done for now(Updated 6/13/13)

Hotrodhendrix

New member
Update:

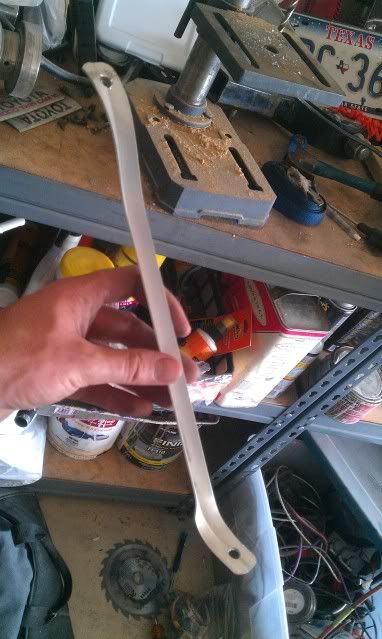
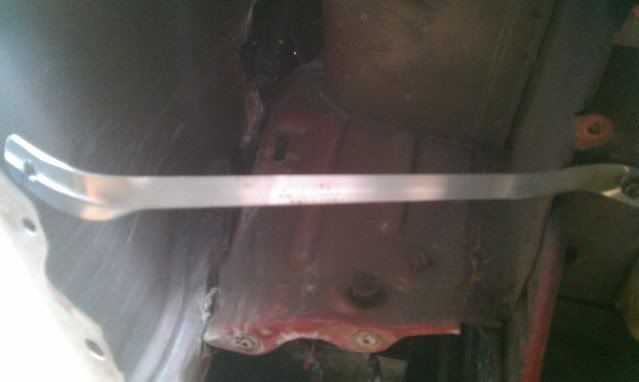
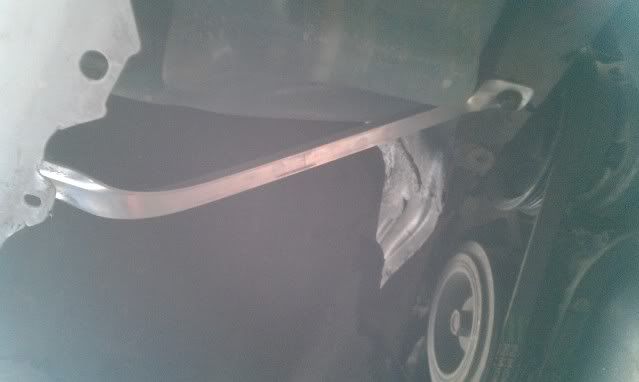
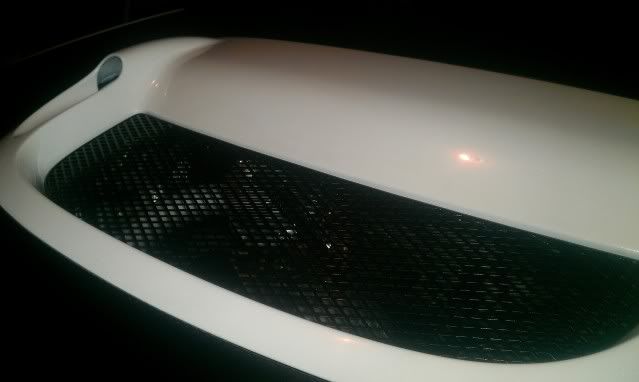
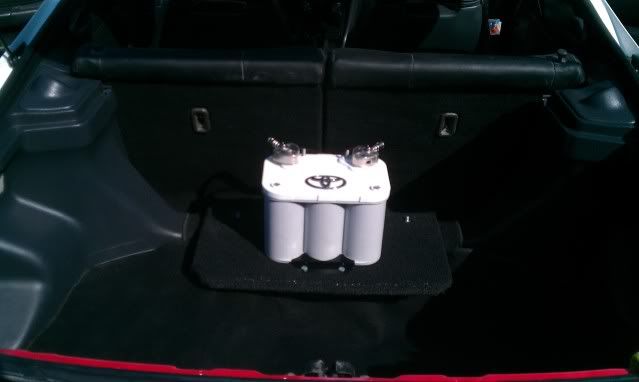
Completed bat install.
IMAG1021.jpg

IMAG1022.jpg

IMAG1023.jpg

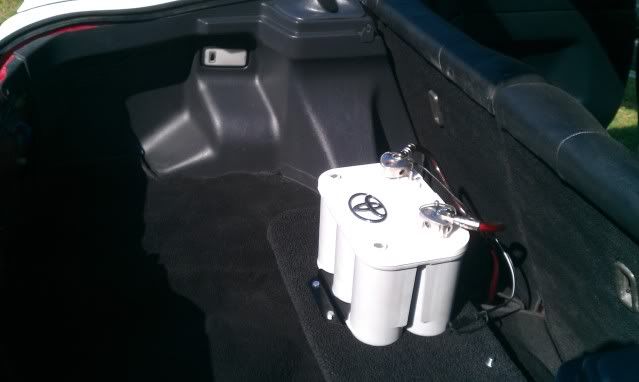
Quick disconnect for trickle charger
IMAG1024.jpg

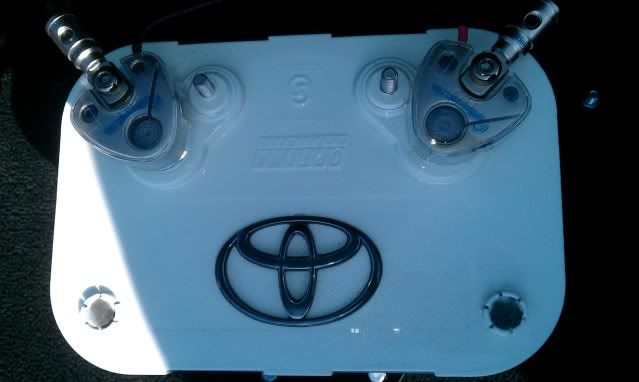
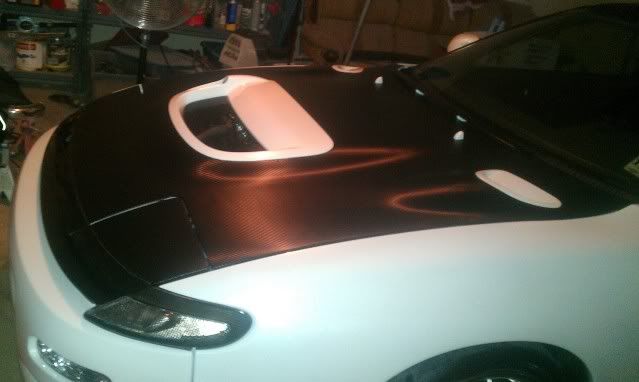
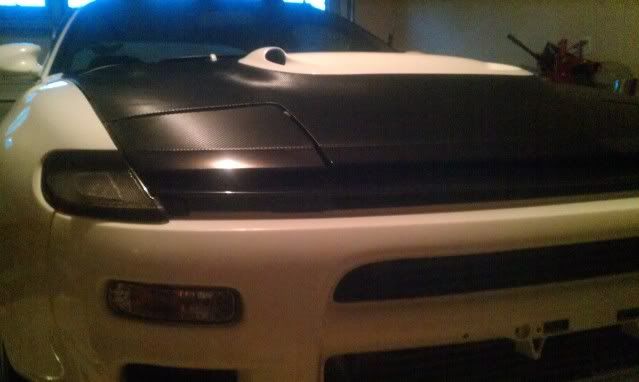
Paint is the same silver pearl white with ultra fine multi color metal flake as the car

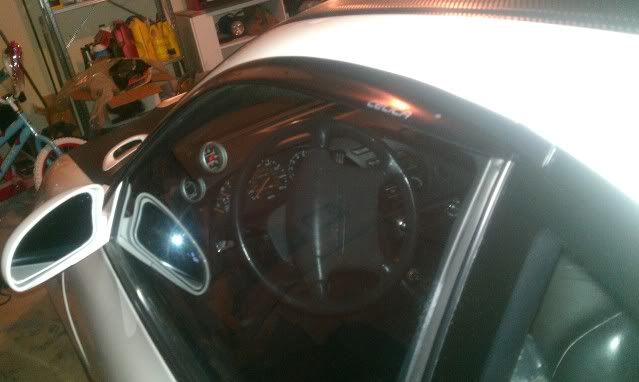
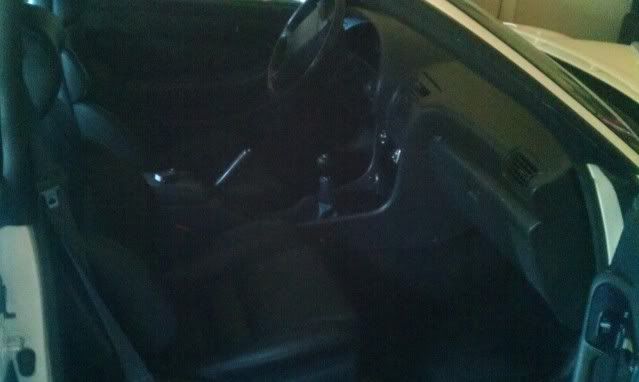
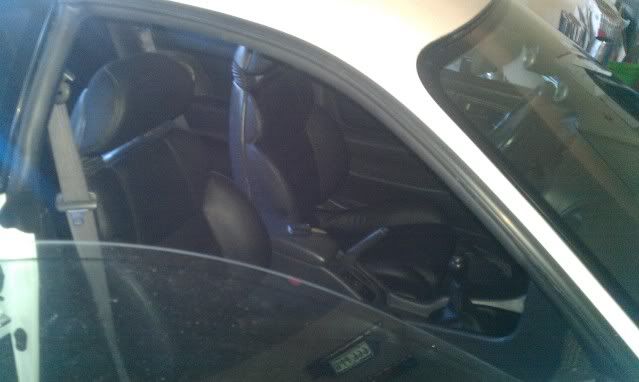
Cleaned up the restored interior. Hard to beleive its 20 year old leather
IMAG1032.jpg

IMAG1034.jpg


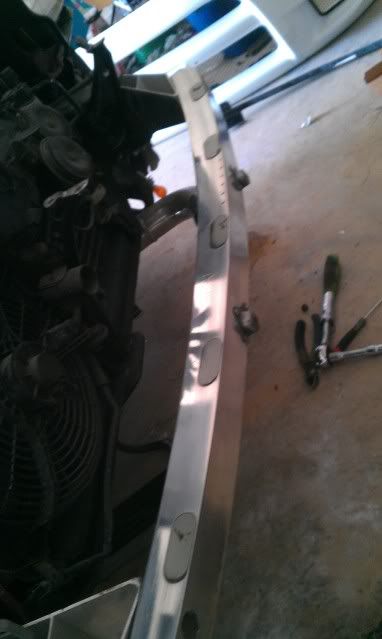
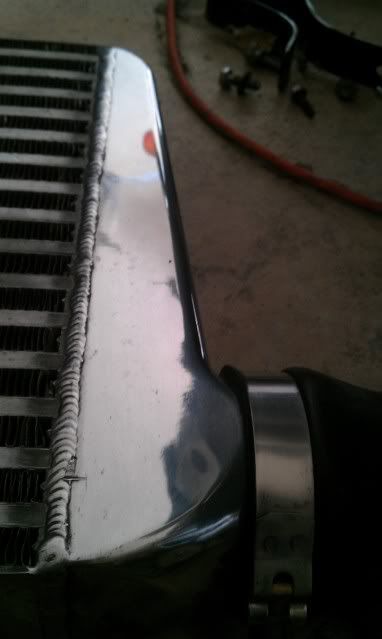
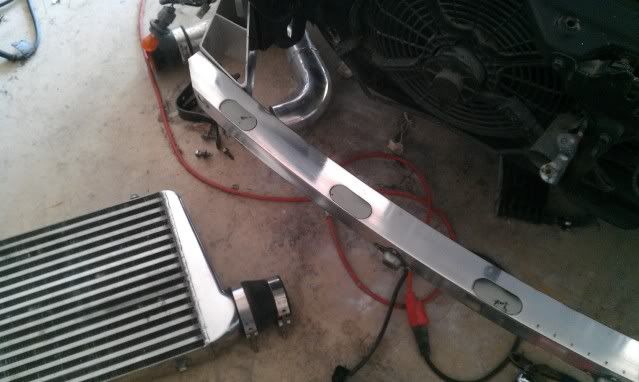
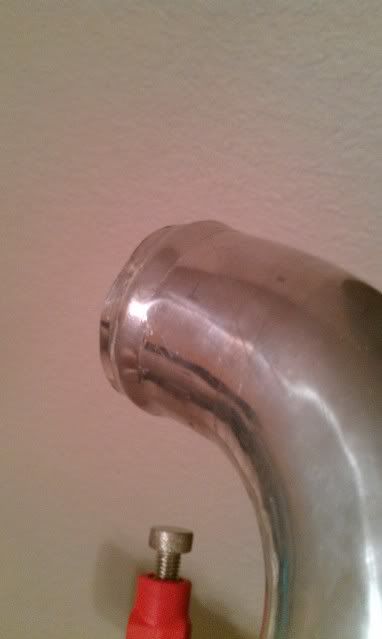
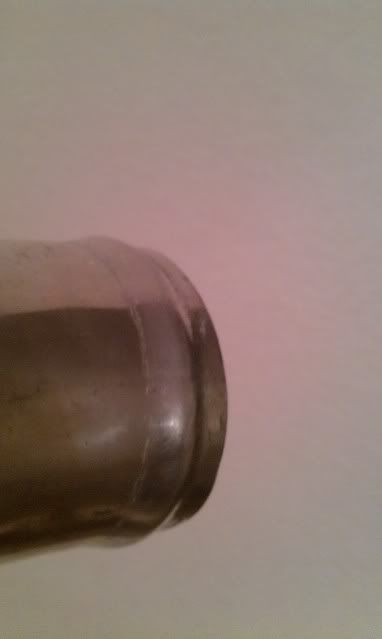
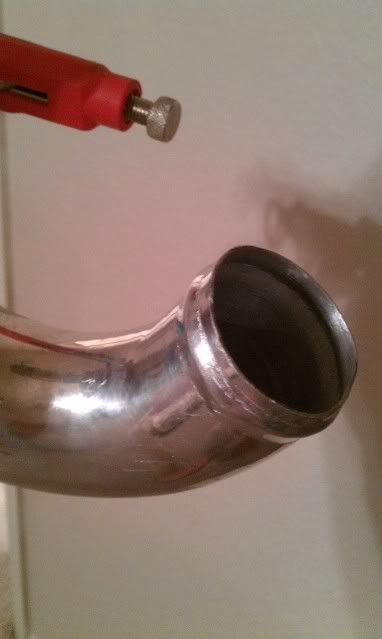
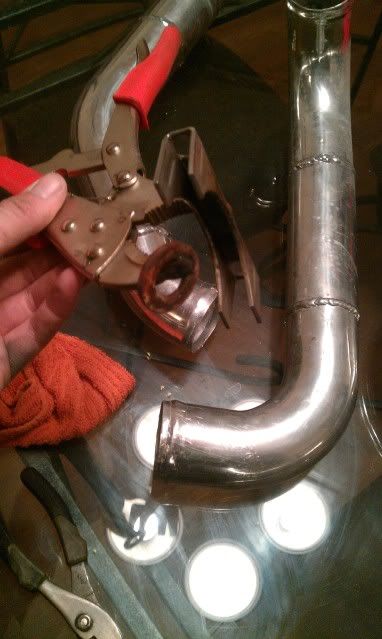
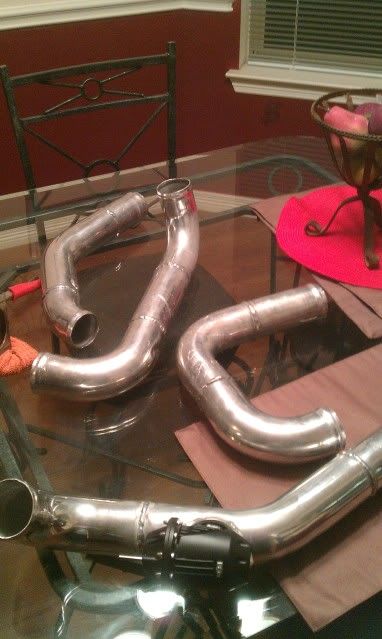
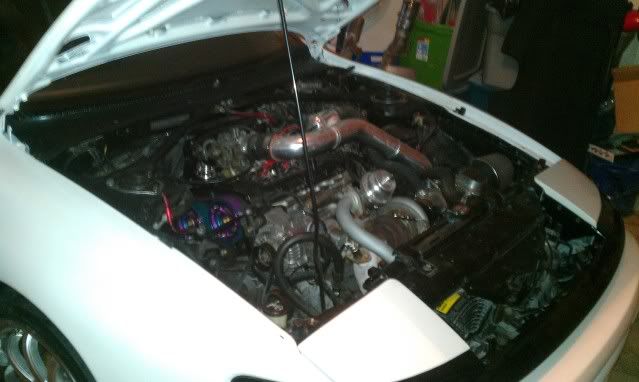
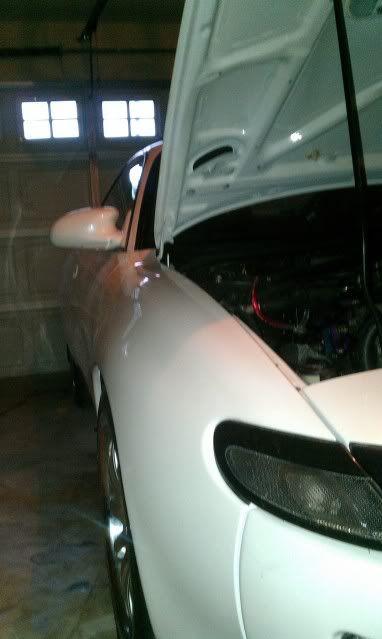
Cleaned up engine bay a bit. Unwrapped the intercooler pipe
IMAG1017.jpg


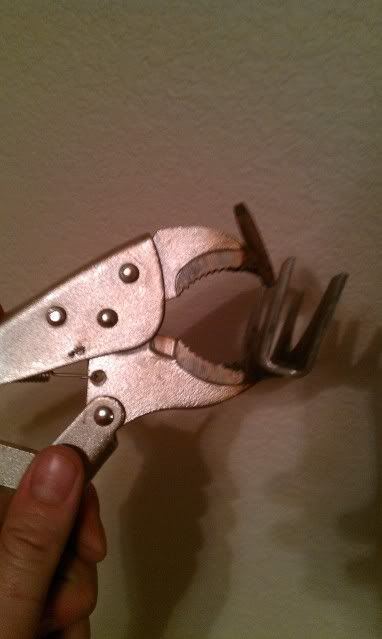
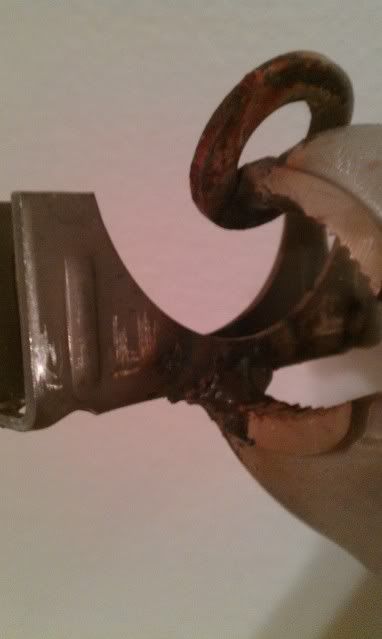
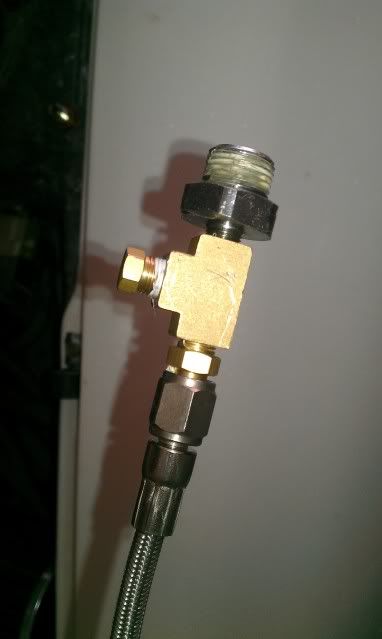
Installed new ebay turbo feed SS line. Used a piece from the old SS line to make it fit. Not sure why its so different.
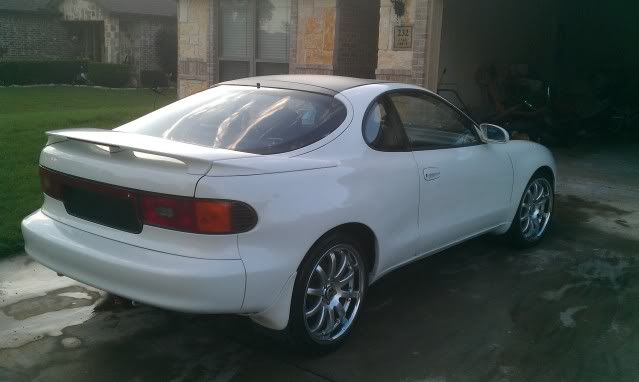
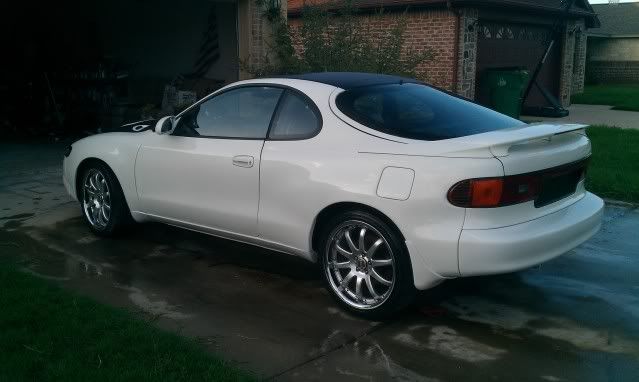
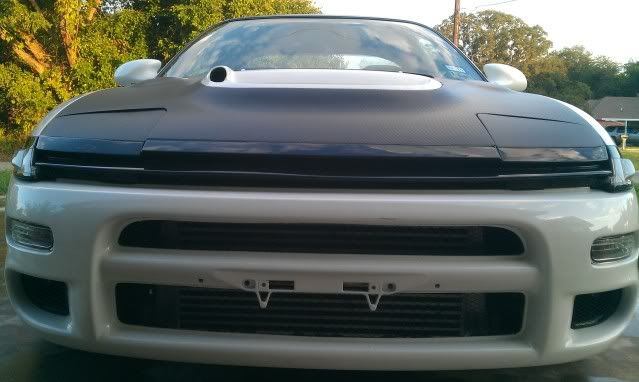
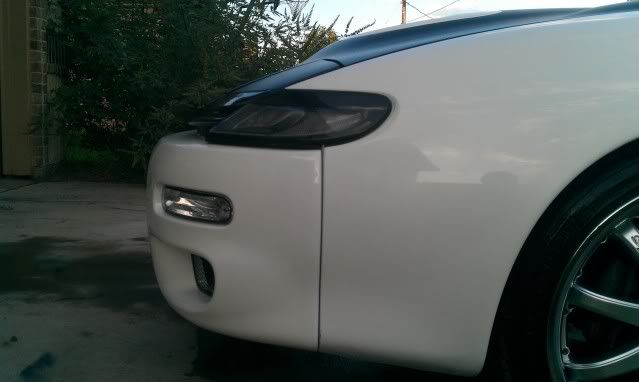
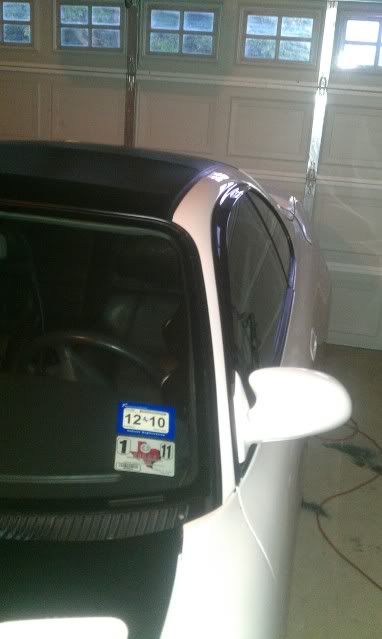
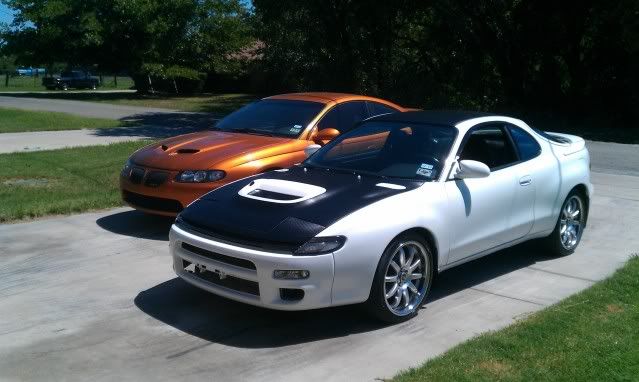
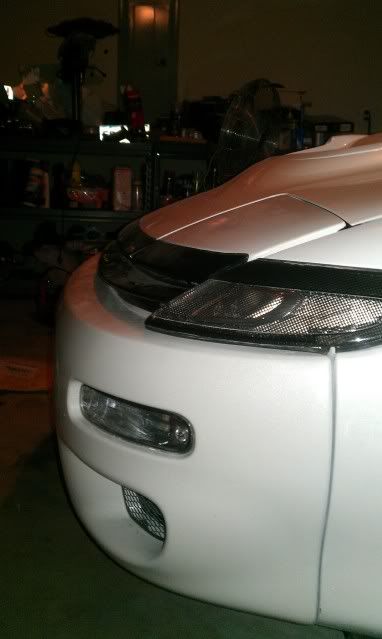
IMAG1010.jpg


Random pictures
IMAG1018.jpg

IMAG1019.jpg


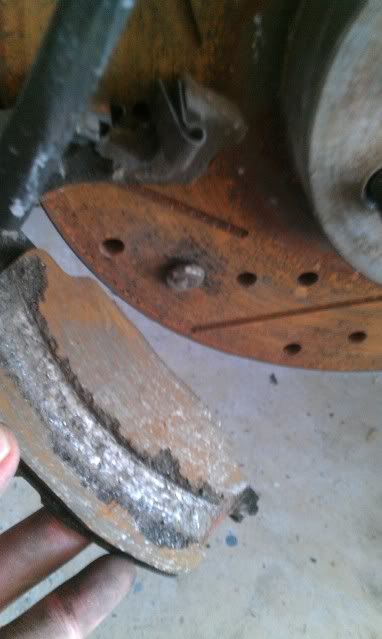
She runs but is missing very badly. Suspension is popping really bad. May have installed the front hats backwards... One of the rotors may be seized in the front but felt like it broke free. "hopefully it was just the brakes".
 

Hotrodhendrix

New member
Popping suspension was due to the wrong orientation of the strut hat. Corrected that and the whole assybmly seems to fit better. I was unable to try it out yet.

Currently working on custom fender braces to replace the stockers. Redoing the straight intake and removing the recirc line. I will be going non recirc with the new SSQV I purchased. No more ebay knockoff.

Front mudflaps showed a bit of rubbing towards the center. Ended up just cutting that area out while they were still on the car.
 

Hotrodhendrix

New member
Update:

Fender braces broke when I tried to remove them years ago and all junkyard units did the same. Purchased some aluminum angle bars from the local hardware store. Total cost with tax 6 bucks. Bent, cut, grinded and drilled to fit. Passenger side I used the stock location to mount to but drivers side had an open location on the frame.

IMAG1038.jpg

IMAG1040.jpg

IMAG1041.jpg


I figured out what the "seized" brake issue was... My daughter had "worked" on the car the night before.. Look close at the screw in the drilled rotor. New pads were needed haha
IMAG1043.jpg


Suspension issue corrected. Hats installed facing the correct direction.

Received the black carbon fiber vinyl wrap material. I should have gone with 3m but this was far cheaper. It took much longer than the higher quality wraps to get the bubbles out. All in all once I figured out the soupy water trick it went well. This will cover up the imperfections in the paint. Its not finished and the sunroof is yet to be installed.
IMAG1052.jpg

IMAG1054.jpg

IMAG1053.jpg

IMAG1060.jpg

IMAG1061.jpg

Even pimped the old xbox
IMAG1044.jpg


~James
 

4rsnduction

New member
It looks good man, keep putting in the hard work.......also......time to teach your daughter about cars, cant have these things happening again :p
 

Hotrodhendrix

New member
WarTowels":2c5eq3f4 said:
How is it working with the vinyl? I kinda want to wrap my s2000 in flat white. :oops:

-Towels

Thanks for the comments. Shes coming along.

The vinyl took some practice... Two tries on the hood and three on the center vent section. Once you get the hang of it your fine. Flat white would look GREAT on an s2k. Funny thing is I have been trying to talk my buddy into doing the same to his s2k haha. Go the pricey 3m stuff though. I went china knock off and it requires alot more work. I think the edges will hold better on the 3m stuff as well. Look for a good vinyl cutting tape if you decide to do any straight lines. Cost is only around 15 bucks a roll and well worth it.

I ordered my wrap on Dhgate for 140 bucks shipped. 5 feet wide by 100 feet long. Used a good 20 feet after all the screw ups.

Hopefully I will get time tonight to finish up the hood.

~James
 

Hotrodhendrix

New member
Gearbox":1rkkqhde said:
car looks good. wish i could see it in person one day.

Your in Dallas so not CrAzY far from me. Near Joe and Carrie also (darthripley). I live about 45min west of downtown Fort Worth but work out in Irving. Im sure we can all arrange a meet one of these days.

~James
 

Terracar

New member
Nice progress.

I like the fact taht you re-created the fender braces... small details like that are often overlooked. Man you got "screwed" on the brakes. (sorry couldn't resist).

In the third shot of the vinyl top, the car looks almost the same color as Josh's (Coldiron). The body looks great and surprisingly the vinyl appears to work with the color really well.

Did you get the missing sorted?

-Terracar
 

Hotrodhendrix

New member
Haha I literally laughed out loud here at work.. Its usually dead silent so everyone turned around :rofl:

I havnt gotten back to the missing issue just yet. I did find a small oil leak coming from the oil drain plug I will need to take care of. This time I went body then motor to help keep my spirits up but I should be able to get back to the motor this weekend.

~James
 

Hotrodhendrix

New member
Update:

She got her first bath since the new paint last night.
IMAG1064.jpg

IMAG1065.jpg

IMAG1066.jpg

IMAG1067.jpg

IMAG1068.jpg


This morning she received surf city garages nano glaze and sealer. great stuff. Also installed the new authentic rain guards. I did a bit more trimming on the vinyl for a better edge under the hood.
IMAG1070.jpg

IMAG1072.jpg

IMAG1073.jpg

IMAG1075.jpg

IMAG1078.jpg


Also big news comes in that I will be purchasing another alltrac... 92 forest green. BUT this one will be built for the wife. Stock like besides the fact it will end up a really dark purple. Another project thread will be started for this one.

~james
 

CMS-GT4

Active member
I would say either remove the vinyl behind the scoop and make it white to the wind shield or wrap it as well.
 

Hotrodhendrix

New member
WarTowels":2ifpkmzi said:
Is your passenger head light funky?
I didnt have them actually bolted down yet in the outside pictures ;)

CMS-GT4":2ifpkmzi said:
I would say either remove the vinyl behind the scoop and make it white to the wind shield or wrap it as well.

I would much rather it be wrapped along with the two vents but its crazy shape was not friendly to the vinyl. I couldnt get it to wrap and form well enough to the shape. Thus the white parts. :twisted:

Quick update:
Picked up a set of mr2 teins for crazy low price. Based on the info I have found the mr2 and alltrac spring rates are the same just backwards. Ride heights are different but its adjustable. HKS mounts are not going to work on the alltrac but not yet sure if they will bolt up if I get the right mounts.

~James
 

Hotrodhendrix

New member
Big thanks to Joe and Carrie. How to remove ABS post helped alot when removing all the parts from the bay and again when I finally got around to removing the computer. This how to really makes it simple with all of the detailed pictures.

~James
 

darthripley

Moderator
Glad the how to helped you out, I feel useful now :)

The rims look nice on the car. I'm not normally a fan of that style, but with the body color they look great.
You've really come a long way on the car from where it started with all the thick horrible bondo.
 

Hotrodhendrix

New member
Thanks. I still wish they were 17s but its all good in the "hood".

Update:
She lives once again!
IMAG1099.jpg

Reset timing, added new gas and let gave her time to warm up. When cold she still idles rough but warm she peers like a little kitten at 900rpm. Boost up well also. Plan of attack on the temp issue is just swapping throttle bodies and hardware along with cold start injector I had laying around.

I pulled the bumper to fix some bolts that had snapped awhile back. Drilled and tapped a good 6 of them I think. Still trying to figure out the transmission oil cooler as the stock unit leaks. Other than that I got bored and did a bit of polishing
IMAG1100.jpg

IMAG1104.jpg

IMAG1106.jpg


Next up I began working on the intercooler pipes. A few were bent on the ends and I was still worried about them not having a bead. I made these myself and was unable to find anyone local to roll them for me. Anyways after a bit of searching I made these

IMAG1112.jpg

IMAG1113.jpg

IMAG1114.jpg

Vice grips, random thick nut and a 2.5 exhaust clamp. Welded up gives you a great bead press. May modify the design and have real ones made. Over all they work great.. Its hard keeping them perfectly straight and they only work on aluminum. Grand total cost was 15bucks but I got 2 extra vise grips out of it. **note if I were to do it again I would swap the side the nut and exhaust clamps are currently.
IMAG1108.jpg

IMAG1109.jpg

IMAG1111.jpg

IMAG1116.jpg

IMAG1115.jpg


I also received my authentic SSQV. I removed the knock off unit I had before which was recirc but went vented. Along with this I had a buddy make a new straight intake piece minus the recirc out of polished stainless steel.
IMAG1117.jpg

Most likely the intake pipe and intercooler pipes will end up powdercoated white.

25mm spacers are on but I forgot to get a pic after I installed. :doh:

~James
 

Hotrodhendrix

New member
Soooooo yeah... Figured out the cold start issue. I got another cold start injector ready along with another throttle body.. Took it all apart and my cold start injector was just unplugged. :p
 
Top